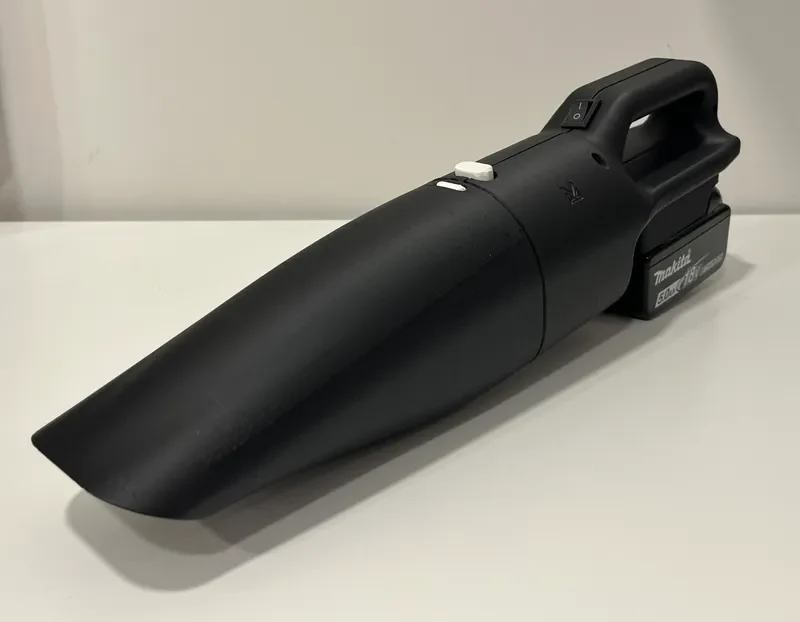
Ручной пылесос, полностью напечатанный на 3D-принтере (со..
Description
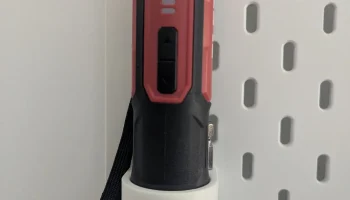
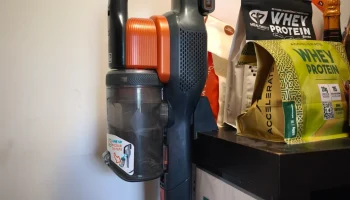
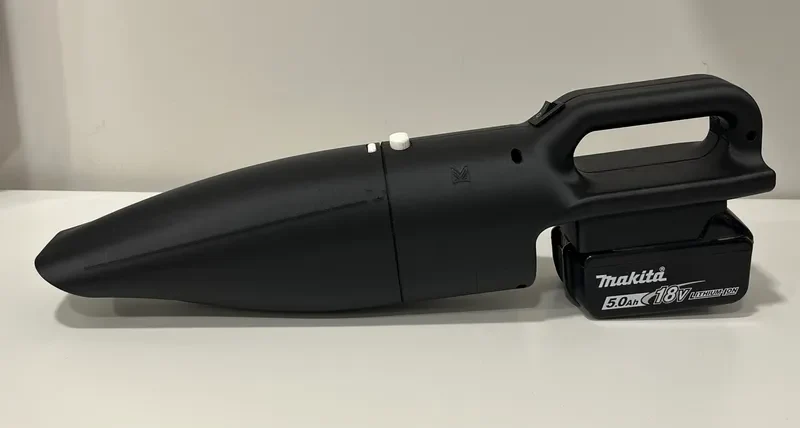
This is a fully 3D printable handheld vacuum cleaner, designed as a compact and modular DIY solution.
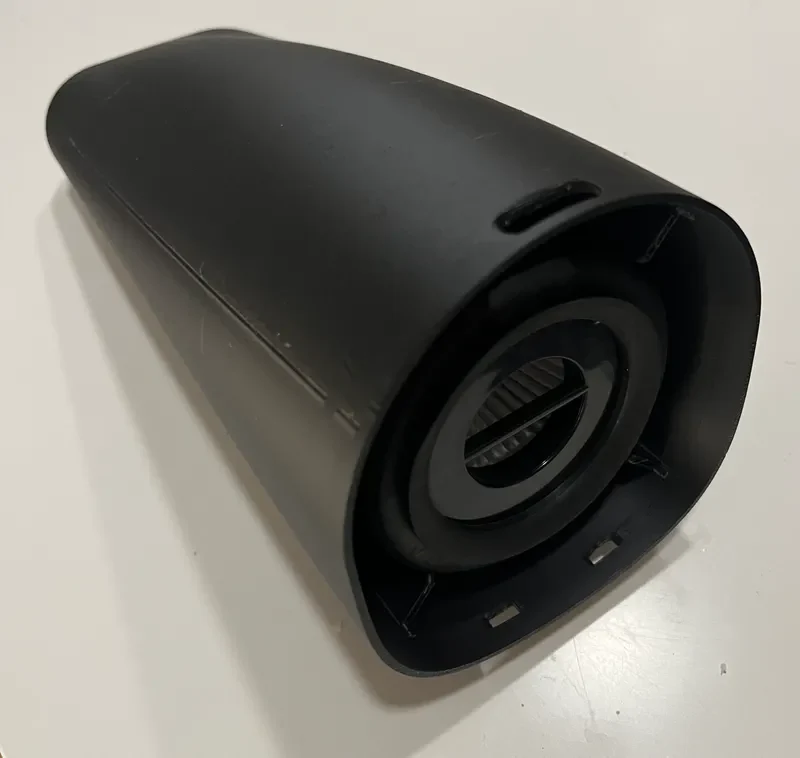
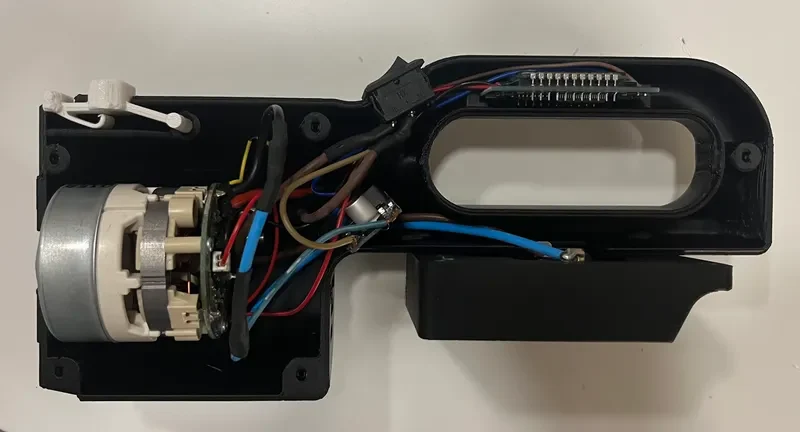
The design integrates a 50 mm brushless motor, filter system, and a detachable dust collector, all housed in a clean, functional enclosure. Power is provided via a Makita 18V LXT battery, using a dedicated printed battery holder and contacts (included), but the system can easily be adapted to other battery platforms.
The vacuum features a fully 3D printed release mechanism for the dust collector, including an integrated spring — no additional hardware required for that function.
The body is split into two halves, which are screwed together, while the nozzle/collector prints cleanly without supports.
Key Features
Fully 3D printable design
Uses 50 mm brushless motor (≈55 mm length)
Compatible with Makita 18V LXT batteries (adaptable)
Detachable dust collector with printed release mechanism
Integrated print-in-place spring button
Modular electronics layout
Compact and practical design
Required Components (BOM)
Electronics
50 mm brushless motor (≈55 mm length, excluding rear components)
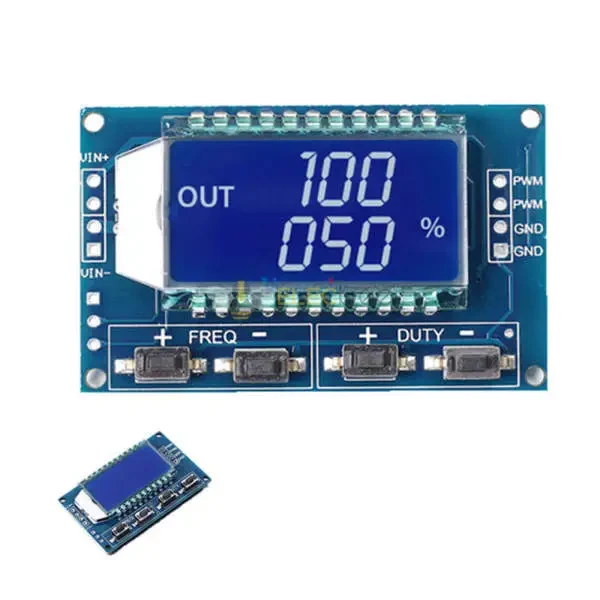
PWM controller / signal generator (ive used one like this):
1hz-150khz-3-3v-30v-signal-generator-pwm-pulse-board
Rocker switch (panel mounted, 16A, 19x13mm cutout)
Optional: LM2596 voltage converter (depending on setup)
Power
Makita 18V LXT battery
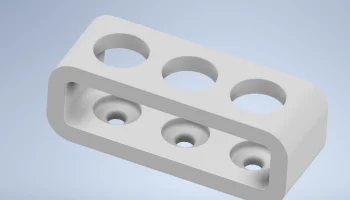
Printed battery holder (included in design)
Makita LXT 18V Battery Terminal (643852-2)
3D printable version:
Hardware
5× self-tapping screws (for body halves)
Ø2 mm
Length: 10-12 mm
Max head diameter: 5.5 mm
4× self-tapping screws (for battery holder)
Ø2 mm
Length: 10-12 mm
Max head diameter: 5.5 mm
Other
Suitable filter element
Outer diameter max 72mm
Filter brim thickness =6mm (when compressed in order to avoid powerloss because of leaks)
Printing Instructions
Body (2 halves)
Requires supports for best surface quality
Print orientation as provided
Nozzle / Collector
Prints without supports
General
Ensure good layer adhesion for structural strength
Clean support interfaces before assembly
Recommended Print Settings
Material: PETG, ASA, or similar (recommended for durability) PLA will also work
Wall thickness: 1.2mm
Supports: Required for body halves only
Assembly Overview
Install the Button, brushless motor, electronics, and wiring inside the housing.
Mount the battery holder using 2 self-tapping screws.
Close the housing by joining the two body halves using 5 self-tapping screws.
Mount the other two screws in the battery holder
Put hte filter in the nozzle / collector and attach the and verify the release mechanism works smoothly.
Notes
Battery system is modular and can be adapted
Motor selection affects performance significantly
Ensure proper wiring and polarity before use
Test airflow and sealing for optimal performance
Disclaimer
This is a DIY project involving electronics and moving parts. Use at your own risk. Muffelkraft assumes no responsibility for damage, injury, or improper assembly. Ensure safe handling of batteries and electrical components.