Neopixel RGB LED frame
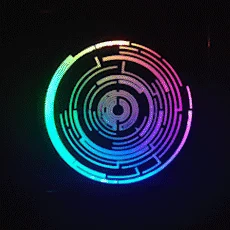
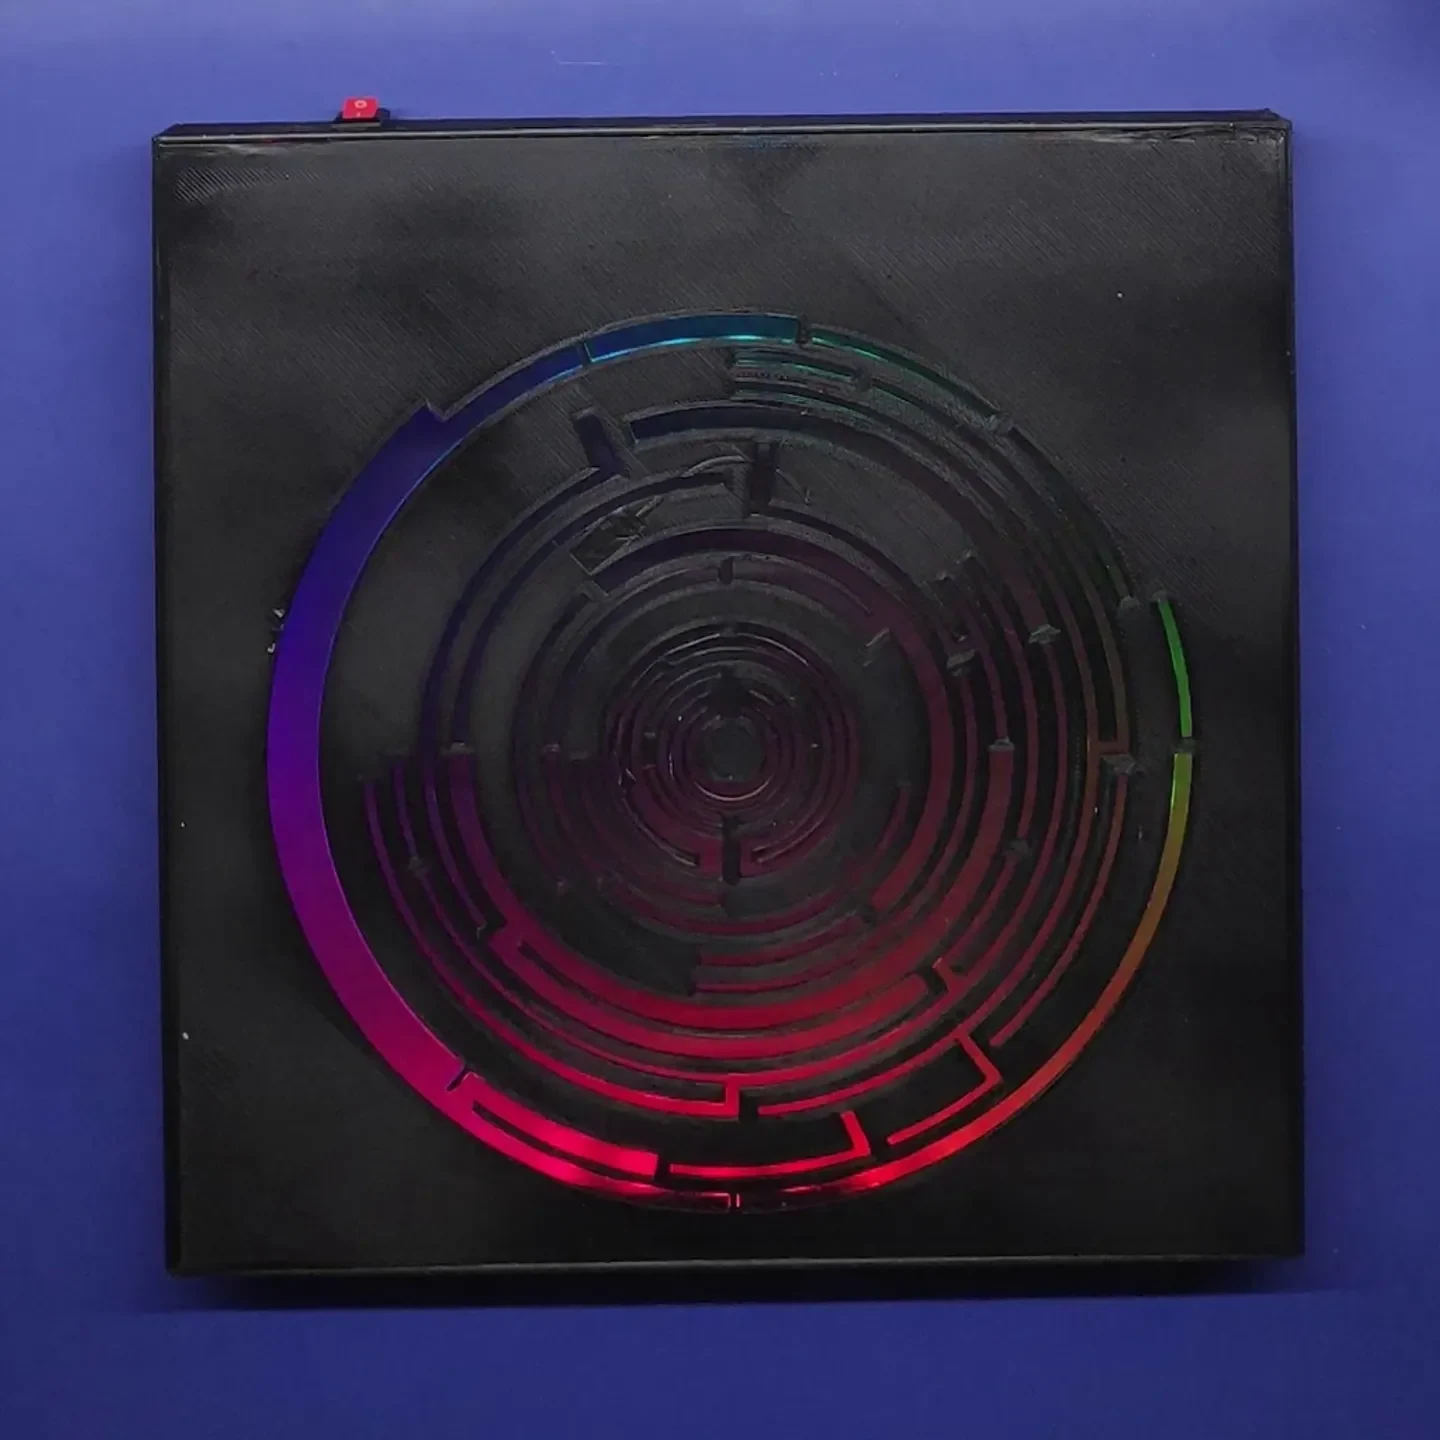
Video painted top with frame: youtu.be/gsi5uamnZHs
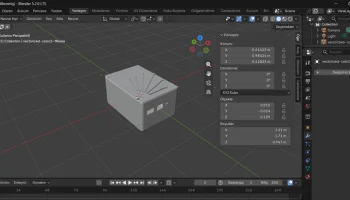
This is made from scratch but inspired by TeachingTech design. This is still work in progress.
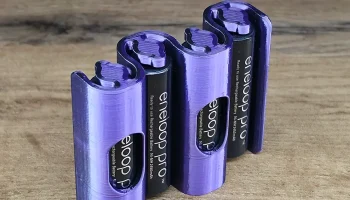
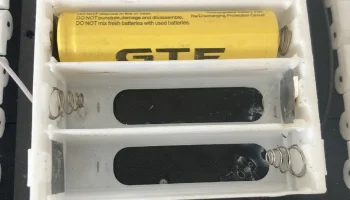
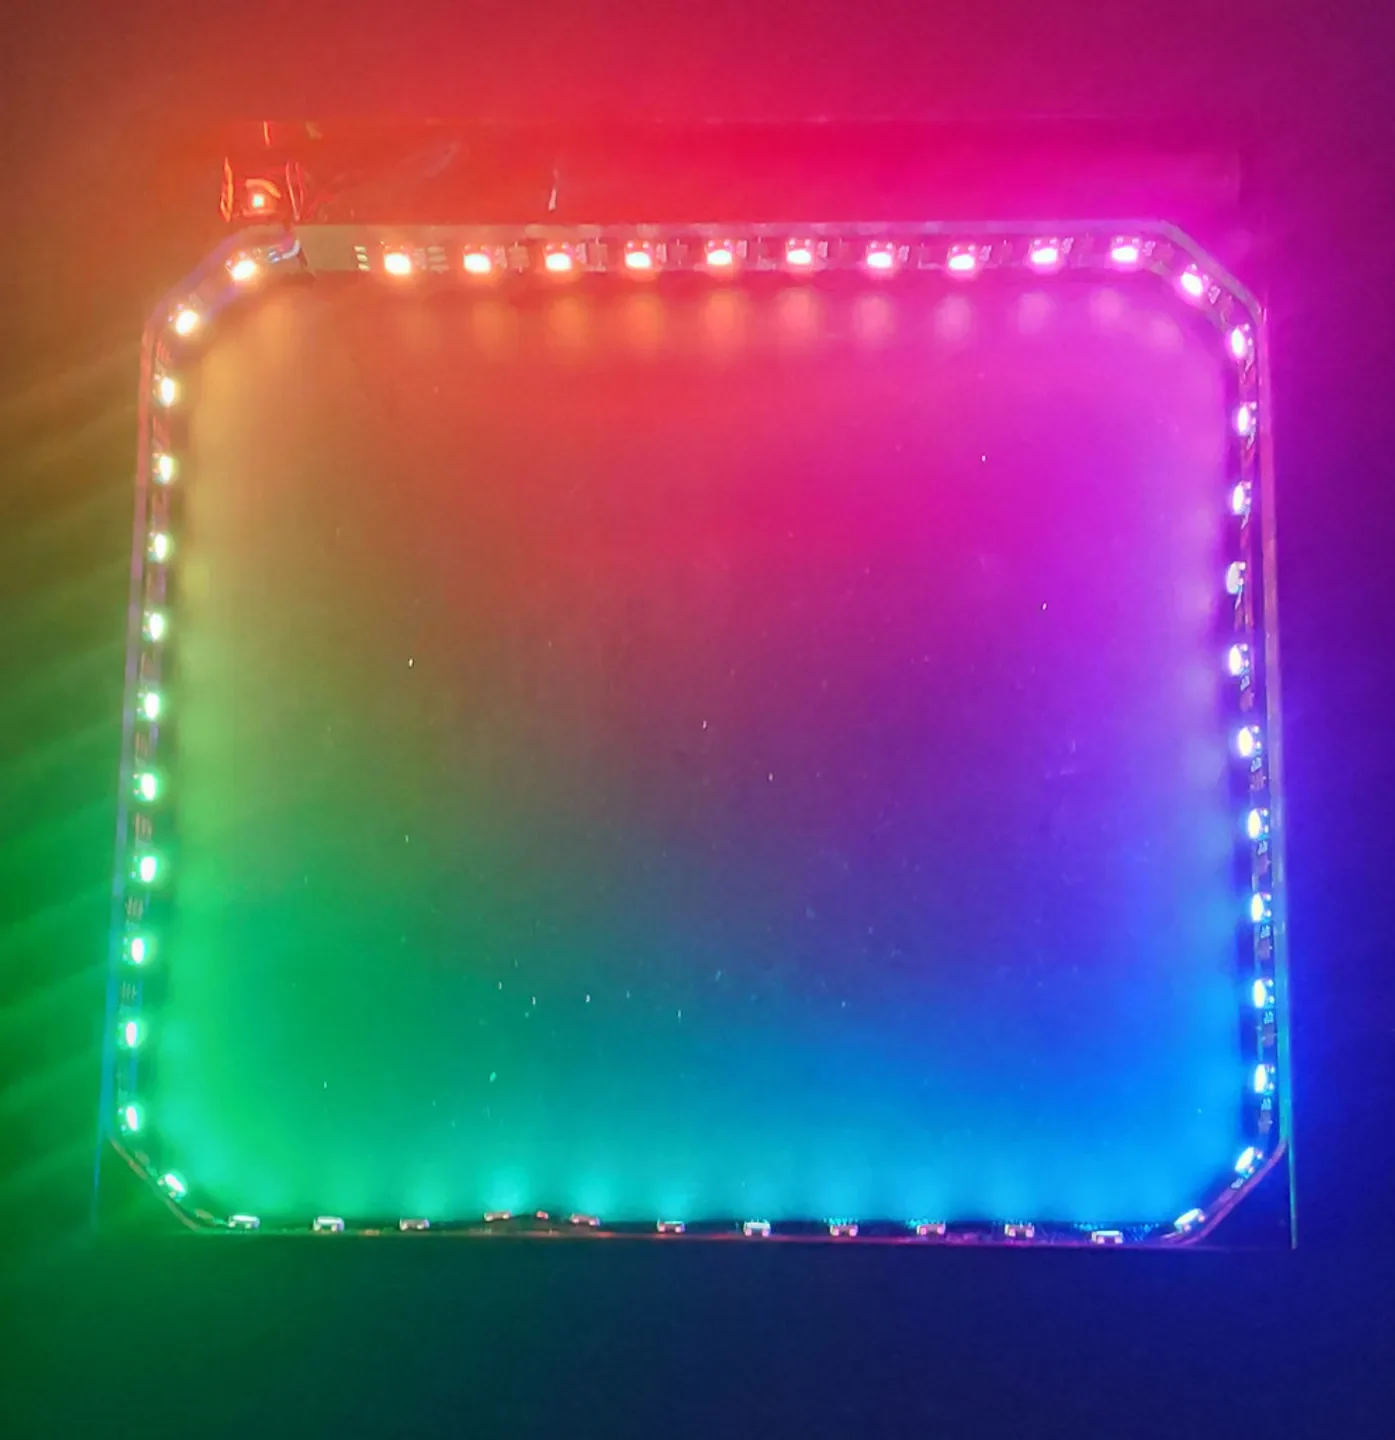
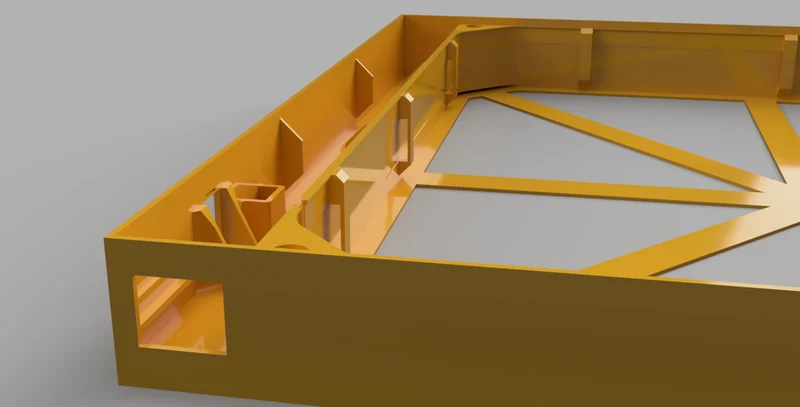
Mine incorporates 2×18650 cells in parallel to feed 47 WS2812B LEDs.
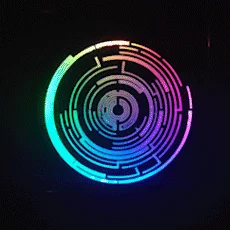
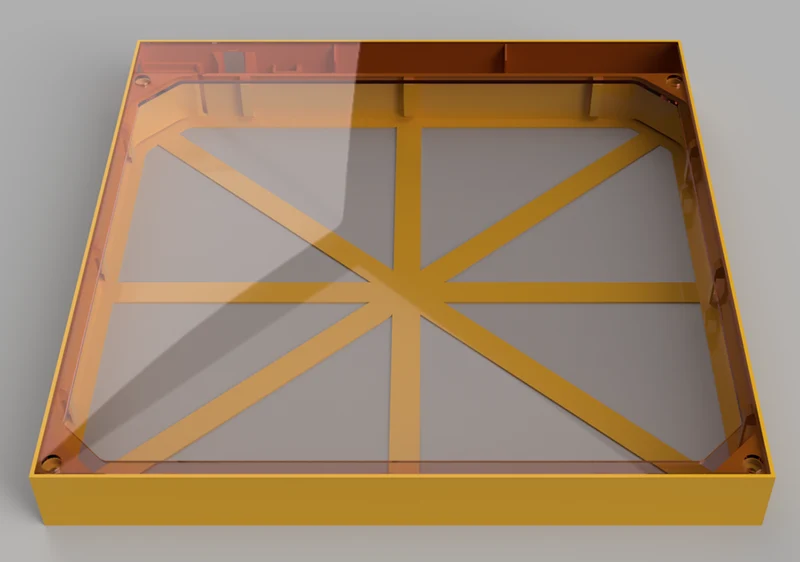
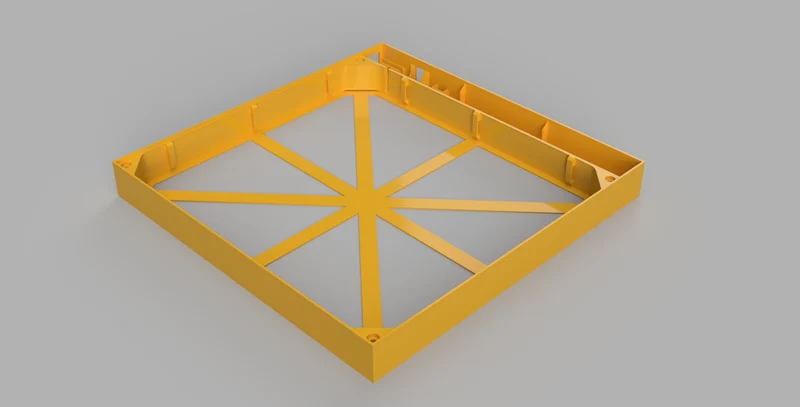
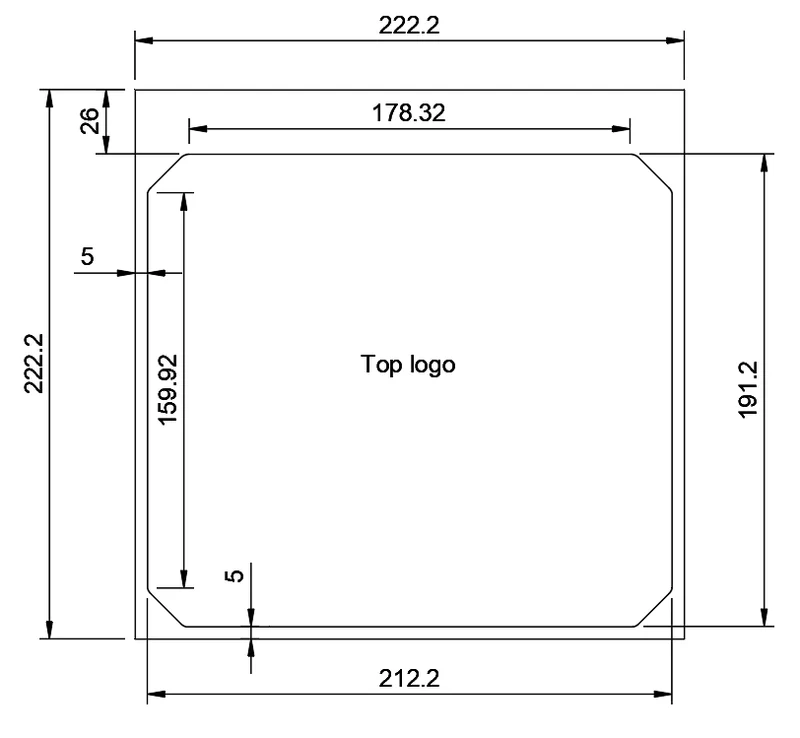
The size is 225×225mm, the LED area is 222×201mm, the logo area is 212×191mm.
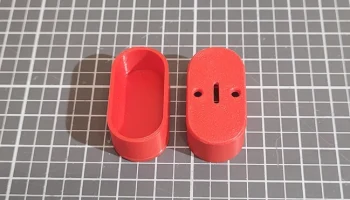
On the rear there are 2 keyholes 162mm apart.
There is ample room for wire spaghetti inside.
I've used ESP-01 with WLED software.
BOM:
Soldering iron
Common sense
80cm WS2812B led strip
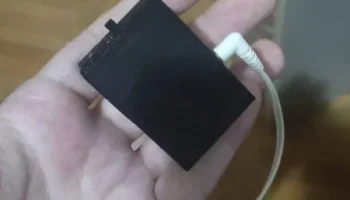
134N3P Power bank module
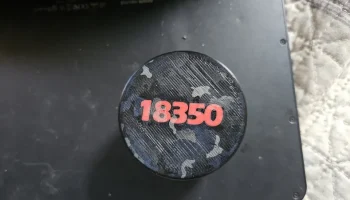
2 × 18650 cells
ESP-01
10×15 SPST switch KCD11
AMS1117 small LDO breakout
piece of paper as backing or print a thin sheet of plastic Magnets
You can either use:
4 6×1mm mangets for the top part and 4 6×2mm magnets for the bottom part. or
use a screw in the base instead of magnets (M3x18mm max with 6x2mm head, DIN 7985 / ISO 7045, DIN 965 / ISO 7046, DIN 84 will work).
Wiring:
The wiring is not too complicated.
First, flash the WLED onto ESP01. Desolder the pins from AMS1117 and ESP01.
Solder a bridge or a resistor (any value above 1k and below 1M) to the ESP8266, from CH_PD to 3V3 to permanently enable the chip.
The outermost pins of the USB A output are +5V and GND.
Connect the 2 18650 in parallel, and lastly connect them to B+ and B- of 134N3P.
Finishing:
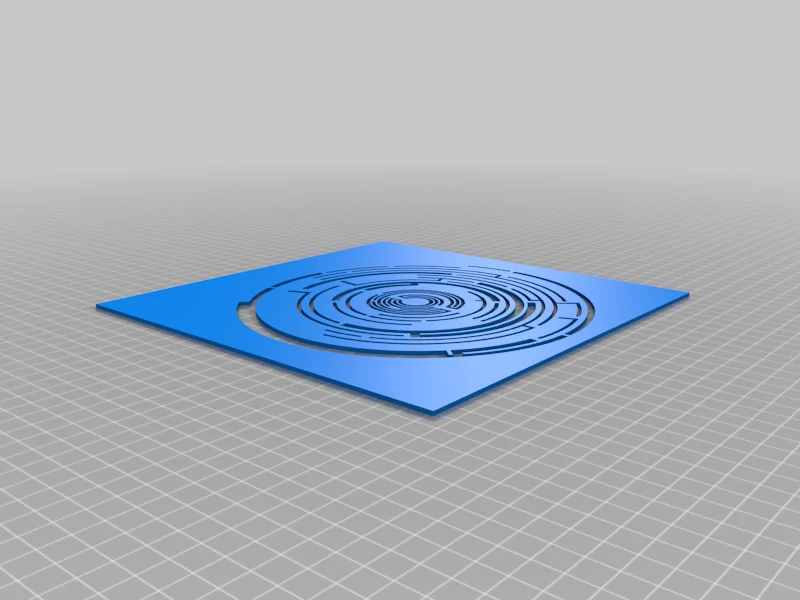
I suggest to spray paint the top to minimize the translucent look.
Updates:
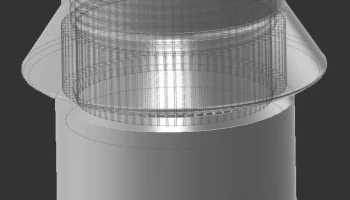
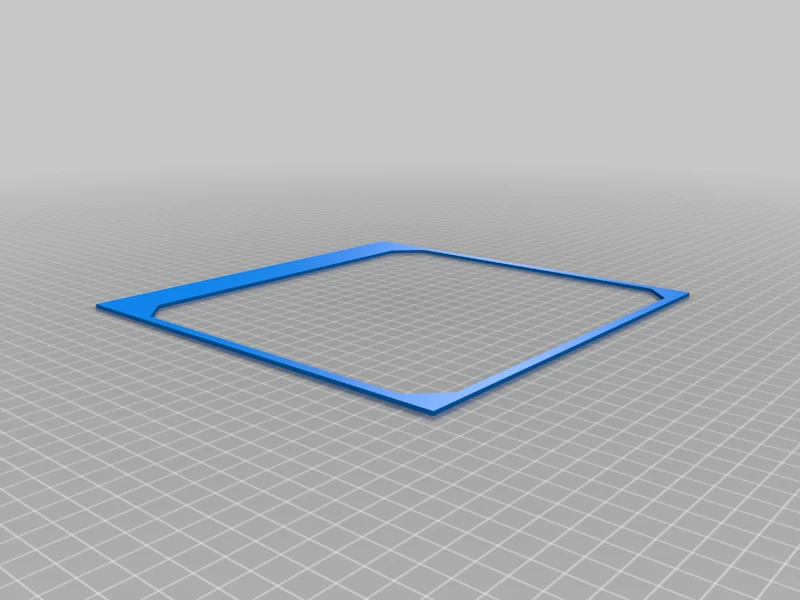
Added a small lip to support the frame and prevent light bleeding through
Added a hole for whole lenght to mount feet
Added clips and a channel for led strip (not tested if it fits)
Added preview video
Added wiring
Category: Decor