Meshtastic Pipe Node
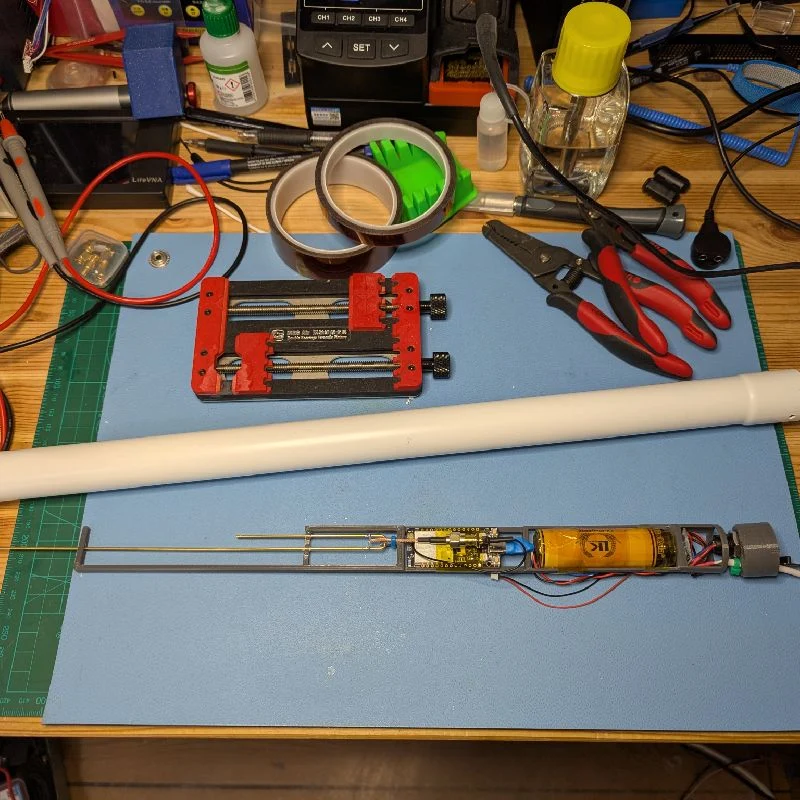
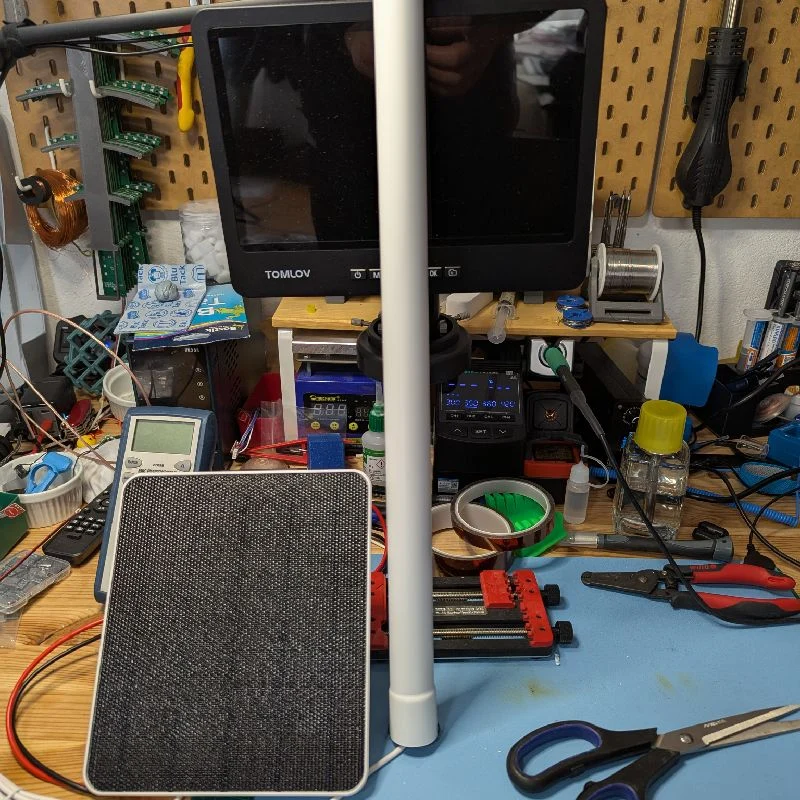
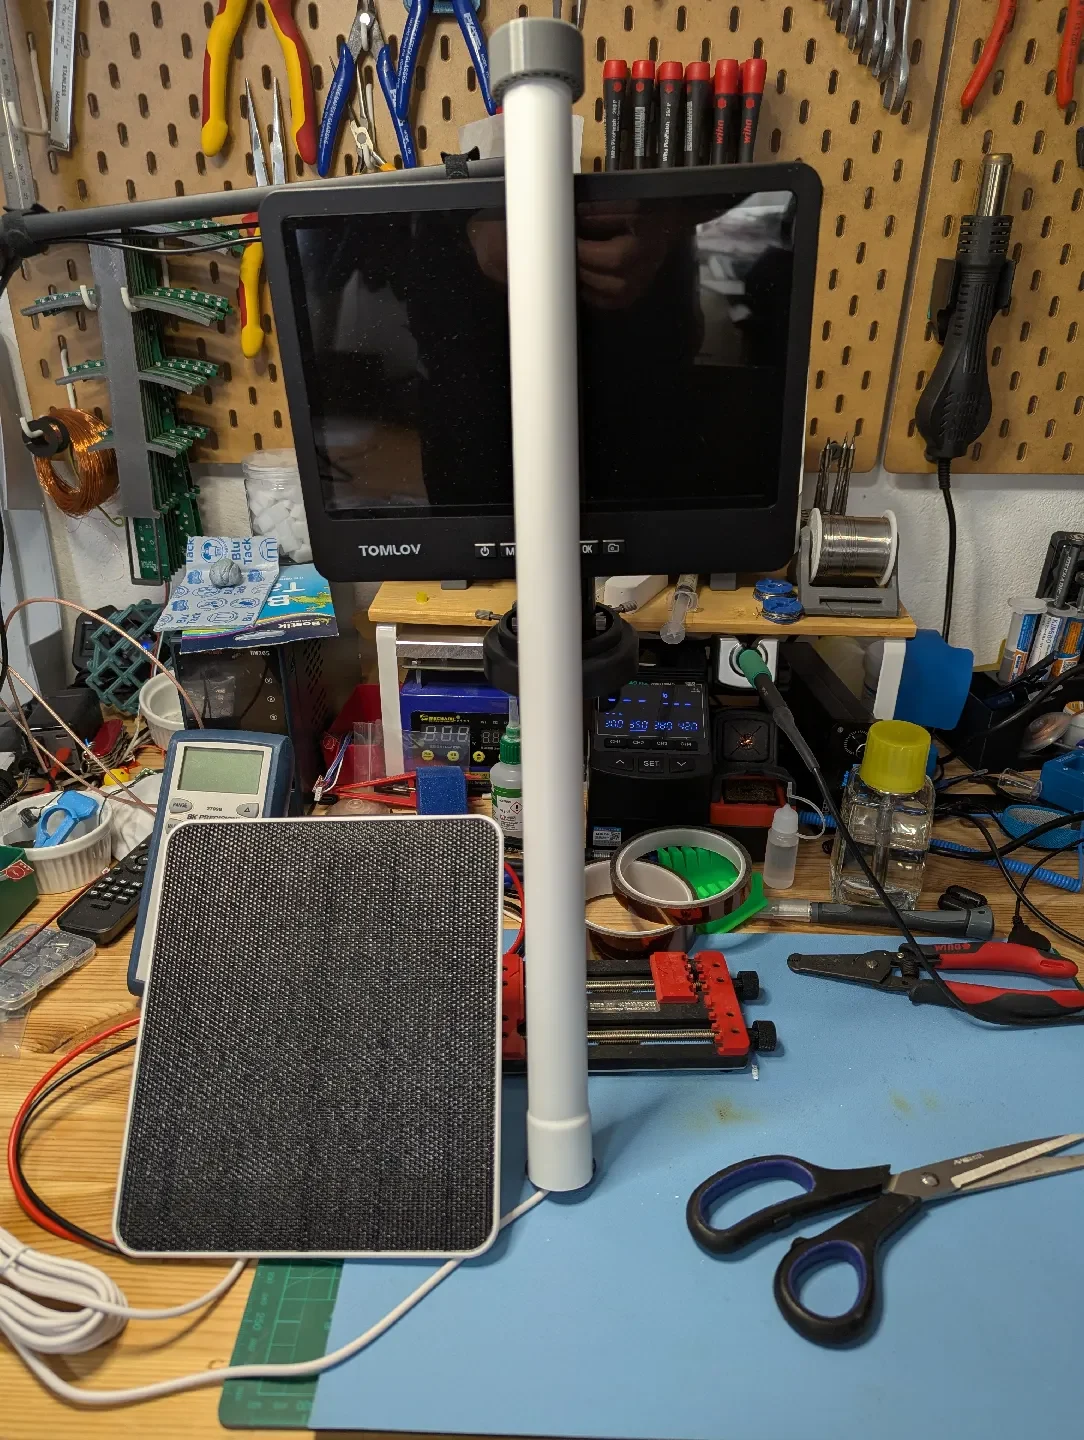
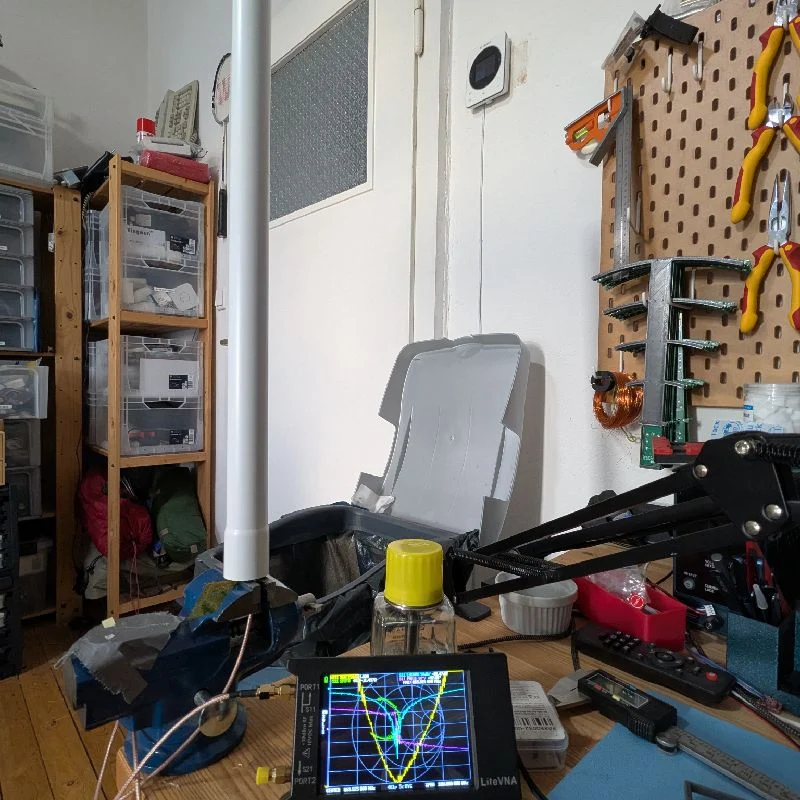
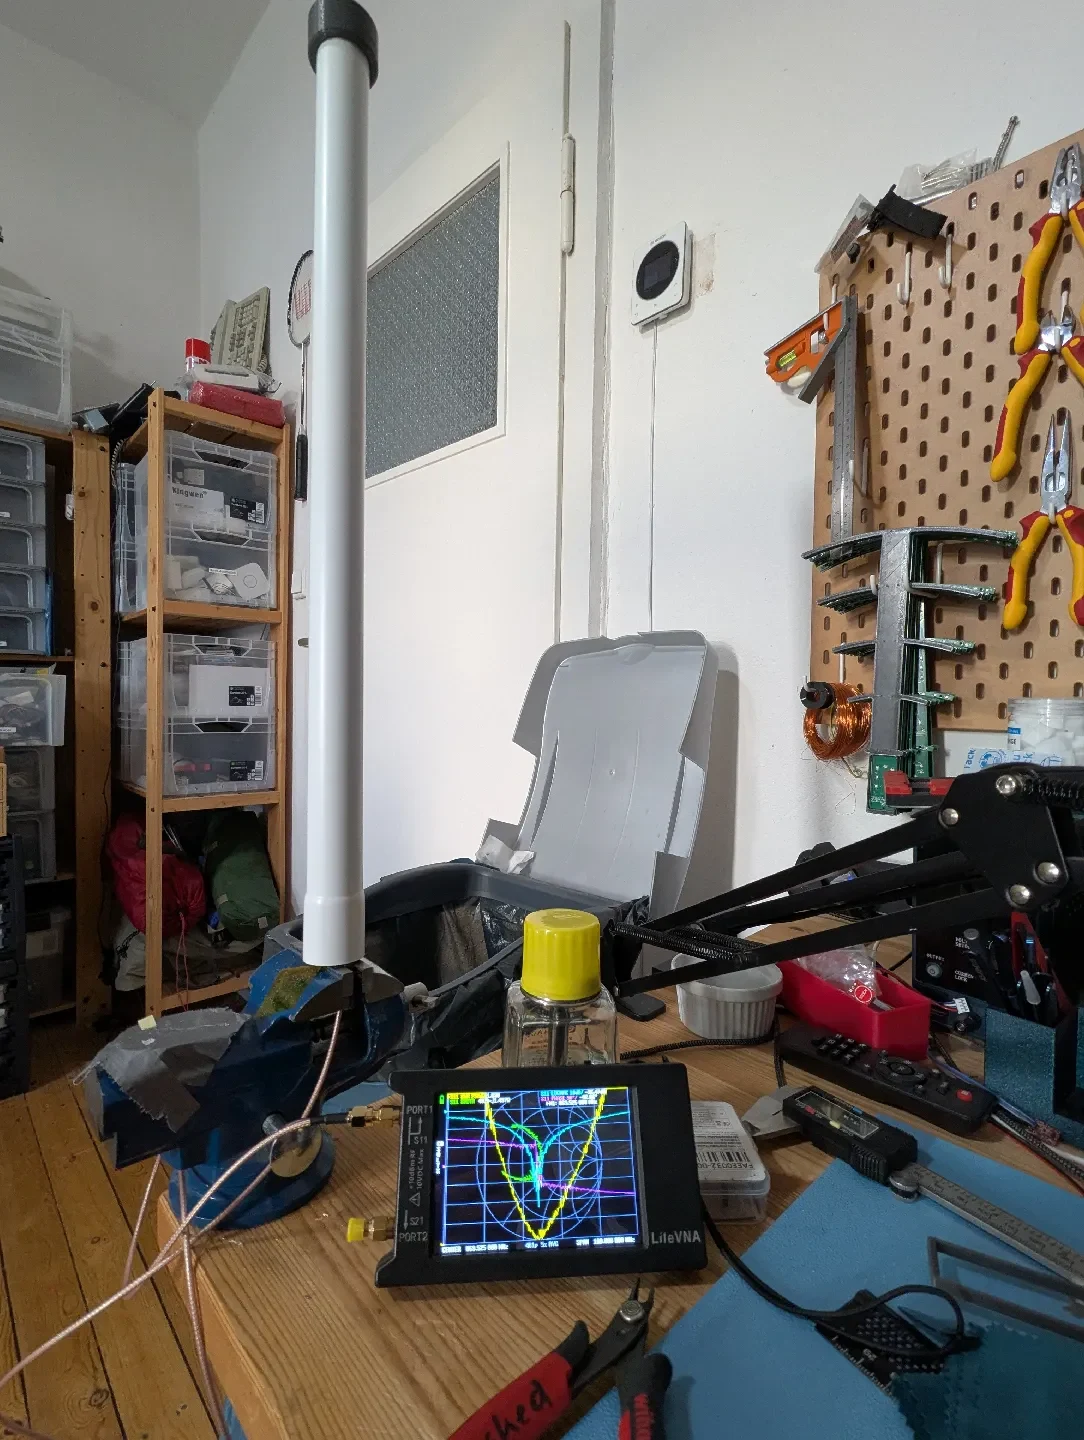
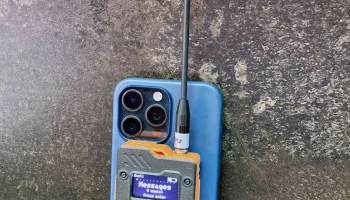
These are printed parts to turn a simple toilet flushing pipe into an outdoor housing for a solar powered Mestastic node. This project uses a 21700 LiIon battery. If you do not know how to safely handle and wire these, THIS PROJECT IS NOT FOR YOU! (You may still use it as an outdoor housing for the antenna and T114, but please use an external power source)
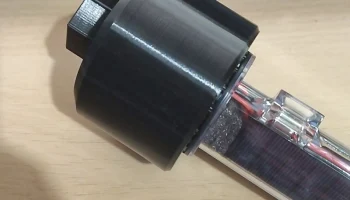
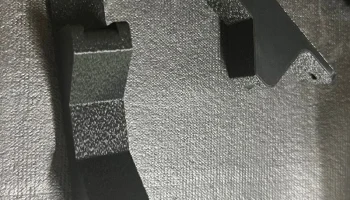
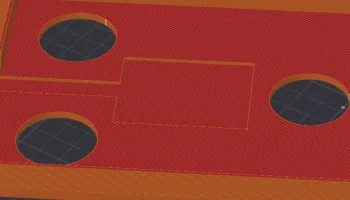
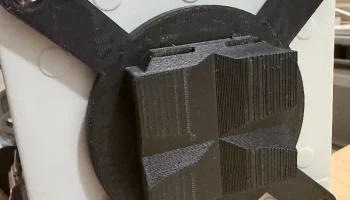
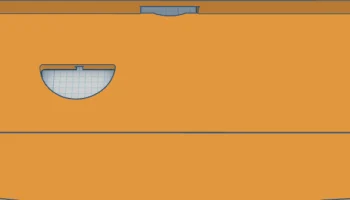
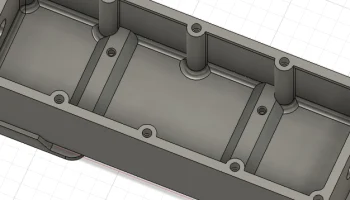
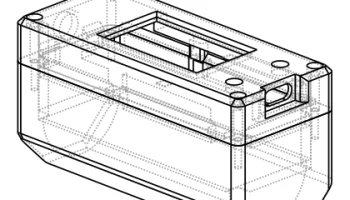
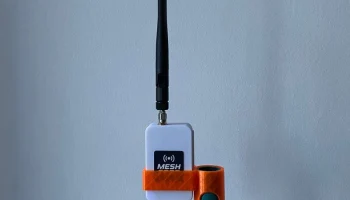
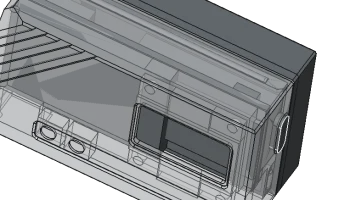
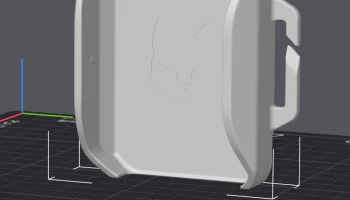
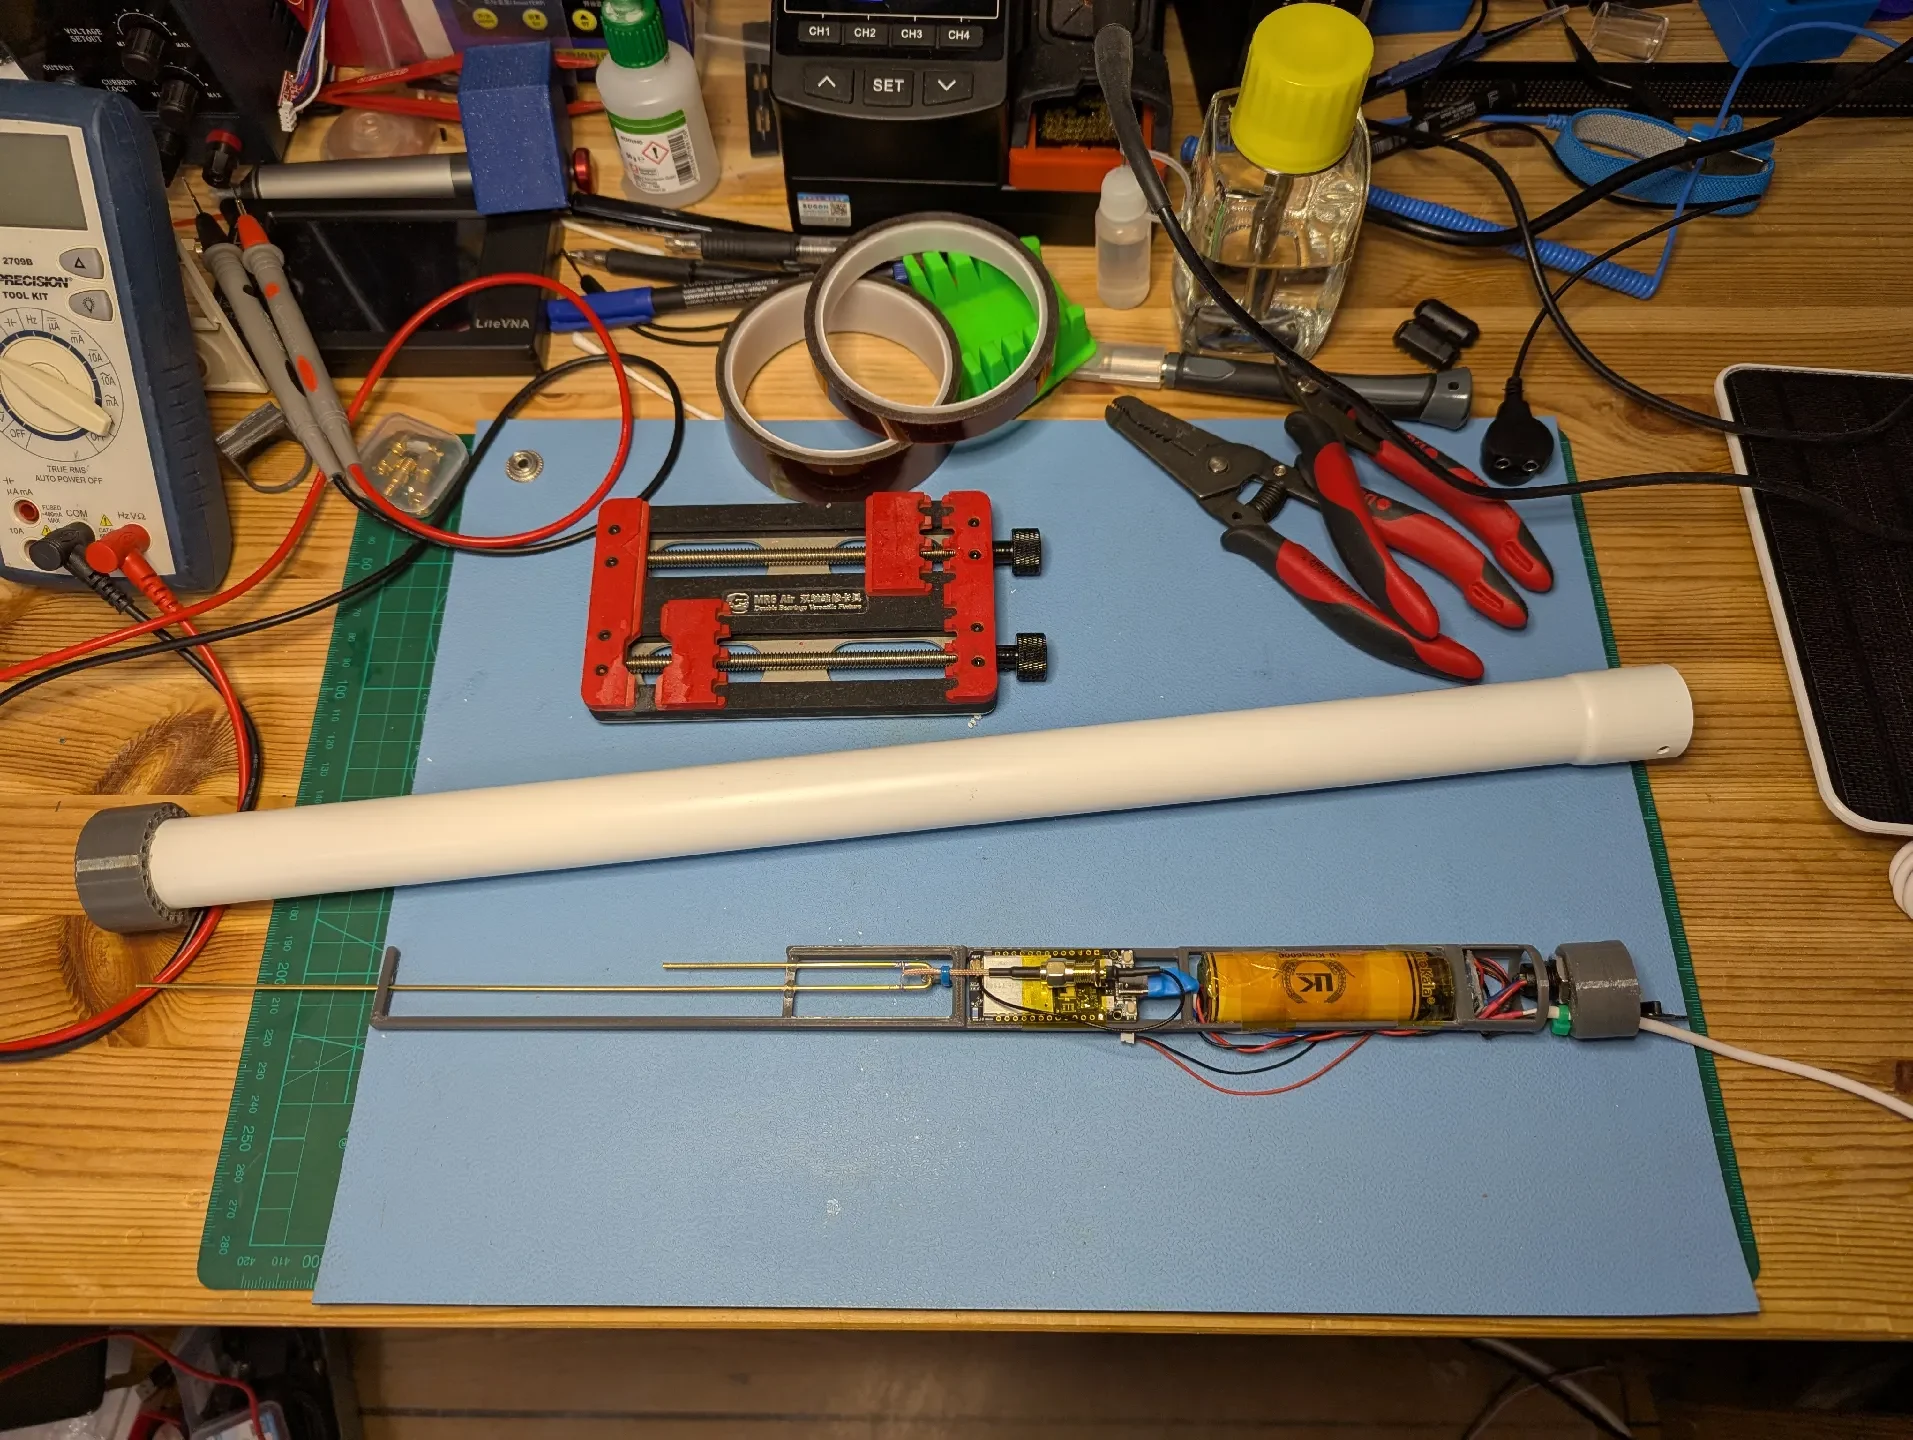
The frame is designed to hold a J-pole antenna, a Heltec Mesh Node T114 and a 21700 LiIon battery. The bottom plug has cut-outs for one of these ubiquitous circular USB-C connectors, found on AliExpress and Amazon, and a 4mm wide cable from a solar panel. The top cap and bottom plug are designed to protect from rain, while also allowing air circulation.
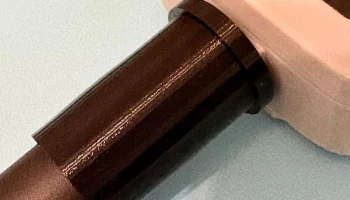
I am using this pipe from the German hardware store chain OBI (#notsponsored). It is 500mm long, ID ~25.5mm and OD ~28mm, with a wider connection piece at the bottom (ID 28mm, OD 30.5mm, 35mm long).
Preparation:
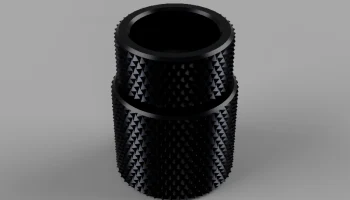
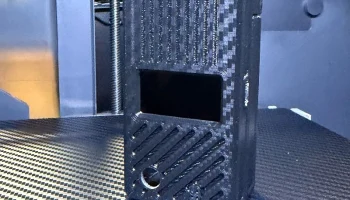
Print the parts, obviously. I used PETG, but ASA should also work. Make sure to use a material that can withstand UV exposure. Put the cap on the top of the pipe and fix it there with CA glue. Test-fit the bottom plug and drill holes, so that i can be fixed using cable ties.
Assembly:
First, mount and tune the J-pole antenna. Stick the radiating element through the hole in the top bar and glue the bottom part of the antenna to the little post with CA glue. The post should be roughly in the middle of the horizontal part of the antenna, but it is more important to keep the vertical part, well, vertical.
When the glue has set, fixate the two vertical elements to the second bar of the frame with CA glue. Make sure that the two elements stay as parallel as possible.
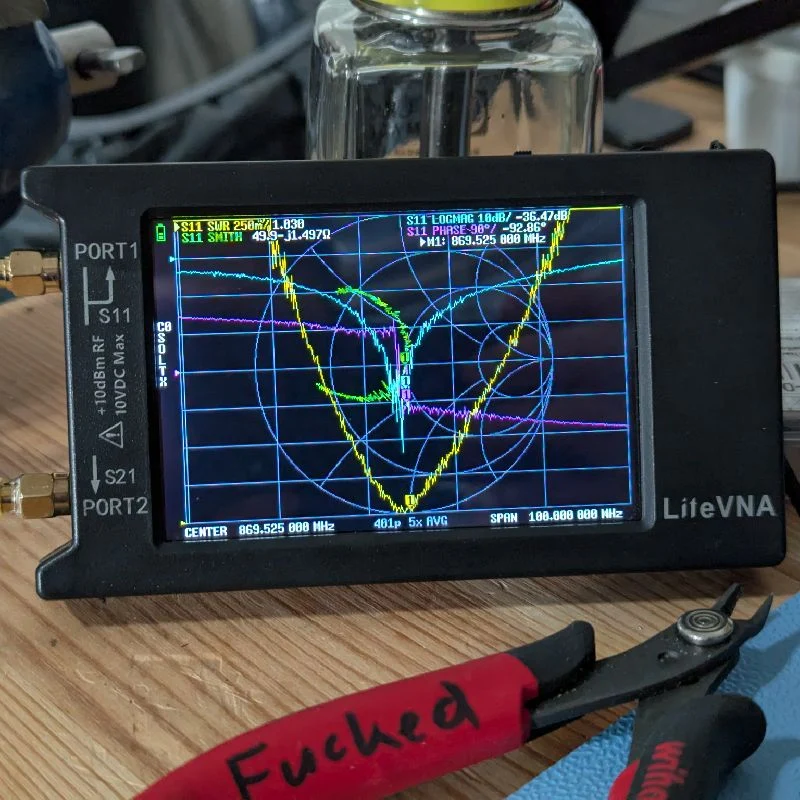
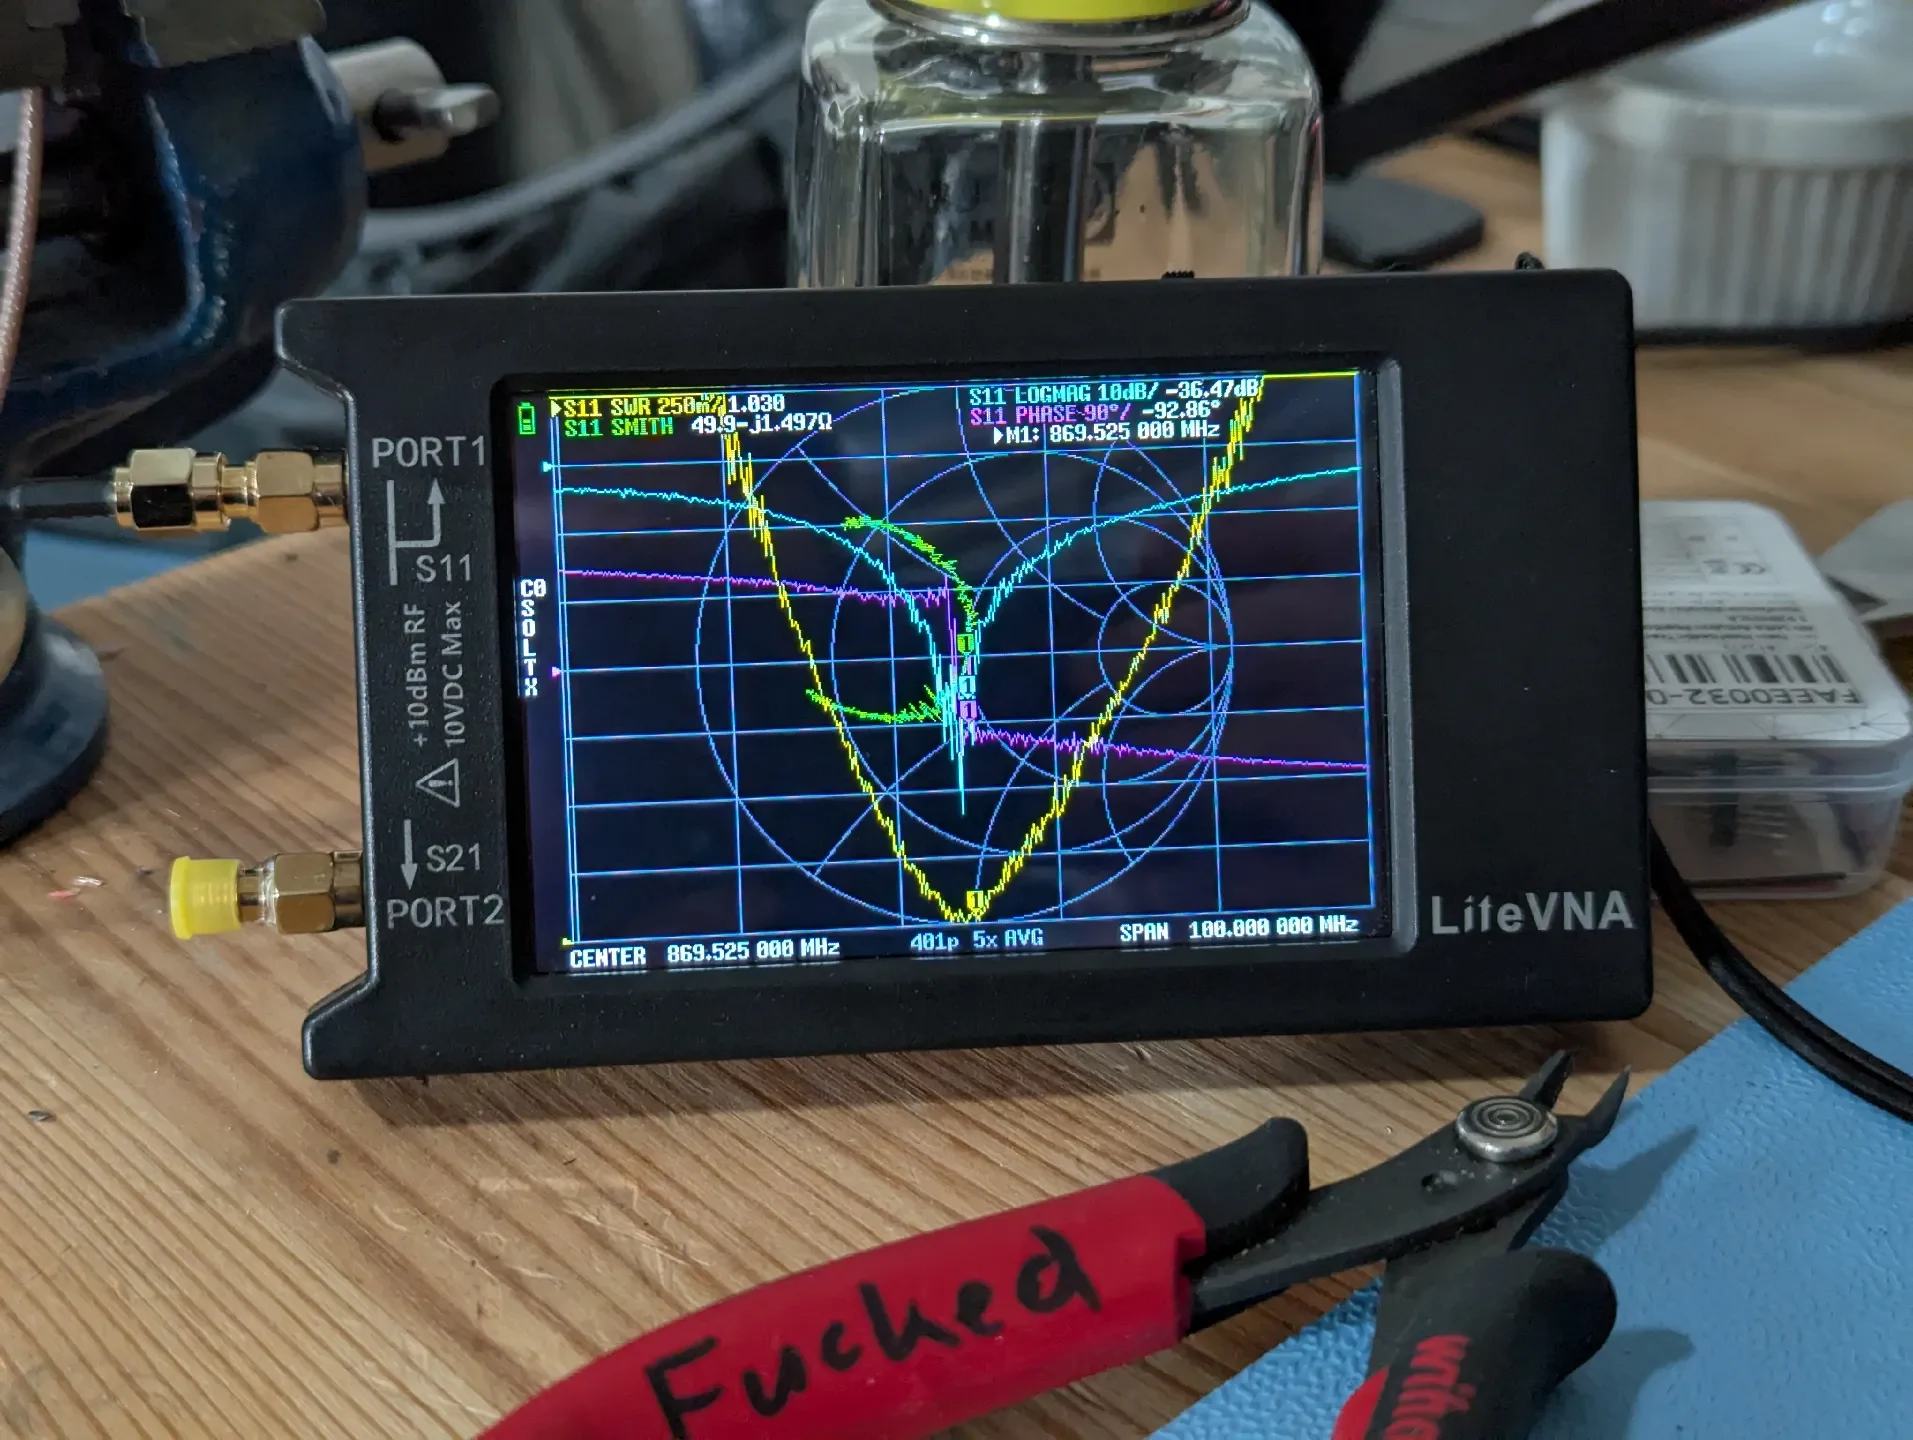
Next you will have to add the feed pigtail, fix it to the post with a cable tie and tune the antenna. Depending on your experience and level of pedantry, expect to spend 10 minutes to a few hours on sticking the antenna into the pipe, taking a reading on the VNA, pulling it out again, snipping off a fraction of a millimetre, sticking it back in, testing, cursing, pulling it out, adding some solder, testing again, moving the feed point around, losing the will to live… Rinse and repeat until you finally settle on a not quite optimal, but good enough result.
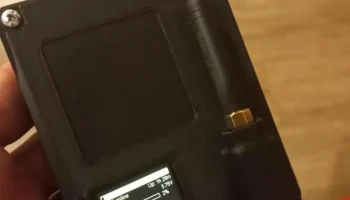
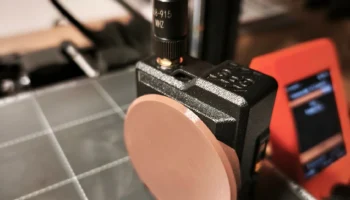
Now add the T114 to the frame below the antenna. I used hot melt glue to stick the back of the PCB to the frame. The battery is mounted below that, I used Kapton tape to fix it to the frame. Now glue the circular stand-off part to the bottom of the frame with CA glue. Mount the USB socket into the bottom plug, feed in enough cable from the solar panel and wire everything together. Use a cable tie as a crude strain relief.
I will not give any instructions on how to wire up the internals. Again, if you do not already know how to safely wire up a LiIon-powered system, YOU SHOULD NOT BUILD THIS!
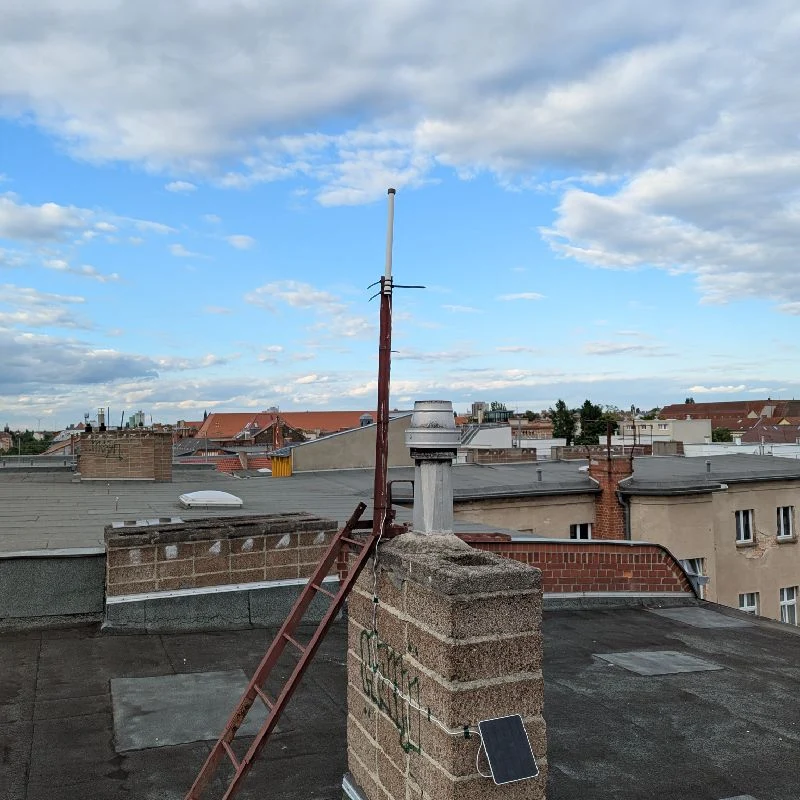
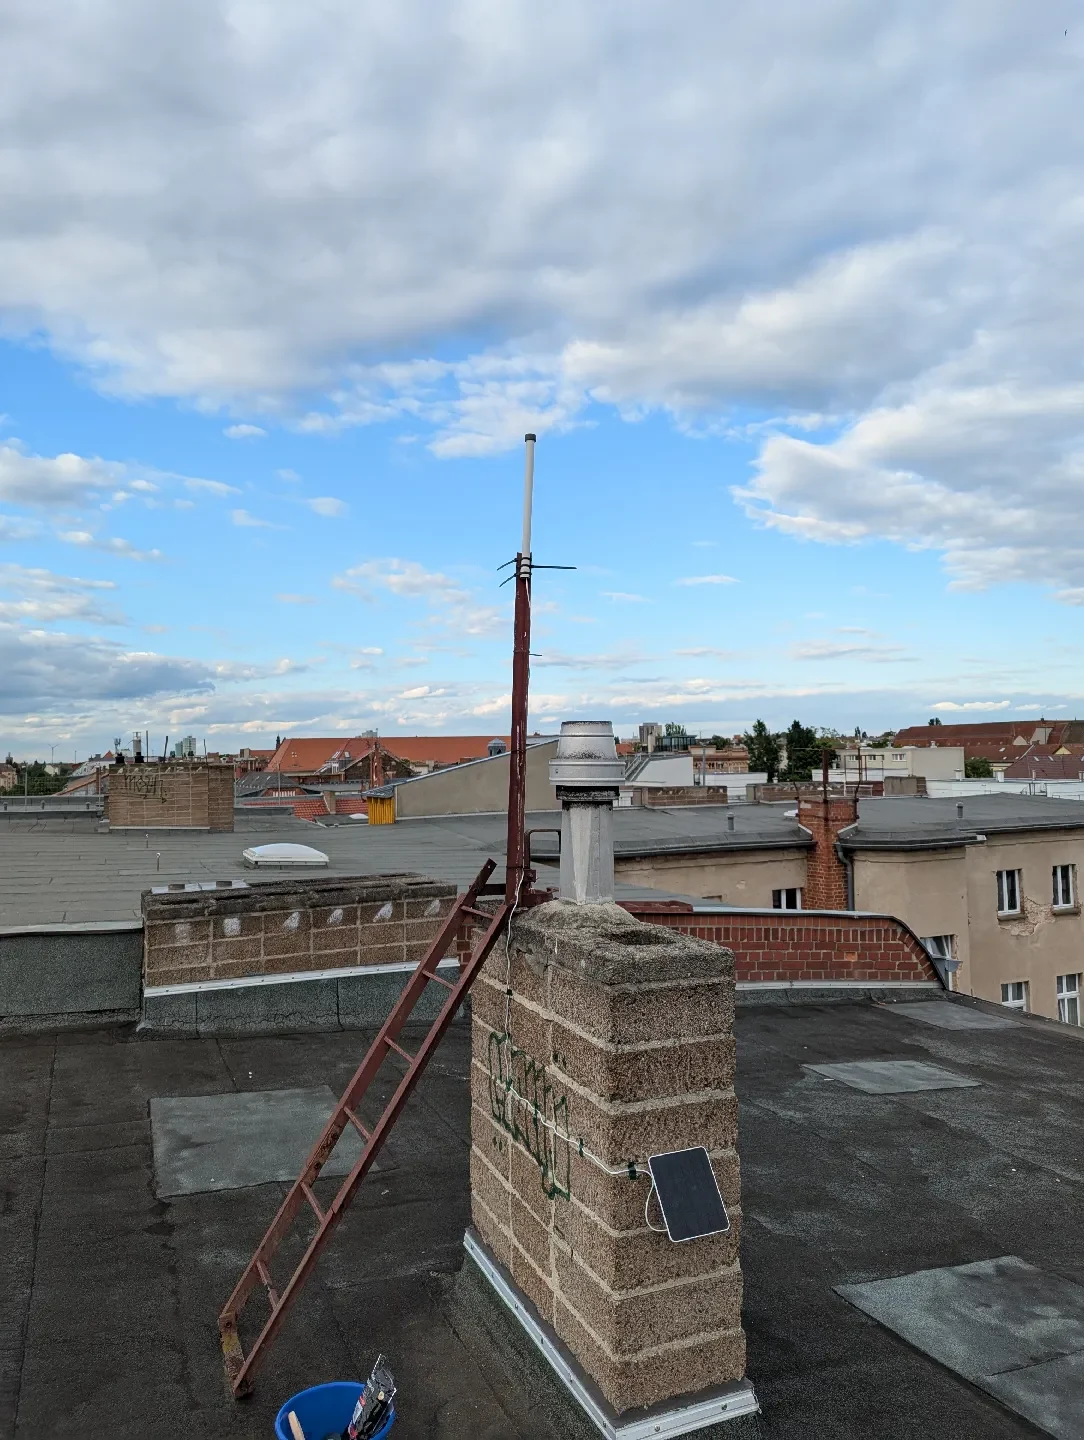
When everything is wired up and working, shove it all into the pipe and secure the plug with cable ties. Congratulations, you are now the proud owner of a solar powered outdoor Meshtastic node. Don't fall of the ladder when installing it.