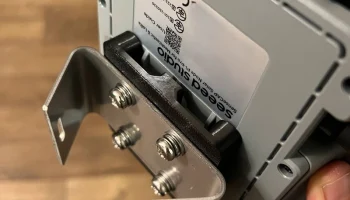
Meshtastic Solar Node with 10W panel
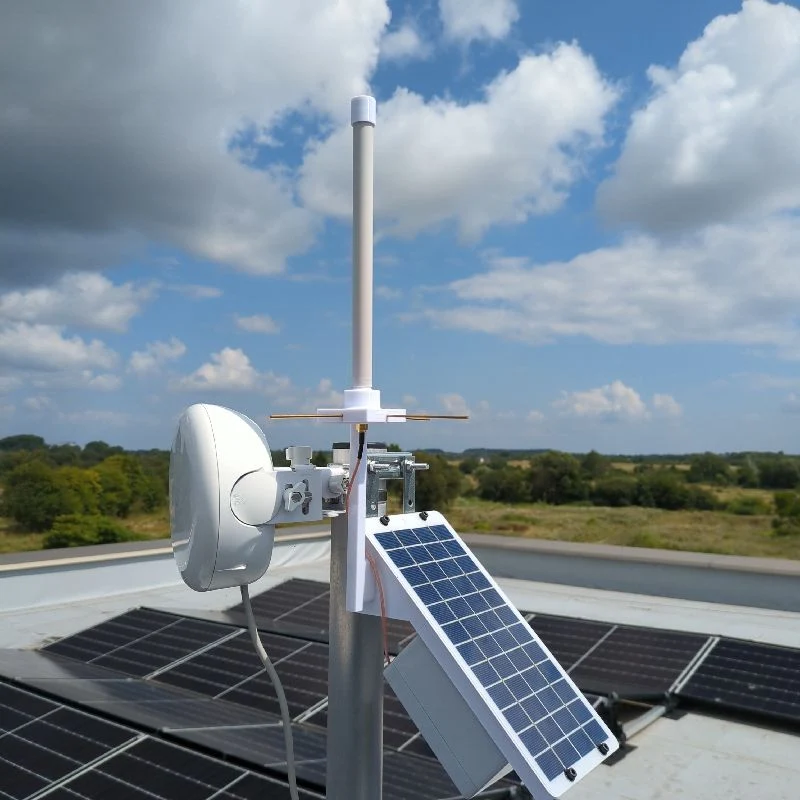
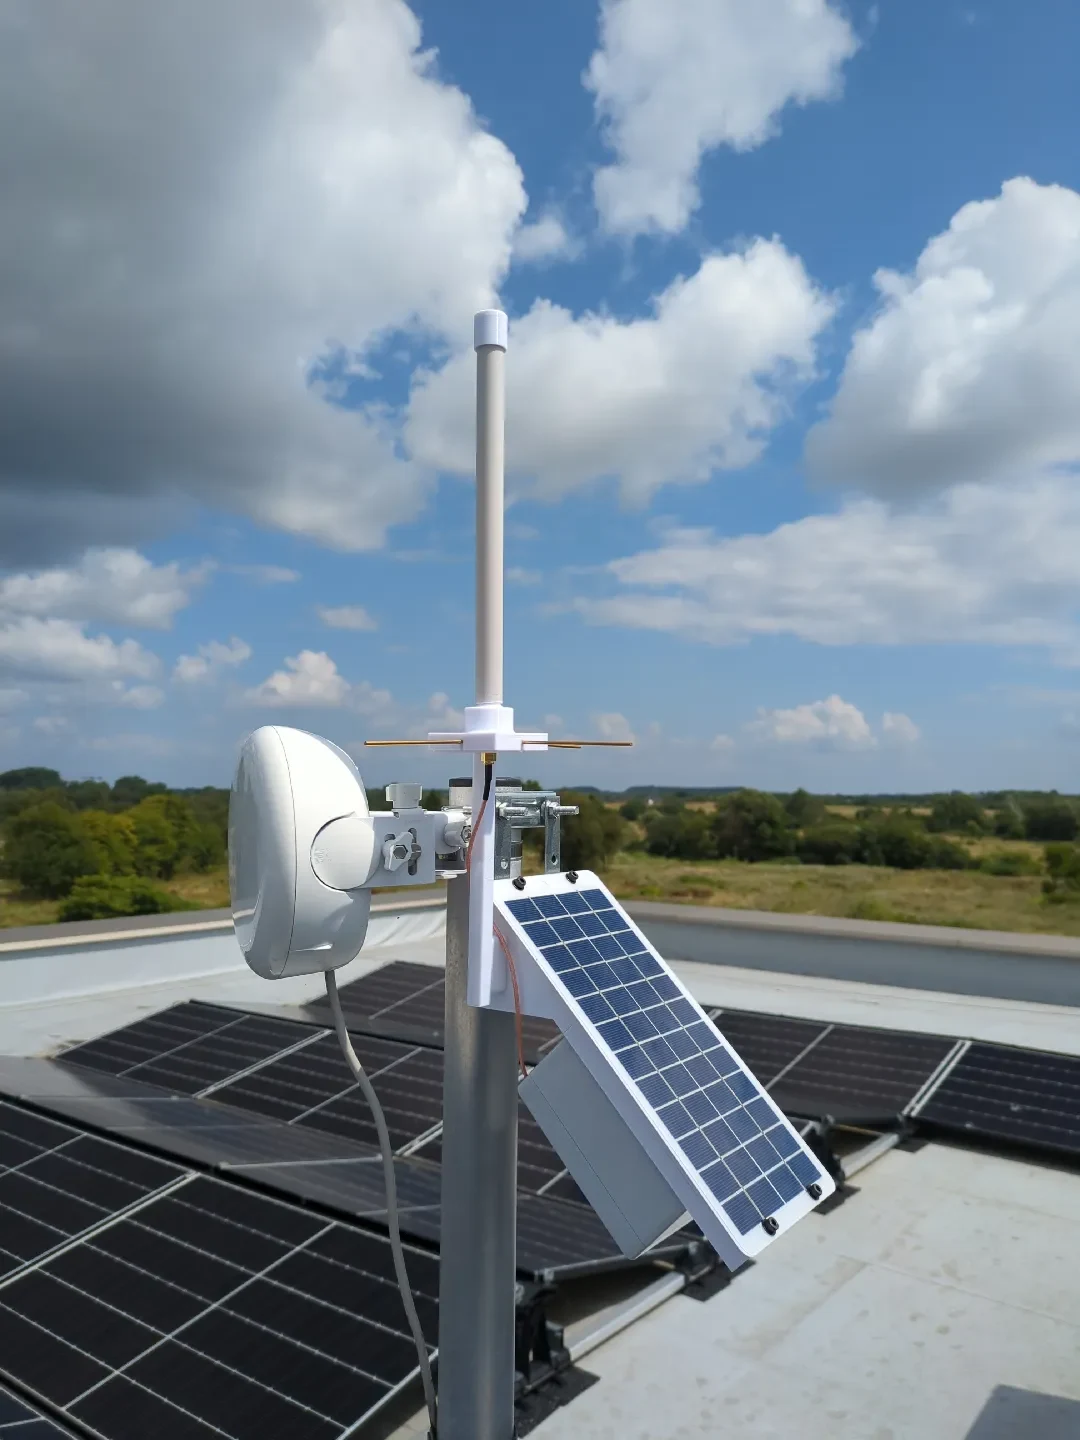
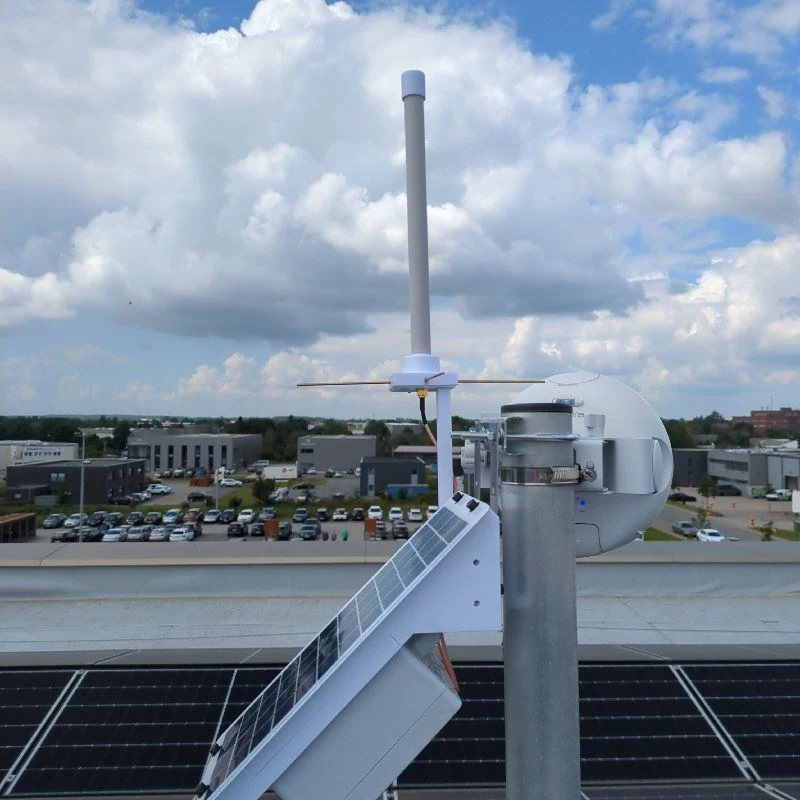
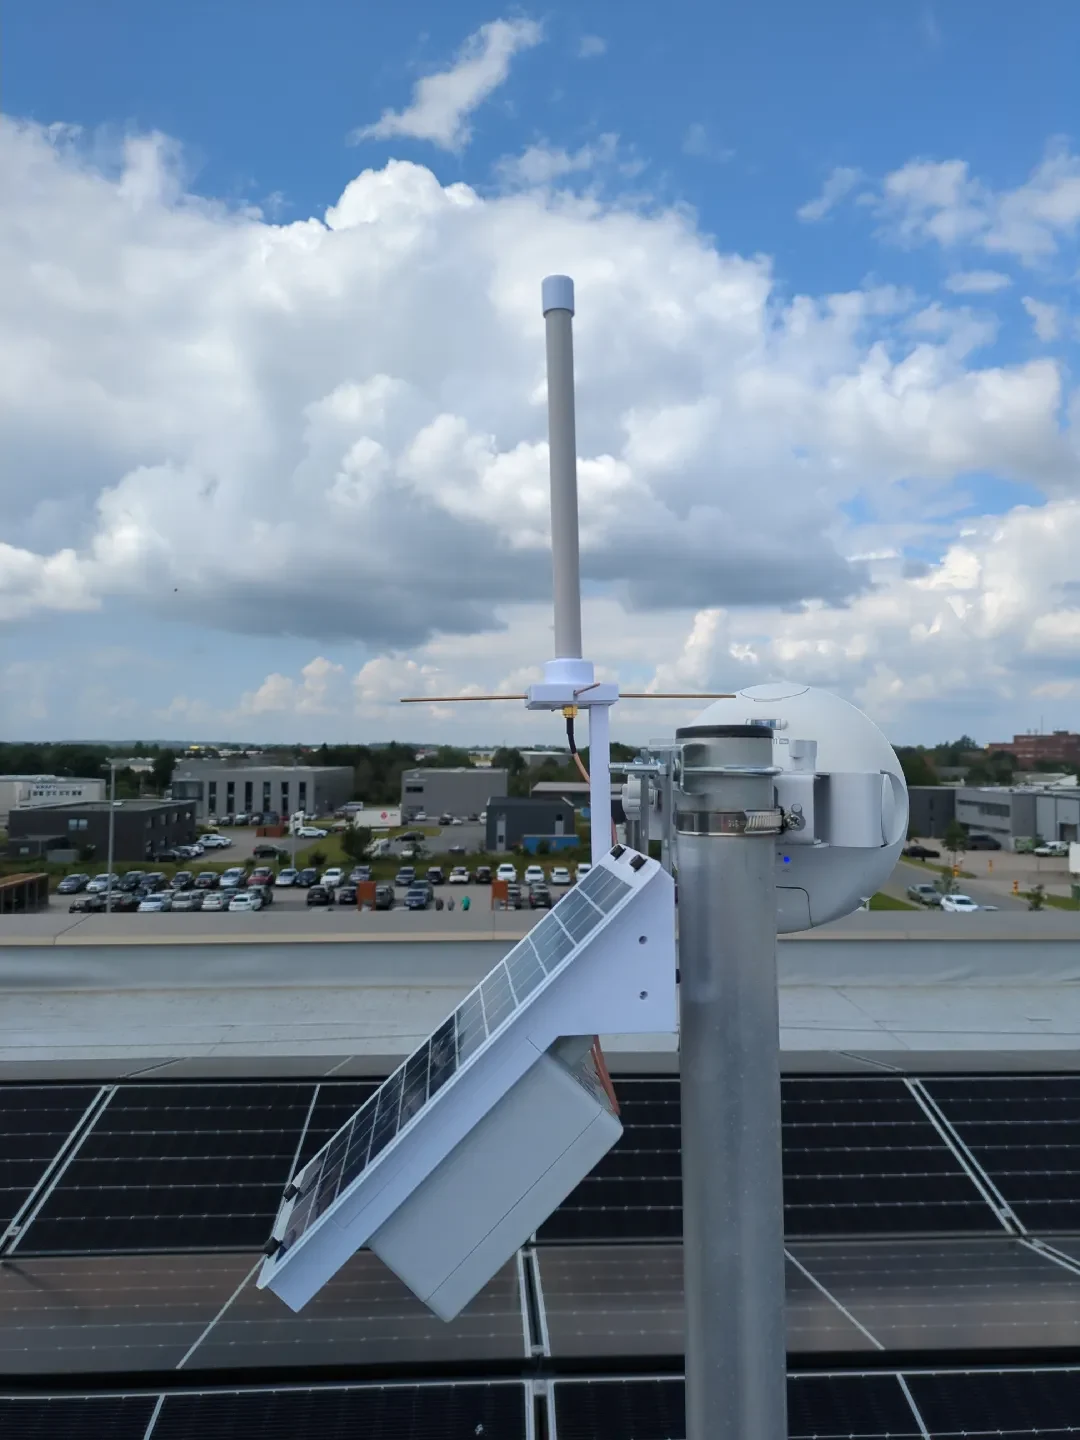
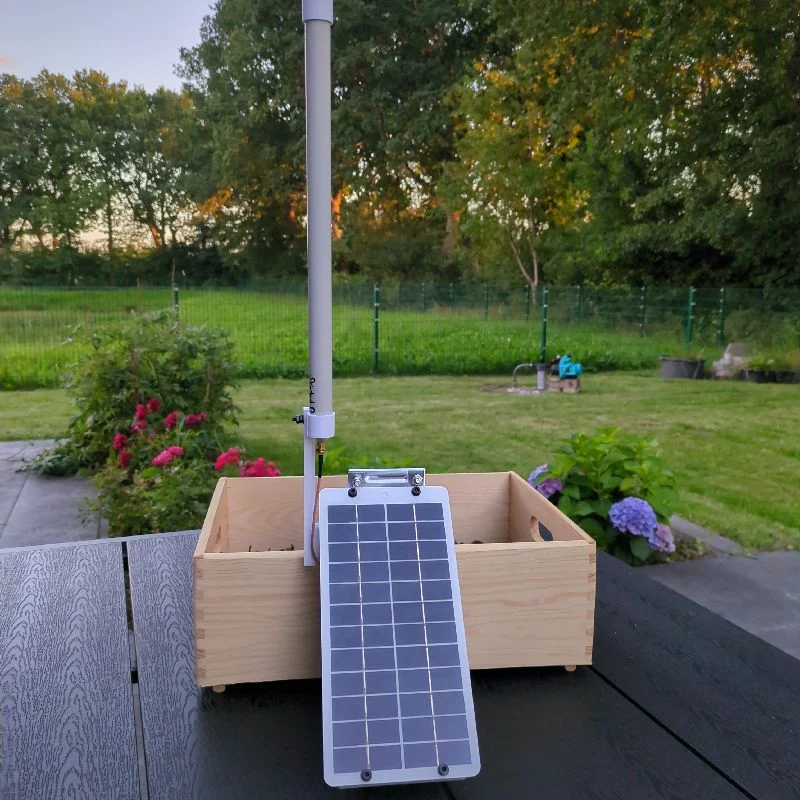
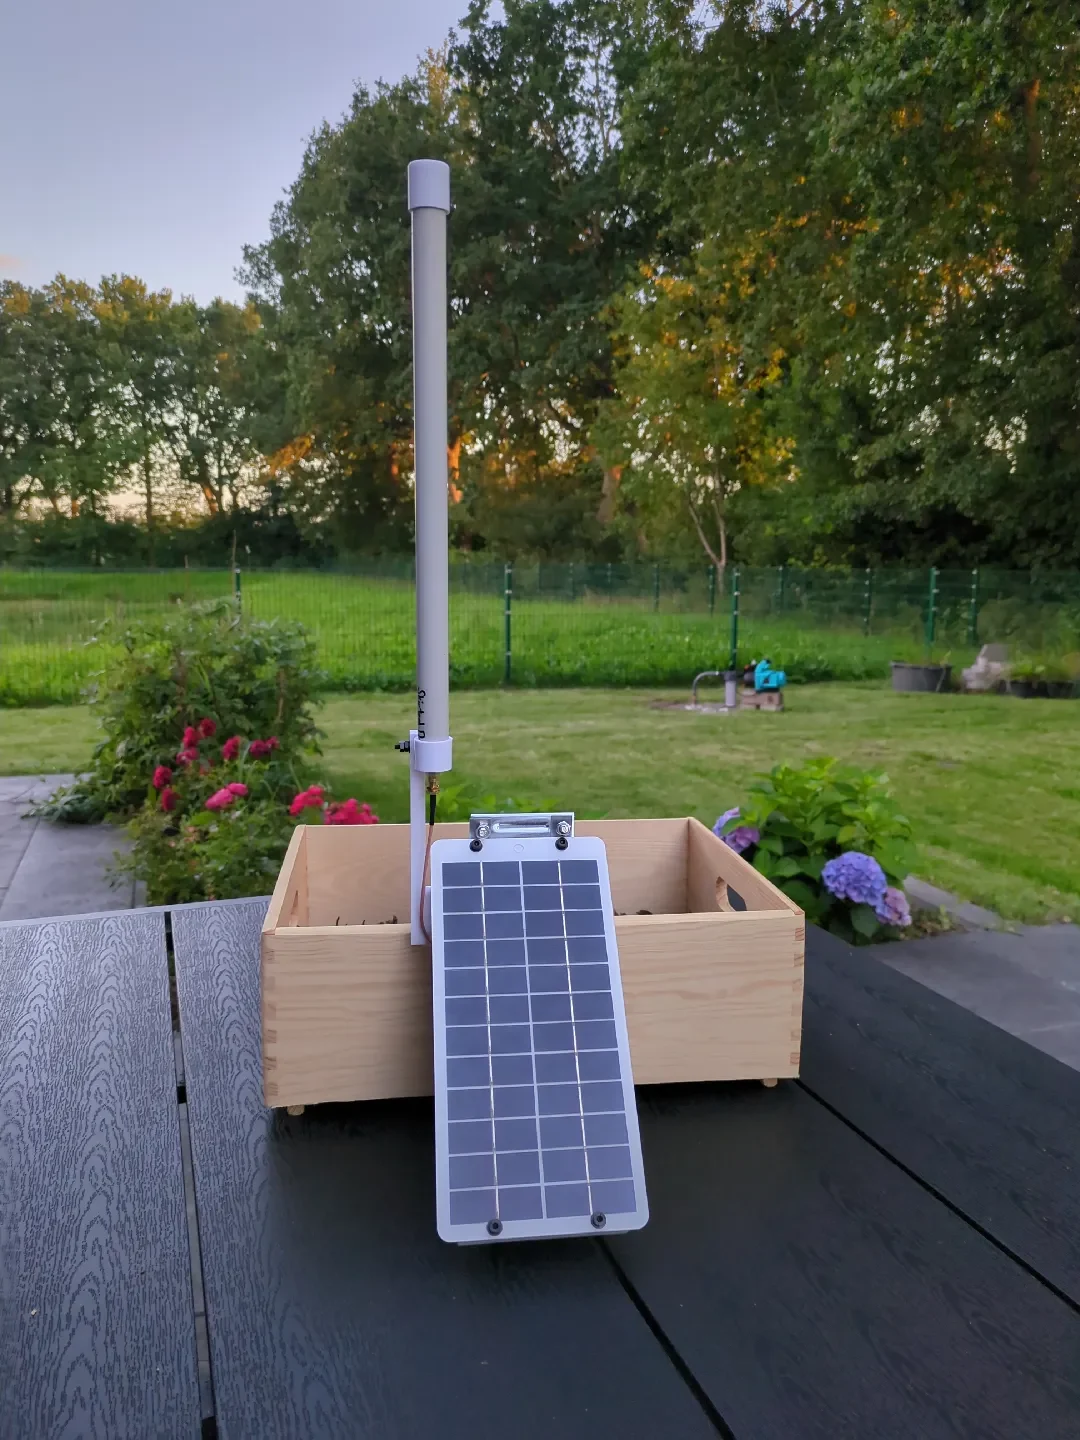
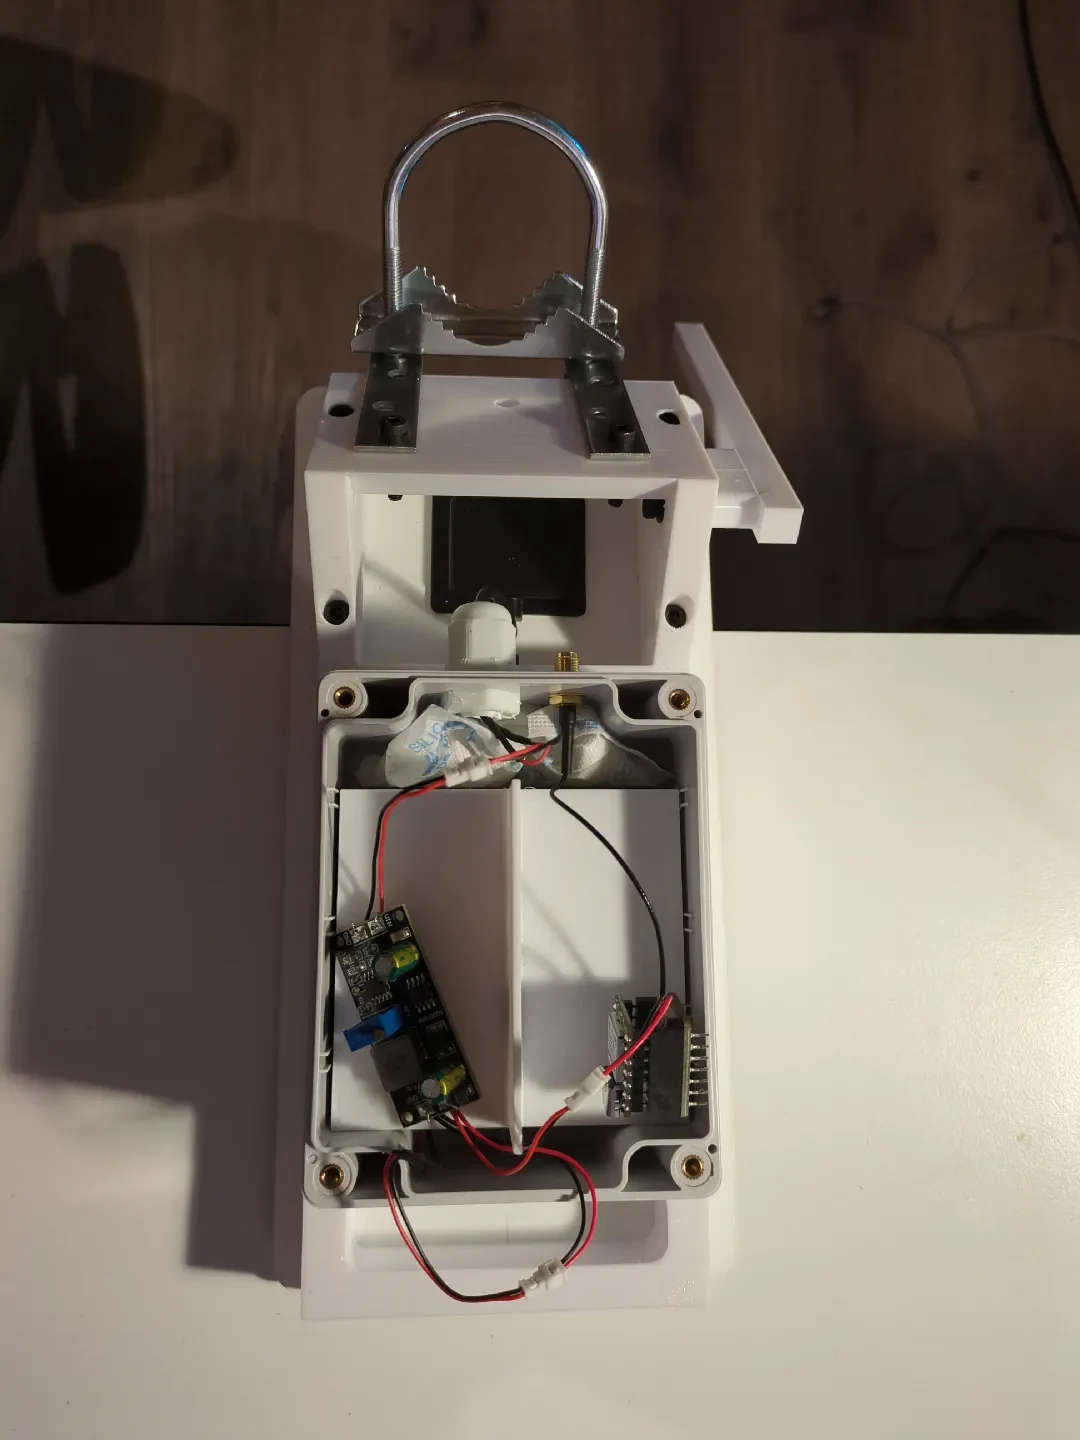
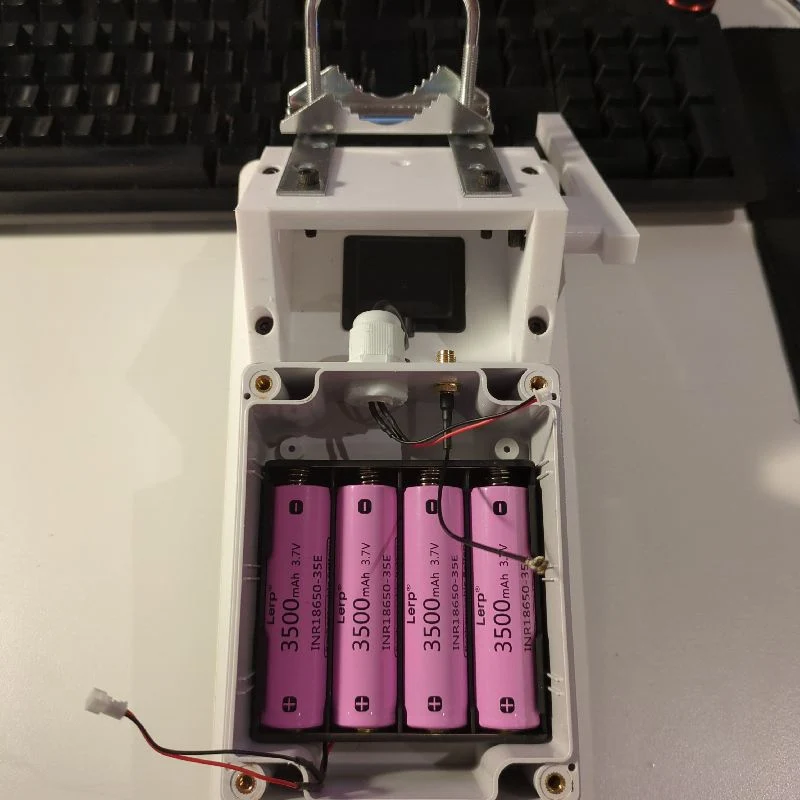
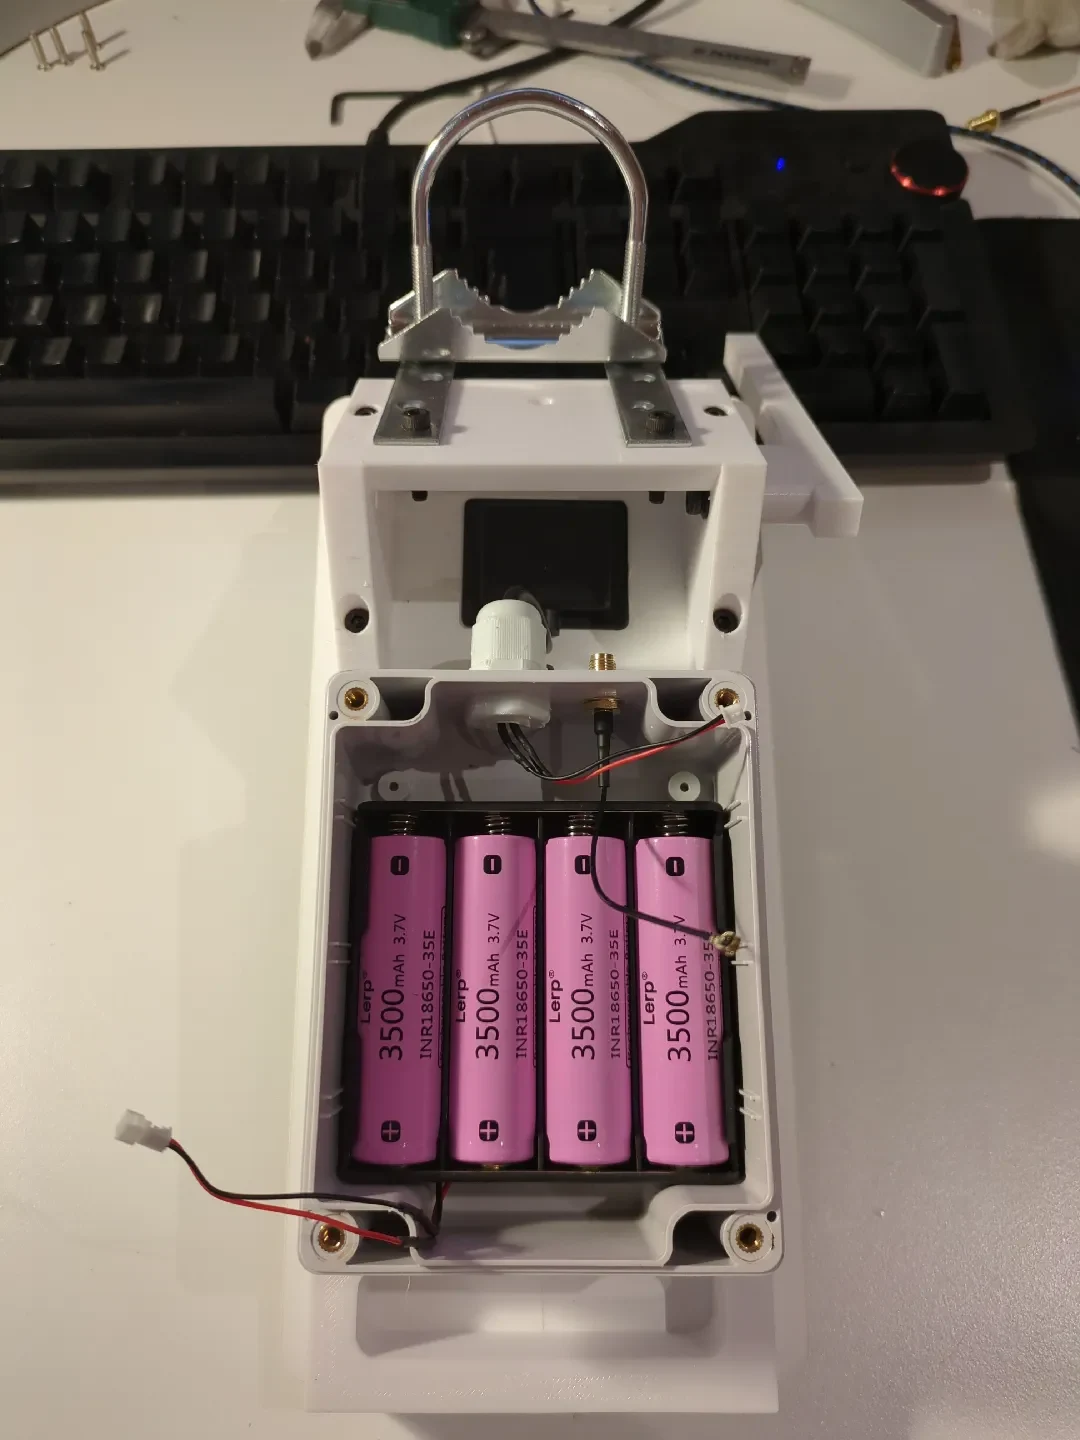
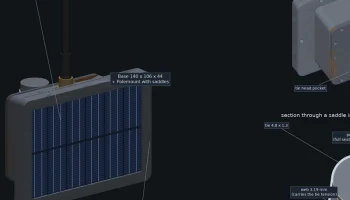
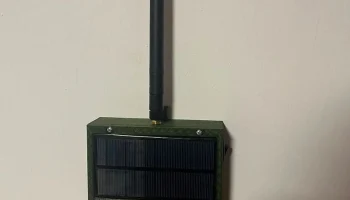
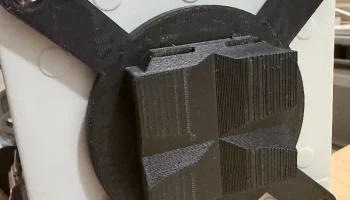
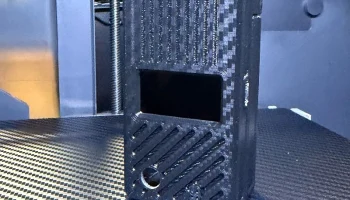
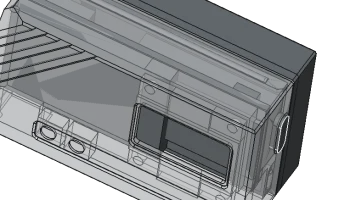
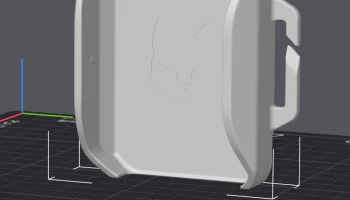
I wanted to have a solar Meshtastic node with 4 Lithium batteries and a 10W solar panel — so this one was the result. It takes some time to print, doesn't look beautiful and uses a lot filament but can withstand strong Northern German winds!
Print everything with PETG and 4 perimeters, insert the 15 brass heat inserts and put everything together like a puzzle :-)
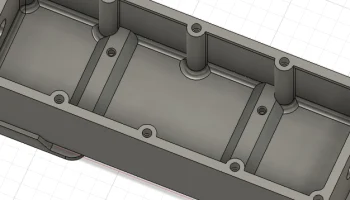
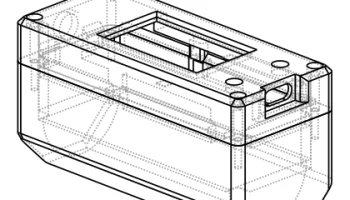
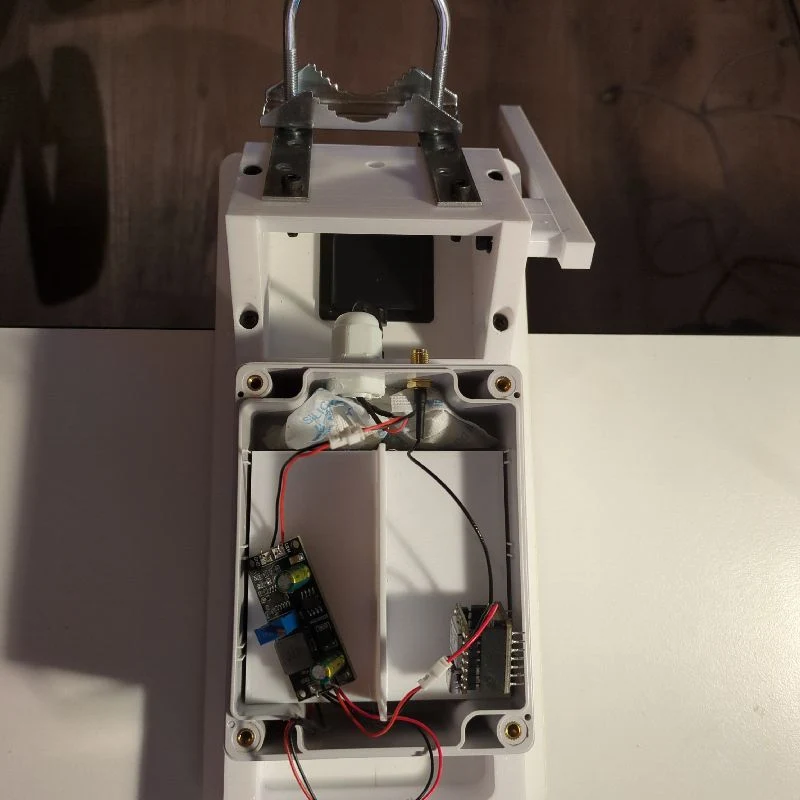
Attach the box first (16mm screws), it connects the two square pieces together. Next attach that triangle shaped part. Attach the antenna holder and the two metal pieces before installing the cables or attaching the solar panel.
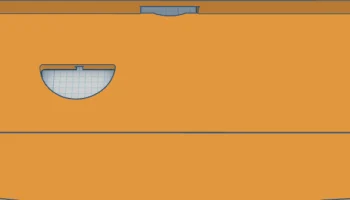
Put the batteries in the box and cover it with that small T-shaped part, it will prevent the meshtastic touch the MPPT board, also it keeps the batteries at place.
That's it if I remember correctly. As I said, not a perfect design but it works well!
Parts needed (AliExpress mostly):
Junction box 115mm x 90mm x 55mm: Link
M12 gland: Link
14 M4 brass heat inserts: Link
15 M4 screws in different sizes, some nuts and maybe a few washers (6mm to 30mm): Link or a set like this
18650 battery case, parallel (for 4 batteries): Link
18650 batteries (LiFePo4 or Li-Ion)
1 U.FL/IPEX to SMA cable, 5cm: Link
MPPT solar charger board: Link
(this one is adjustable to different battery voltages (3.65 V for LiFePo4 or 4.2 V for Li-Ion, use bright sunlight and a multimeter)
Battery undervoltage protection board: Link
10W solar panel: Link
Antenna mast holder: Link
JST 1.25 cables: Link
2 pieces of strong metal, about 10 — 12cm in length for attaching mast holder (hardware store)
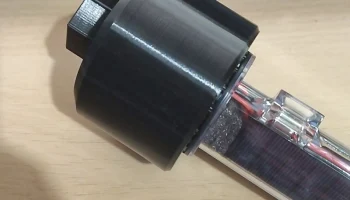
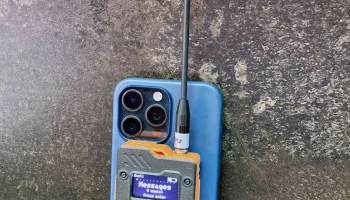
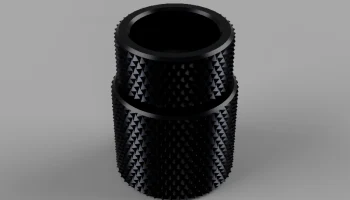
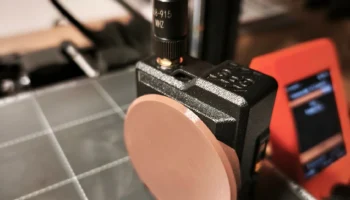
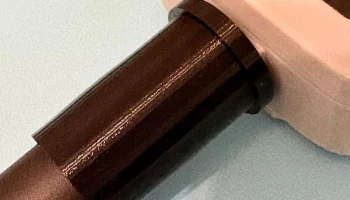
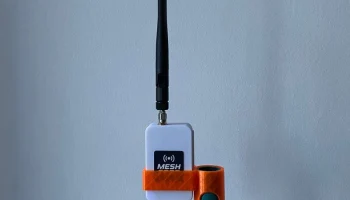
I replaced the ground plane antenna on the first picture with a skirted dipole antenna and used these caps and holders: https://www.printables.com/model/1419413-pvc-conduit-antenna-caps