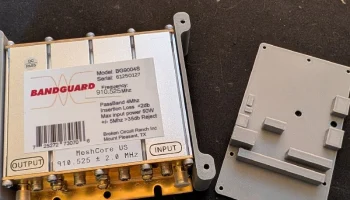
Meshtastic Solar Node for 6w Soshine Panel. (Nevernode S...
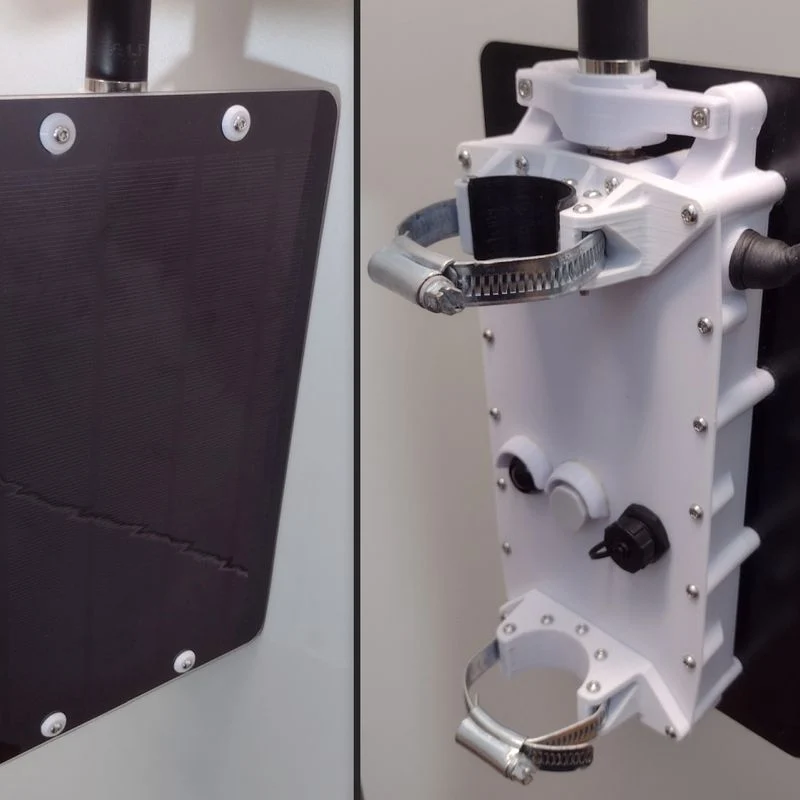
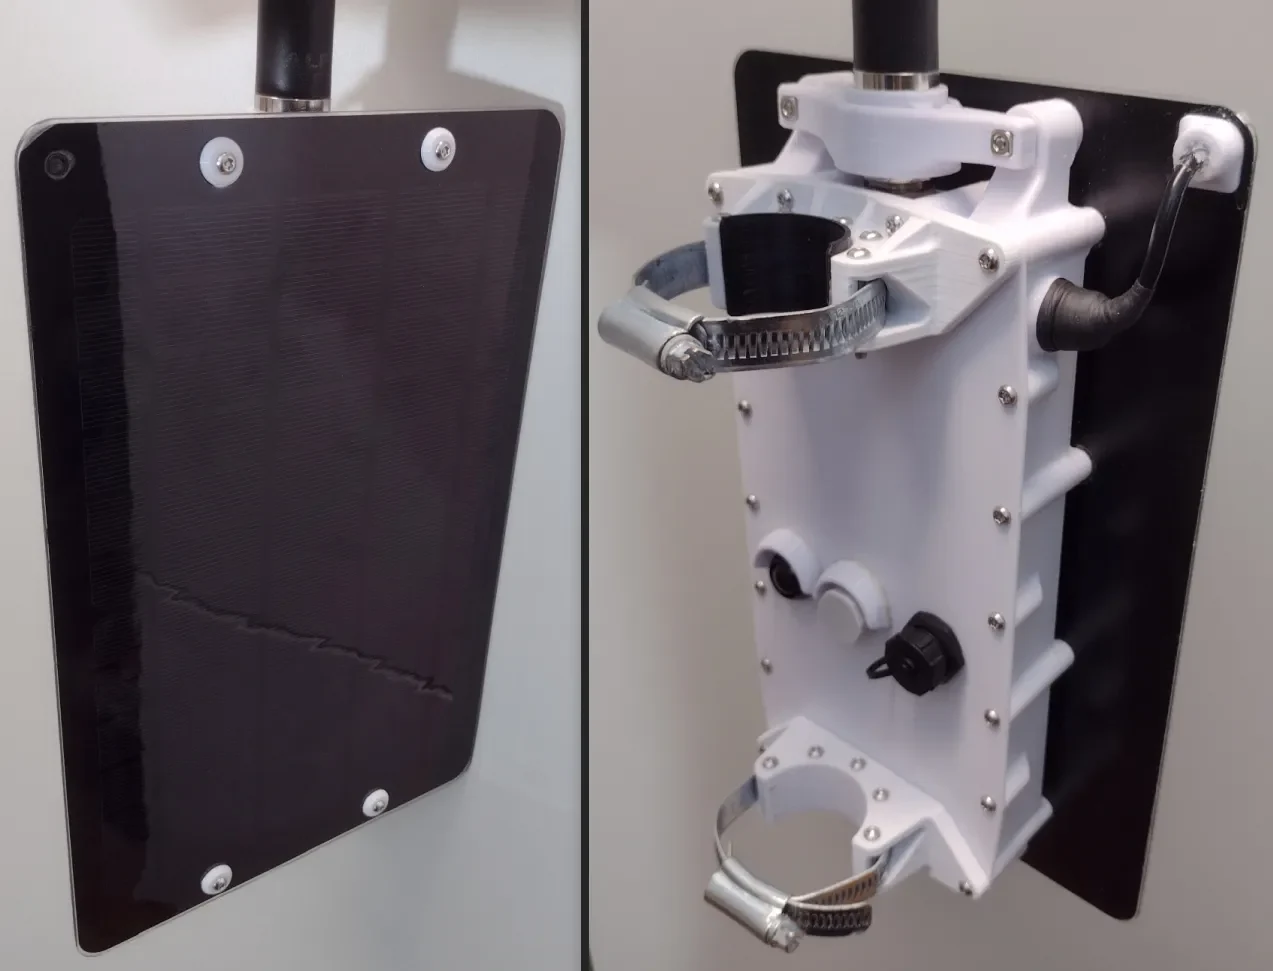
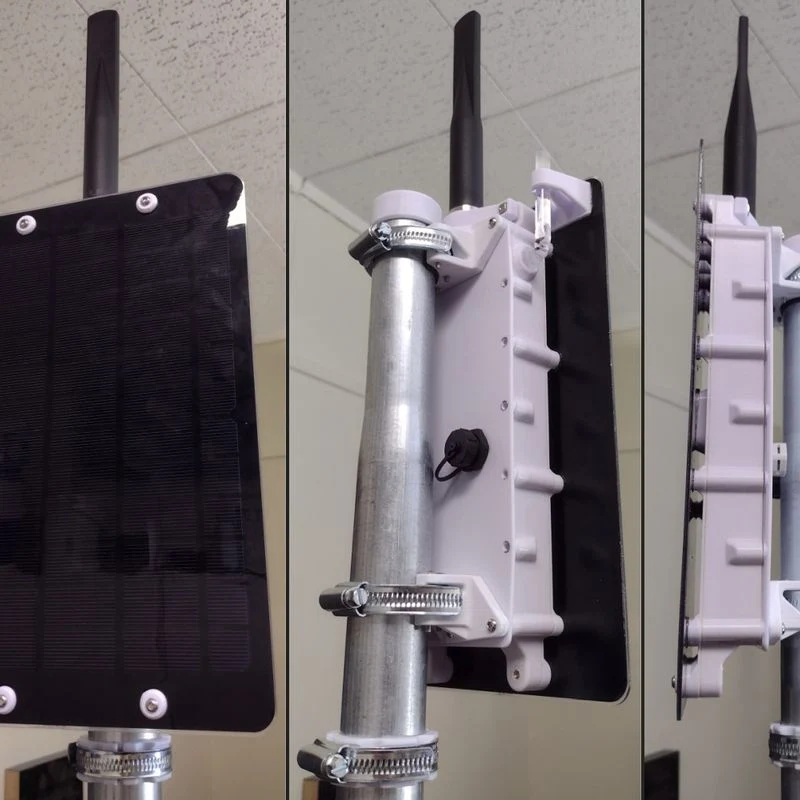
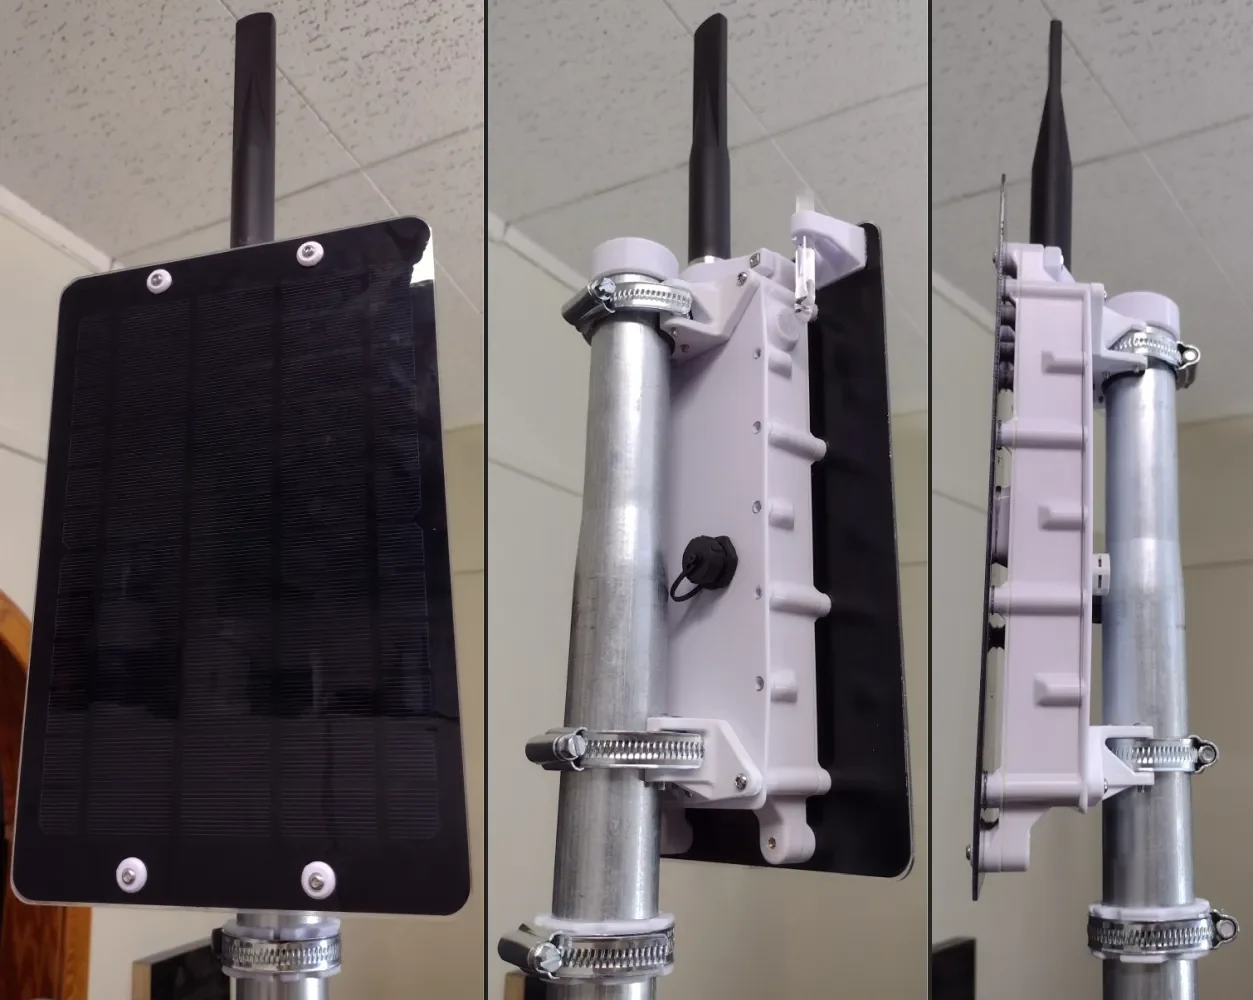
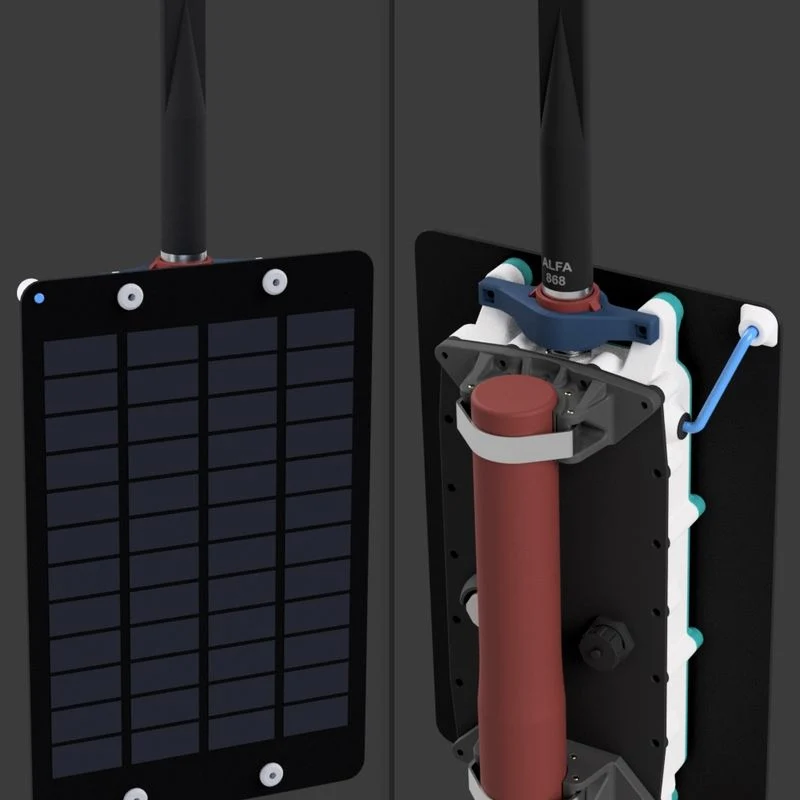
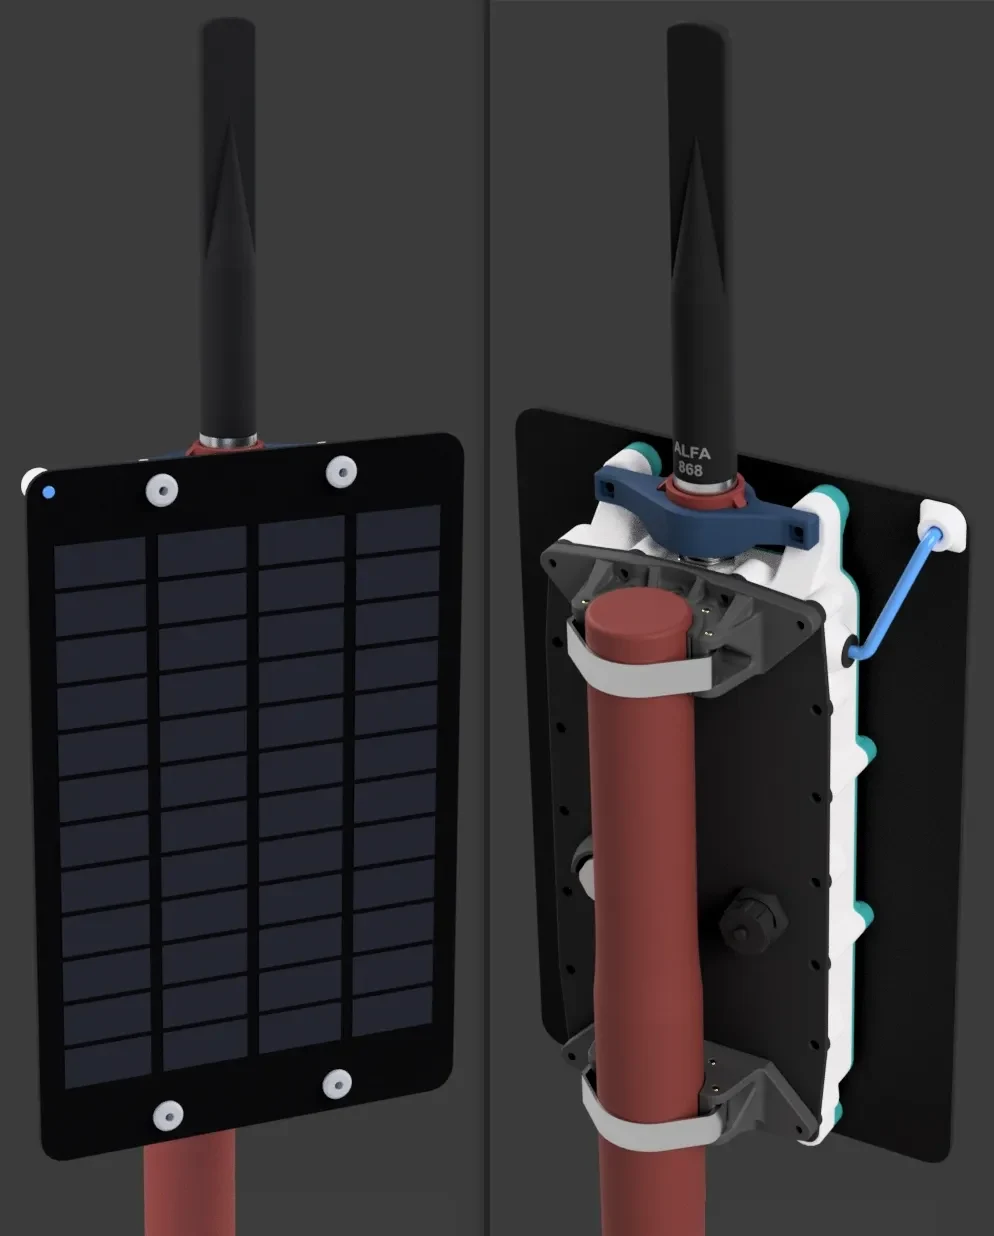
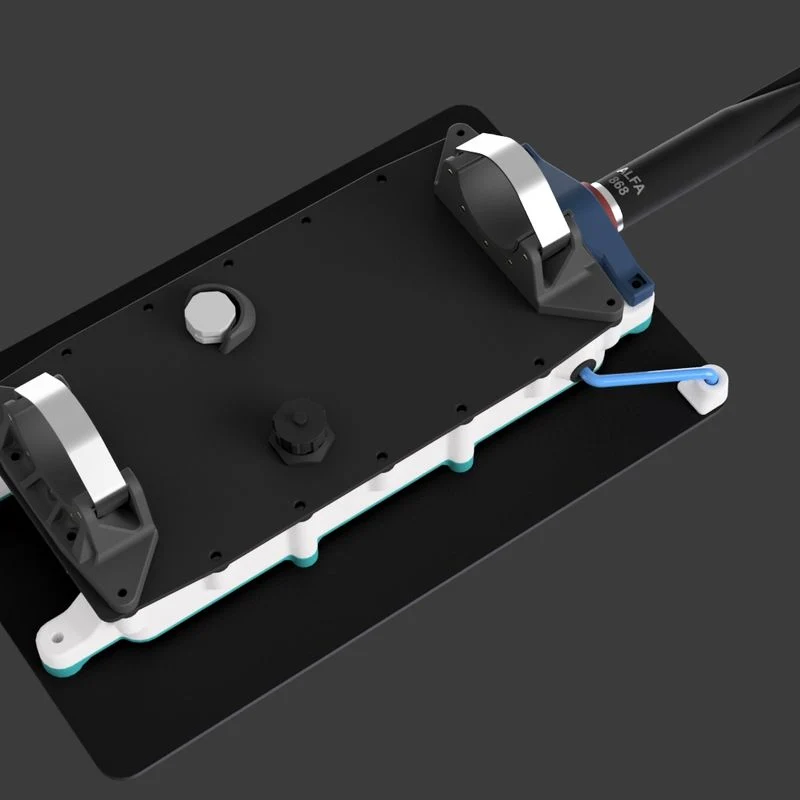
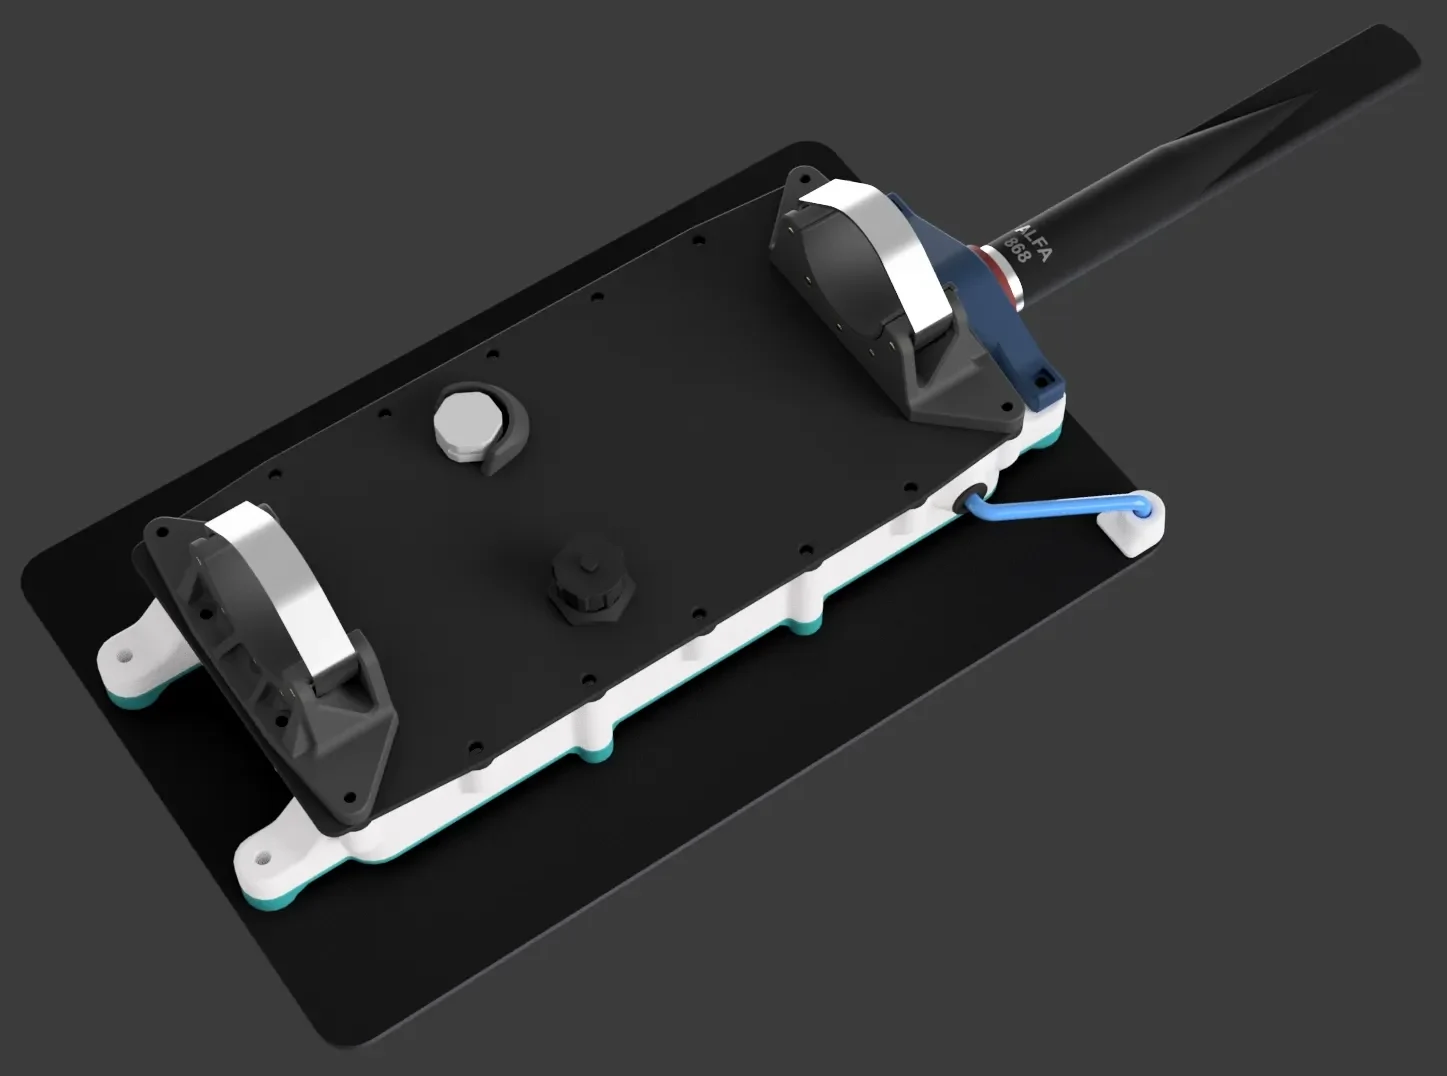
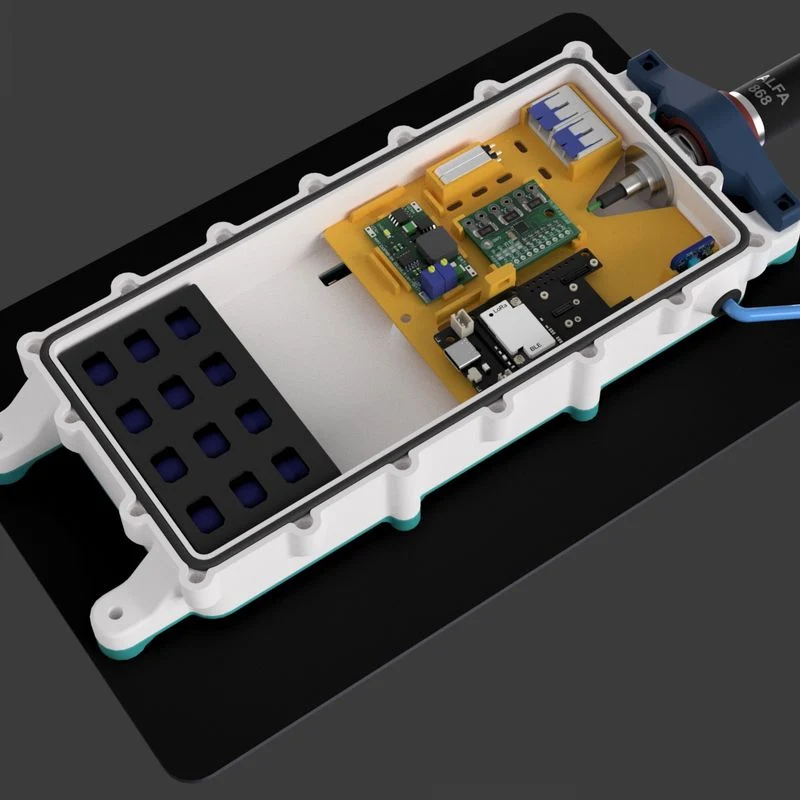
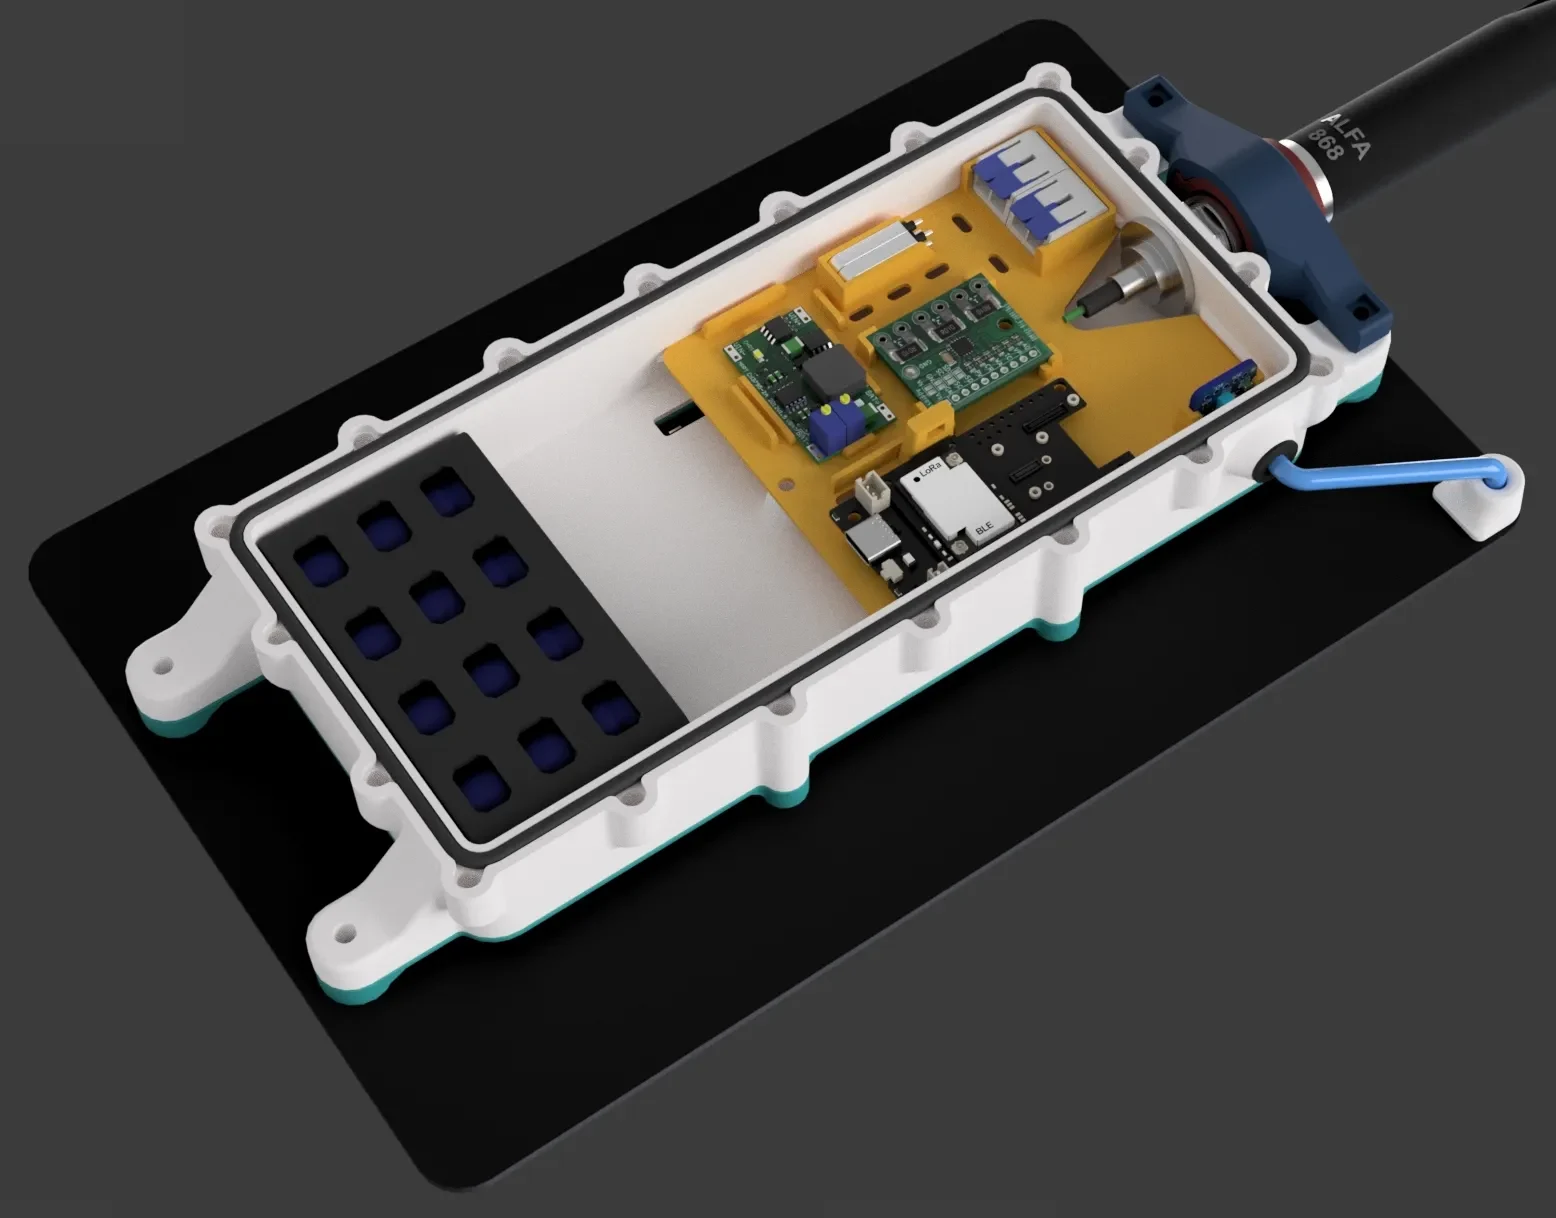
This is a solar enclosure for the Soshine 6w solar panel. It is designed for Meshtastic but can be used for any project that can run on a 6 watt panel (like MeshCore). It will be waterproof if properly sealed.
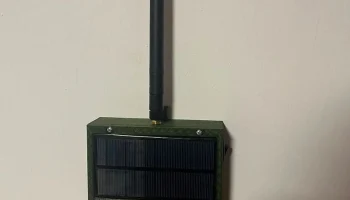
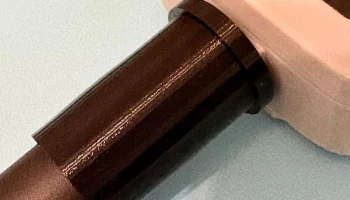
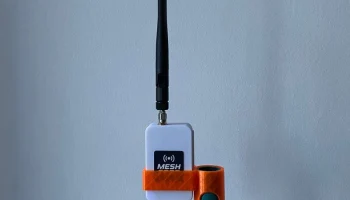
The pole photo is outdated. The 8mm acrylic light-pipe for the light sensor was replaced with a 4mm fiber-optic cable.
Meshtastic is a free open-source, off-grid, decentralized, encrypted communication mesh network that uses the LoRa protocol, which allows you to send text messages and sensor data over very long distances to other people that also has a portable\solar node. Useful if normal communication systems fail or are unavailable for whatever reason (power outage, network overloads, natural disasters, remote locations, cyber attacks, war, etc.)
The current distance record is 331km, but you should not expect this in normal use. These are high altitude mountain nodes. Nodes are heavily dependent on line-of-sight for long range. Range will usually be limited by the distance to the horizon, with clear line-of-sight.
If you're wondering why the panel is vertical, that's because it's designed for Northern climates where panels should be almost vertical in our dark winters. The Soshine panel is so overpowered for this use, it does not need any tilt. It should also keep the panel cleaner.
All-in-one enclosure. No external cables.
Waterproof. Tested underwater for 15 hours.
Everything is PETG for me. ASA should be even better, if you can print it well.
Air-gapped system where the enclosure is not in direct contact with the panel (less heat transfer).
Fully adjustable MPPT setpoint and charge voltage, making it multi-chemistry.
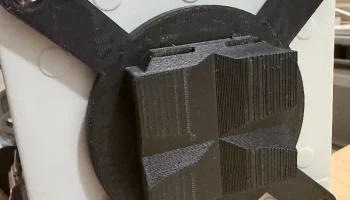
Mounts are for a 38mm\1.5" pole, with a 35mm optional reducer.
Should only be in repeater\router mode if it's placed at high altitudes, like a mountain.
The holes on the panel should be checked to make sure the enclosure fits. Soshine could change it.
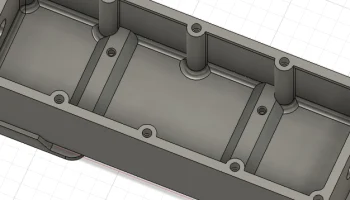
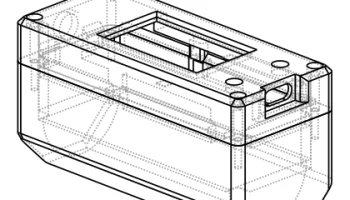
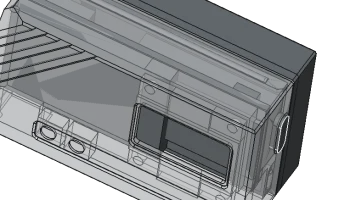
Enclosure is 110x265x37mm externally. 87x192x26.5mm Internally.
71.8x249.8mm panel hole distance, center to center.
Optional light sensor.
Probably forgot something.
¿ ¿ ¿
The license is currently restricted on this because the .step files might be put on the store, and I don't think I can have conflicting licenses.
Links:
RAK Starter Kit (868 Europe. 915 US).
CN3795 MPPT Solar Controller (eBay).
Soshine 6w Solar Panel (Ali), (Amazon).
N-Type Connector (eBay).
ALFA Antenna (eBay US), Amazon (915), ALFA store (Latvia, International). (Beware of fake ALFAS)
USB Connector 1 (eBay), Connector 2 (Ali).
3mm Silicone Foam Seal (eBay).
INA3221 Current\Voltage board (Tindie).
VEML7700 Light Sensor (eBay), (Ali). To track the sun.
3mm (4mm outer) Fiber-Optic cable for the light sensor (eBay).
12mm wide galvanized pipe-clamp (stainless might be too stiff).
Screws M3: 12x 20mm (8 pass through mounts, 4 for panel), and 10x 15mm for the rest of the lid.
1x 8mm max, for systemplate.
10x 22mm min, for mount reinforcement.
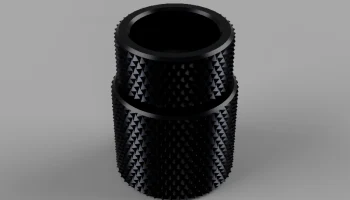
Note: Newer Soshine panels apparently come with a box on the back that has a threaded insert. This box may be harder to remove if the lid is fused shut. I would check if the store still can do custom orders without this box attached, to make it far less likely to break the panel connectors.
------------------------------------------------------------------------------------------------------------------------
Home Assistant:
It's possible to get data from the nodes into HA in a couple ways. I'm using the manual MQTT method described on the Meshtastic website. You need to manually configure some stuff in the YAML config file. There is anther way I'm not familiar with too. I'm not going into detail on HA, as it's out of scope for this.
You can get statistics on the solar panel, battery, temperature, humidity, light, and other supported sensors. The yellow voltage line is the solar panel. You can see the MPPT function active when it clamps the voltage down to around 6v during charging, then it releases.
------------------------------------------------------------------------------------------------------------------------
Battery Notes:
Some of these batteries might need a step-up converter to get the voltage higher for the RAK. If you are placing repeaters in remote areas I would pick one of the safer options to minimize fire risk, like LFP, LTO or sodium. If using regular lithium, at least use new big brands like Samsung, Sony, LG or similar, not some fake HouseFire9900mAh sand filled garbage from eBay (yes, they do that).
There are a few different types of batteries available for use in this, since it uses an MPPT with adjustable charge voltage:
Neither the MPPT board or RAK has any battery protection, so this should be added separately.
Regular lithium
Cheap, available everywhere, should ideally not be charged below freezing, but people claim it should be fine with low current. Buy big brands only. Could cause fires in very rare cases. I would use this as a last resort i think.
LFP\LiFePo4
A little harder to get, but still available in 18650\21700 sizes. Safer, tolerant to abuse and unlikely to burn like a flamethrower, like lithium. It tends to just swell and get hot. A bit lower voltage. Most should probably try this option. HAKADI sells these.
LTO\ Lithium titanate
Claims to be good in freezing temperatures. Safest supposedly. Lowest voltage. Expensive. Limited sizes. Hard to get. Needs voltage boosting to work with Meshtastic controllers. HAKADI sells these.
Sodium ion maybe?
Not much info on this. My 1500mAh 18650's can be charged to 4v. Apparently very safe. One of the few batteries stated to be chargeable below freezing. HAKADI sells these.
CDA 4v 1100F Lithium Hybrid Supercapacitors (LIB1840Q4R0118):
Somewhat expensive. Lower energy. Experimental tech. Not much info on them in world use.
The supercap hybrids are pretty rare tech so there's not much data on their use. They are a combination of a lithium battery and a supercapacitor (EDLC). They claim -40 to +65C operating temperatures, higher safety and a WAY higher cycle-life, but should be considered experimental. The energy available is nowhere near a battery, but you get the other claimed benefits. My 4-pack pictured lasts for 12 days but there is no mesh here, so not much transmission load. Available on Digikey, AliExpress. I use these in my test node, charged to 3.9v. No issues so far
Edit: The 4v 4400F pack failed to stay charged in Norway's November (no sun), so these would be very expensive to use in winter, when you might need like 15-20 of them..
Some info links for supercaps here: Nichicon, Wikipedia, Eaton, Avnet, Julian Ilet (YT), Keon's Lab (YT).
------------------------------------------------------------------------------------------------------------------------
Parts Needed:
RAK Meshtastic Starter Kit:
-
A basic starter board for Meshtastic. Do not power this on without the antennas connected, or you might fry the radio.
I connect power to the «C26» pins behind the reset switch. It's the same as the battery connector.
-
RAK has a wide selection of sensors that fit in the various slots on the board. Convenient but more expensive than standalone sensors. I use the RAK temp\humidity sensor, and the RTC to keep time for the mesh. The VEML7700 light sensor is standalone, but still connect to the I2C pins also used by the INA board.
Noname CN3795 or Liuger BQ24650:
-
MPPT solar controllers with fully adjustable setpoint and output voltage. I would go with the CN. The Liuger is a weird design and seems to need a diode to prevent backflow, and is more expensive. The cheaper one is all over eBay.
-
The Liuger controller can be found on Ali, by searching BQ24650.
-
Getting the MPPT setpoint for maximum panel efficiency might be tricky if you don't have an adjustable power-supply. Also need a multimeter if you want a really precise setpoint while measuring the pin voltage. The chip datasheet explains that.
With adjustable power, I set the voltage to 5.9v and turned the MPPT pot (a lot) until it output power. Then adjust the output voltage to whatever (disconnected) battery you have. I would keep the voltage somewhat lower, like 4v for a 4.2v battery for longer life and potential pot drift.
-
There is something strange about these controllers though. They don't seem to terminate the charging at all, but keeps supplying current even in the single digits forever. It does not go over the set voltage, so doesn't seem dangerous, just weird and maybe bad for batteries long-term. A normal charger would end the charge when the current goes below a threshold, and then kick back in when voltage falls down a bit. These do not for some reason. Maybe the cost of having them adjustable?
-
According to ChatGPT this is normal behavior for these modules, but it does not recommend having this float-charge at full voltage. This voltage should be limited a bit anyway, to greatly expand the battery life.
ALFA 5dBi Antenna:
-
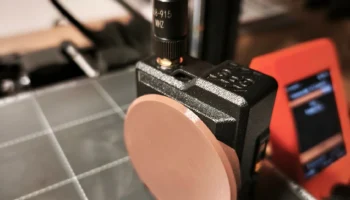
A very common antenna for Meshtastic use. 868Mhz for Europe, 915Mhz for US.
-
The black sleeve on these was not well attached for me. It can be twisted off really easy. I ripped all 4 of mine off on purpose and re-glued it with something stronger. Might break in a storm otherwise. Could maybe use vulcanizing tape on the joint instead, or glue a sleeve over it.
N-Type Connector:
-
These are waterproof outdoor rated connectors.
N-Type female to IPEX. 23mm diameter max. 16mm hole is in the frame.
Note the needed flat sides on the thread.
Battery holder:
-
A battery holder of some sort. This is for 21700 batteries. Node can fit up to 4x 21700, but it could interfere with connectors on the lid. I would use 3x max to have some space left. This will still give you months of use with no sun.
INA3221 Current\Voltage Sensor:
-
This is a 3-channel current and voltage sensor from a UK store on Tindie. It's smaller and has no LED's, so it uses less power than the standard board people use, but is more expensive (cheaper if you buy more). You can get the cheaper, bigger board, but there is no mount for it, and there is a risk you will get the older one without fully isolated channels, which is a known problem.
Ch:1 is for the battery. Ch:2 is for the solar panel. Ch:3 Is not used in mine.
Sensor data can be sent across the mesh.
Power telemetry needs to be turned on.
The SD pad needs to be bridged to give the correct I2C address for discovery.
Resistors need to be the standard 0.100ohm to show correct values.
VEML7700 Lux Sensor:
-
A simple light sensor that connects to the I2C pins on the RAK, like the INA board. Should show up by itself, as long as the telemetry data is turned on.
Sensor data can be sent across the mesh.
Wago 221 Quick Connectors:
-
2x dual connectors that makes it quick to remove the systemplate from the unit.
You can also use the blue type, which is cheaper. Works just fine. Very similar in size.
Threaded Heat Inserts:
-
M3x6mm threaded inserts are used for the lid, panel screws, and systemplate. They are inserted using a hot soldering iron. 23 in total.
-
CNC Kitchen sells them, if you want a faster source. They also sell soldering tips designed for heat inserts.
Enclosure Vent:
-
These are waterproof enclosure air vents. Lets air through, but not water. Not sure how necessary these are. Mine uses the 10mm hole.
Waterproof Power Switch:
-
In my case it's used to disconnect the battery only. Solar panel is still connected to the MPPT.
To be sure it's actually waterproof you might need to buy from a reliable source like Digikey, not eBay.
67-WG48-2-RM-N-BK-B-ND is the one I got. It's a 7$ switch, but is properly IP67 rated. Since it's on the back it will be exposed to rain, so it should be waterproof.
Fiber Optic Cable:
-
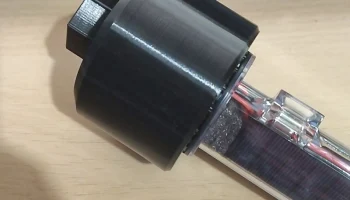
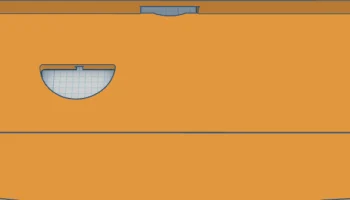
This is used as a light guide for the light sensor. Fiber I ordered was 4mm, but 4.5 in reality. Hole in the frame and panel mount is 5mm.
-
It goes right through a hole you drill in the corner of the solar panel. Drill at your own risk though. Last picture shows a see-through of some Soshine panels. One is opaque so manufacturing seems to change sometimes.
-
Corner should be fine to drill through but you could make a mount that makes the fiber poke over the panel instead.
Can be attached with ms-polymer or silicone.
Silicone Foam Strip:
-
3mm silicone foam strip for sealing the lid. Ends should be cut with a 45 degree taper that overlap each other. Found on eBay. Smells bad. Might have weird dust on it, so it should be washed
Temperature Switch (KSD9700):
-
Might not be needed but adds additional safety to prevent the batteries from charging over and under certain temperatures. Depends on the battery used.
I used:
50C, 5A Metal NC — cuts panel over 50C.
0C, 5A Metal NO — cuts panel below freezing.
Soshine 6w solar panel:
-
A good and commonly used panel used by the Meshtastic community.
This needs some work done to it since the box on the back has to be removed. This can be tricky because it's filled with glue that can be hard to remove, and the leads from the panel are very fragile.
The easiest way is to ask the Soshine AliExpress store for a custom order where they dont put anything inside the box. I ordered 4 panels this way, which I think was 42$ + VAT. Then it's very easy to pop off. They were kind of hard to communicate with though.
USB Type-C Connectors:
-
Waterproof USB-C panel connectors for updating the firmware without opening the unit. Can also charge batteries this way, but keep in mind that the RAK outputs 4.2v to the battery connector (and the C26 pins I use), which is not compatible with lower voltage batteries.
-
If a switch is used on the battery like I have, you can disconnect it while updating.
RAK boards supports Bluetooth updates as well, but it's good to have this option.
-
Might need a reed switch on the RAK's reset pin for USB updates, since you need to double-press it to put the device in DFU mode for updating. A reed switch can be used with a magnet outside the wall for that, so you don't need to take the lid off.
-----------------------------------------------------------------------------------------------------------------------
Printed Parts:
Enclosure Box:
-
This needs to be printed completely solid to ensure waterproofing. Can have thick layers (think I used 0.32). Should be white to stay cool in the sun. Should be clear spray-painted after the airgap plate is attached to increase waterproofing and UV resistance.
Distance between panel mounting holes are 249.8mm and 71.8mm.
Dimensions on the enclosure are 265x110mm.
Enough perimeters to make the wall solid. Think I used 7, with a 0.6mm nozzle.
Should have a high perimeter to infill overlap. Usually it's only around 20%. I would use 50-70%. This makes it more waterproof, since it gets rid of the small pinholes near the walls.
Airgap Plate:
-
Should have a high perimeter to infill overlap.
This is technically optional but should be used. It will prevent a lot of heat transferring into the case, which is bad for batteries. It was tested in a heatwave where the temperature outside was 35°C, and the inside was 43°C. This is well below common battery rated operational temps (50-60°C). I would expect much higher temps inside without this plate, maybe 70-80°C.
For even more heat resistance you could add a thin layer of cork between this plate and enclosure.
This should be fully covered with silicone or ms-polymer on the mating surface to the enclosure. You do not want water to go between the plate and enclosure.
Neutral-cure (non-corrosive) silicone or ms-polymer should fill the inside the area where the panel leads are. This is the most important area to seal well. This can be done after the plate has been attached to the enclosure.
You can also fix the smaller pillars to the panel, to make it stiffer.
Enclosure Lid:
-
Prints solid. Should be white to stay cool in the sun. Should be clear spray-painted to increase waterproofing and UV resistance.
Surface pressing against the seal should be very nice and flat. Should have a high perimeter to infill overlap.
Systemplate:
-
It's the removable plate holding all the electronics. Technically optional. You could just cram stuff in.
Prints solid. Nothing special with this. Can be remixed if you use other hardware.
-
There is 8mm of space underneath it, and about 16.5mm to the lid above.
There is a bracket where the LoRa antenna wire goes through, to keep it stable.
-
Consider this plate to be outside the model license. Not sure if you can link remixes to a model with my current license, but you can post custom plates in the comments instead.
I'm guessing I can do it this way. If I can't, then I will split this into it's own model.
Pole Mounts (38mm\1.5"):
Prints solid. Do not print the surface facing the lid down. Should be white to stay cool in the sun.
-
Pipe clamps are galvanized steel, 12mm wide. Stainless might be very stiff.
Can be glued to the lid to make it even stronger.
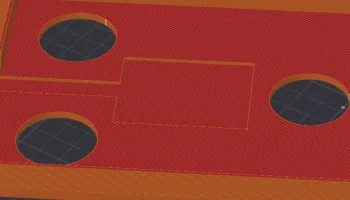
Has capped holes so circles are not printed in the air. Needs to be drilled out after.
Do not use just one mount. It would be easy to break just one, and they also press the lid against the seal.
-
Needs 5x M3 25mm galvanized or stainless screws that goes through the mount. The purpose of this is to redistribute the load from the clamps through the whole model, so it's not just the layer-bonding holding it. The plastic has to be ripped apart to break this. I snapped a steel band tightening this too hard, so it's pretty strong. The weak points are the small screws going to the enclosure.
35mm Inlay:
-
Just a reducer for the 38mm pole that steps it down to 35mm. This is for the extendable mast (24-070) they sell in the Scandinavian stores «Biltema». It tapers on the top.
Antenna Reinforcer:
-
This is experimental and optional for the ALFA antenna. It can be used to remove some of the load on the enclosure wall in high winds. Prints solid.
Also works as a mild theft protection if the inner sleeve is glued to the antenna. It is keyed, so it can't rotate without taking the bracket off, which locks the antenna in place. Not that useful if someone steals the whole node..
I attached this using M3 security torx screws.
Fiber Optic Panel Mount:
-
Small part that holds the 4mm fiber optic cable for the light sensor. Hole is 5mm.
Rain Shield:
-
Small part that can be used to give some extra protection for vent and switches on the back lid. Keeps them a bit cleaner. It's siliconed to the lid.