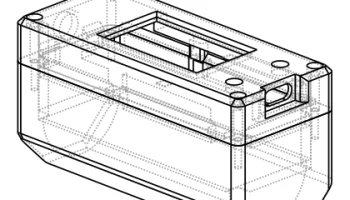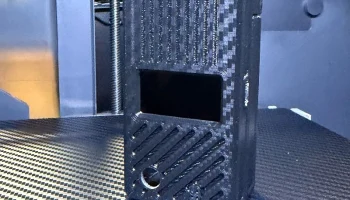
Enclosure case for T-Beam v1.1 with CardKB
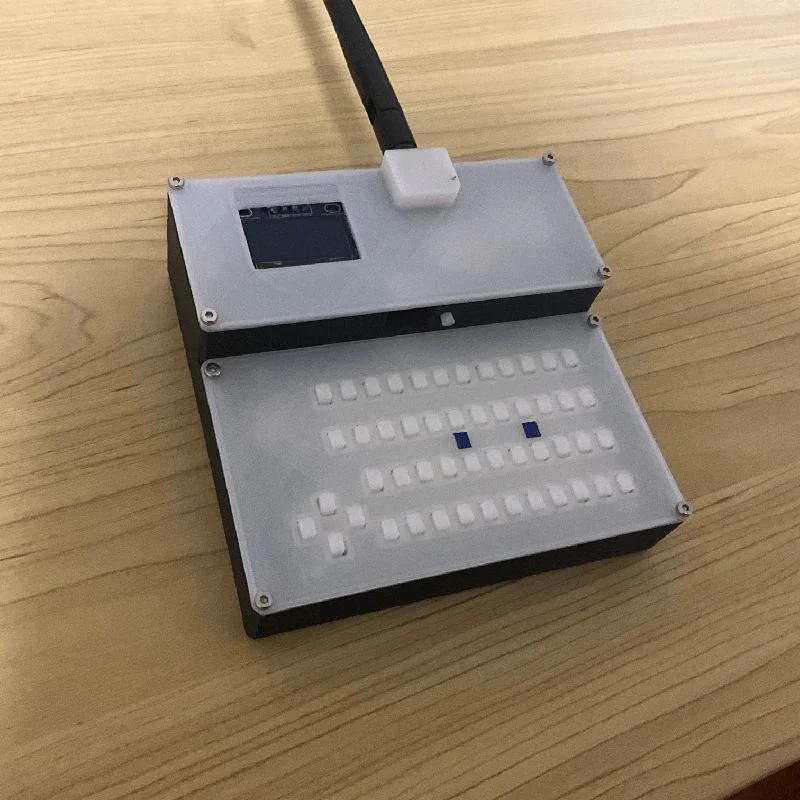
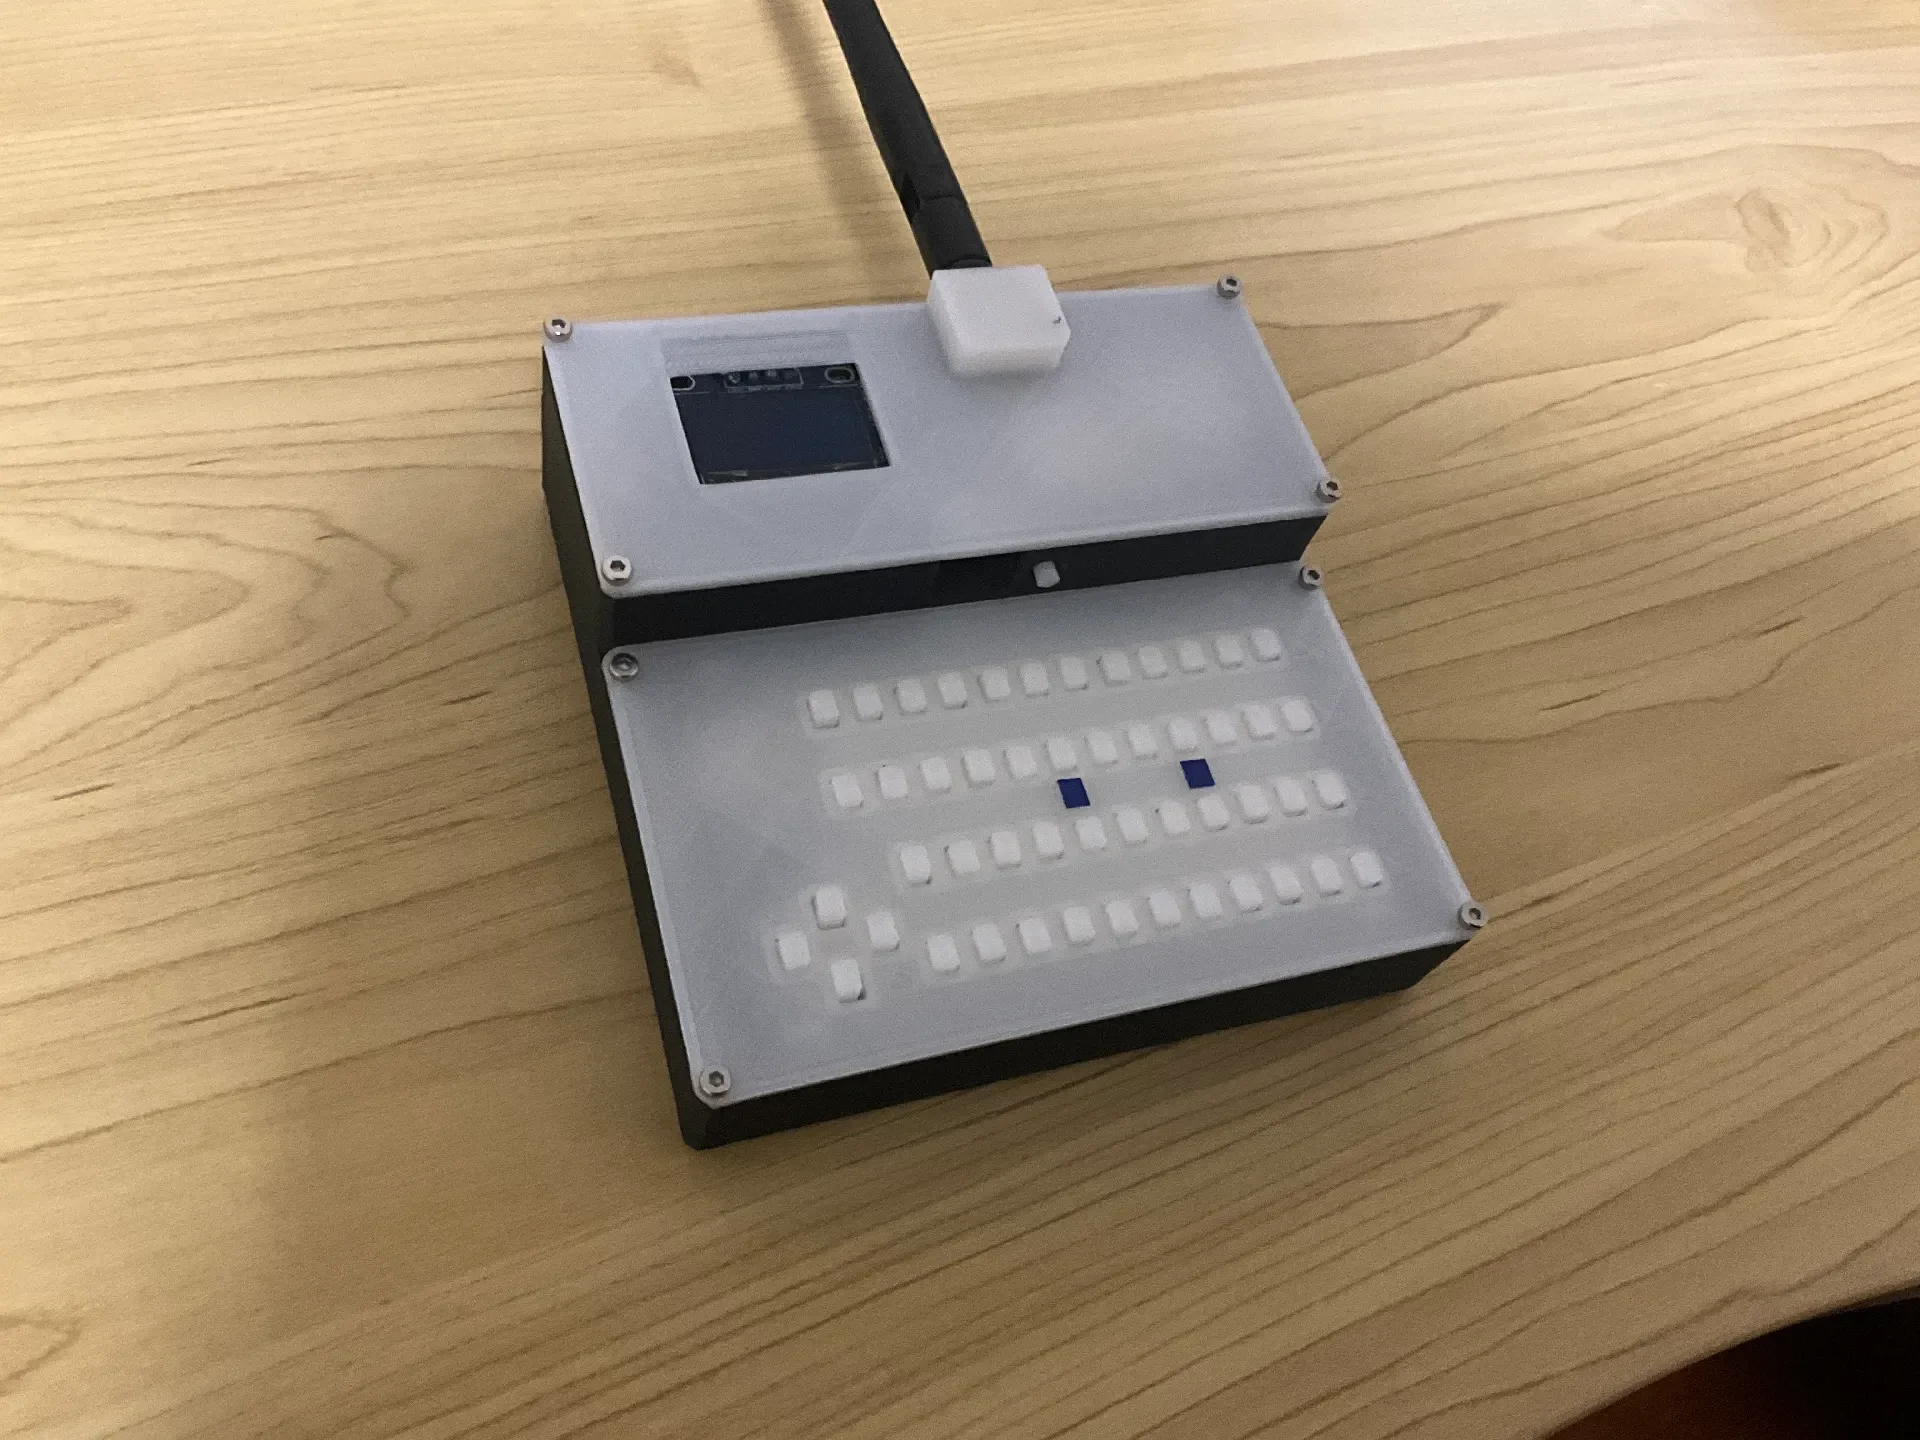
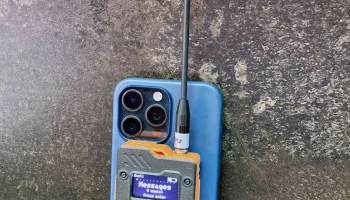
This is an enclosure/case for a lilygo t-beam v1.1 that includes the cardkb. (maybe the t-beam v1.2 would work as well, but I don't have one to test it)
How to print
Print all the files using any layer height you want (except the keys)
Print TBEAM_CARDKB_SCREEN_COVER with supports.
Print TBEAM_CARDKB_KEYS with 0.2 layer height.
Print TBEAM_CARDKB_KEYBOARD_COVER with the flat side down.
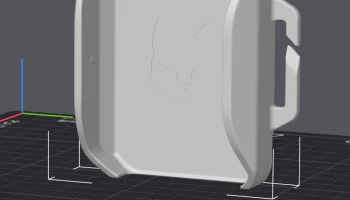
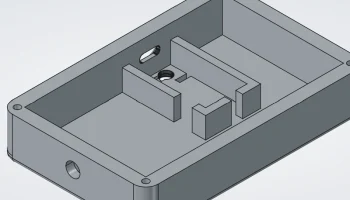
Print TBEAM_CARDKB_CASE with the big flat side down, and without supports.
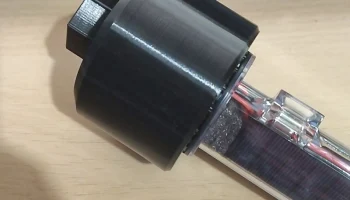
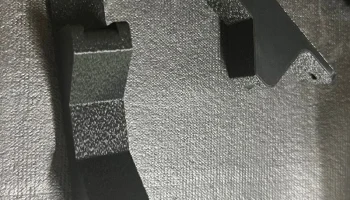
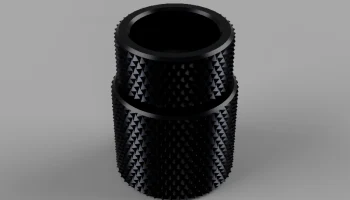
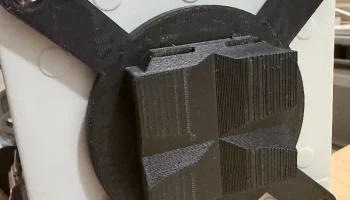
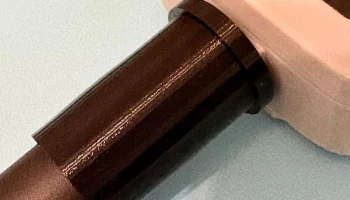
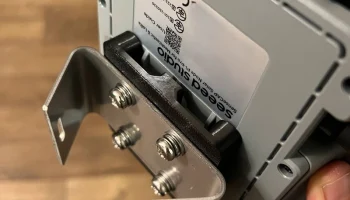
TBEAM_CARDKB_POWER_BUTTON is difficult to print. I personally printed it upside down, with the big part on the top supported by supports, because printing it right side up would cause the thin bit to turn into a blob of plastic. If you just can't print it, use an m3 nut and bolt instead (shown below) and it should do the trick. Just make sure you secure the nut to the bolt using some adhesive so they don't unscrew.
Non-printed parts
You will need:
LILYGO T-Beam v1.1 (the v1.2 might work, but I don't have one to test it)
M5STACK CardKB with I2C
12 m2 screws (any should work fine as long as they aren't too long)
1 m3 screw and 1 m3 nut (you only need these if you cannot print TBEAM_CARDKB_POWER_BUTTON)
Soldering equipment (needed if your cardkb isn't already soldered to your t-beam)
Screwdriver or something to tighten your m2 screws
Double-sided tape
How to assemble
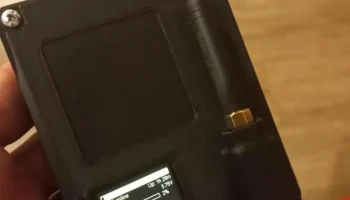
Make sure your cardkb and screen are soldered correctly onto the t-beam. The red wire should be connected to 3v3, the black wire to ground, the white wire to 22 and the yellow wire to 21. The screen should take up the same four pins as the cardkb (make sure to solder the screen BEFORE the cardkb). You should preferably solder the cardkb to the bottom side of the t-beam, unlike mine, but it still works if you do it on top of the screen (you just need to snip the headers until it fits in the cover)
Take an m2 screw and screw it all the way in and all the way out of every hole on the base, the keyboard cover and the screen cover. This cuts threads into all the holes so you can easily fasten screws later.
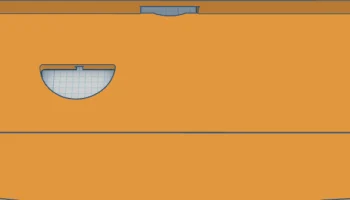
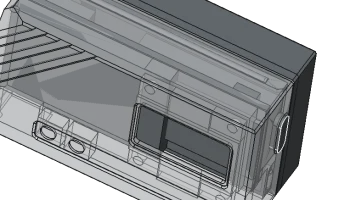
Insert the power button into the hole shown:
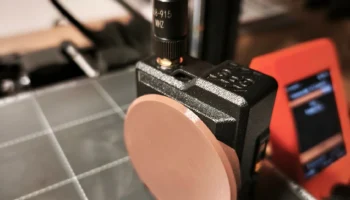
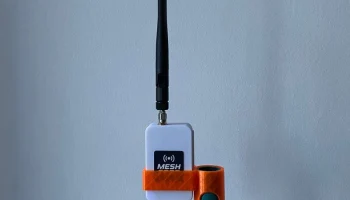
Apply double sided tape onto the GPS antenna and stick it into the spot shown (you can also put more tape around it to fix it more securely):
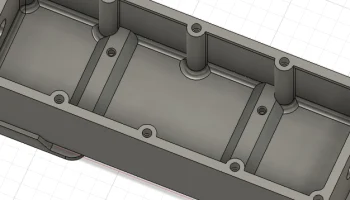
Unplug the cardkb from its wires and put the wires through the triangular hole. Then, you can seat the t-beam nicely on the four pillars. Make sure that the power button is still in the hole and that pressing the plastic button presses the actual power button. Now, screw m2 screws into the four corners of the t-beam to secure it in place.
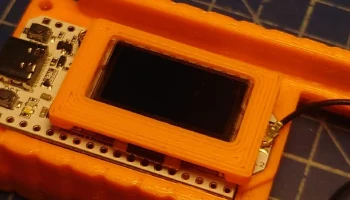
Screw the screen cover on. Make sure the screen's header pins fit into the cover.
Plug the cardkb into the wires and seat it on the five pillars.
Put all of the keys into the keyboard cover. The keys should be in the same configuration as when you printed them. If you have already mixed them up, don't worry. The ones on the bottom row have one shorter side on the t-shape and the shorter side should point towards the bottom. The arrow keys have both sides shorter. It should work fine as long as the t-shaped parts don't make friction contact with any other part. I HAVE CHANGED THE KEYS SO THEY ARE CONNECTED. THIS MAKES IT MUCH EASIER TO PUT THEM IN, JUST MAKE SURE THEY ARE NOT INTERFERING WITH ANY OTHER PART.
Now, flip the base over and carefully place the keyboard cover onto the base. This is kind of hard as you have to keep the cardkb from falling out of the base while making sure the keys don't fall out from the keyboard cover. If you are having trouble with the cardkb falling out, tape the cardkb to the base. Lastly, screw the keyboard cover onto the base using the four corners, and you're done. You may want to add some labels above the keys too.
Additional info
In order to use the cardkb with meshtastic, you have to enable the canned messages module through the app. Set «enabled» to ON and «configuration presets» to «M5 stack cardkb / RAK keypad».
Use the arrow keys to cycle through the menus.
To send a message, start typing on the cardkb. To change the recipient of the message, press tab to select the field you want to change, then use the arrow keys to change it.
Escape = cancel message
FN + G = toggle gps
FN + B = toggle bluetooth
FN + M = toggle notifications
FN + R = reboot
FN + S = shutdown
FN + Space = send ping