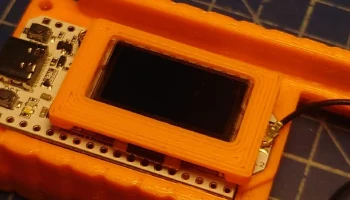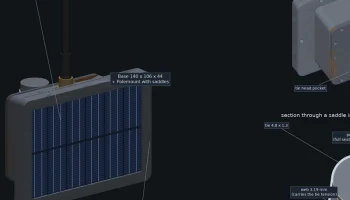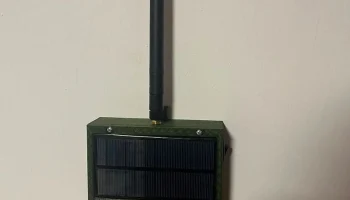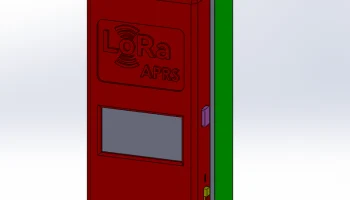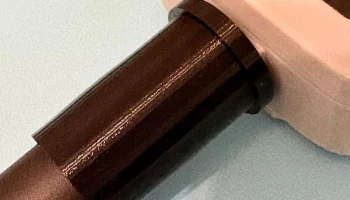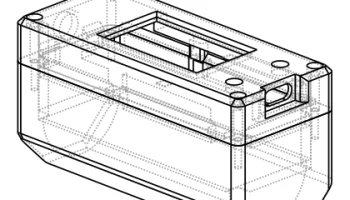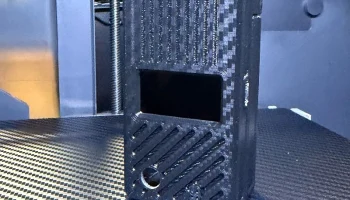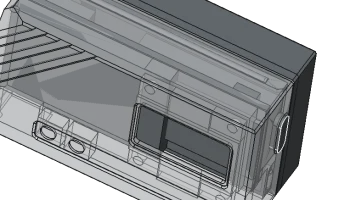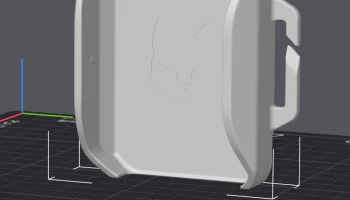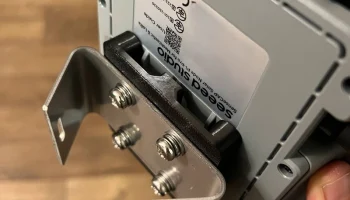
Faketec V4 case outdoor solar node
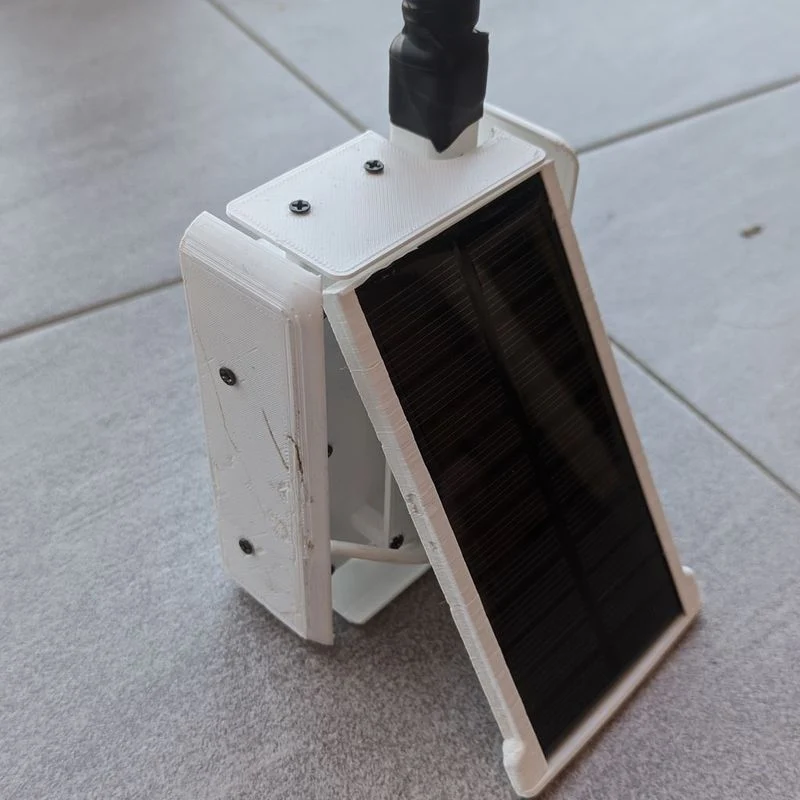
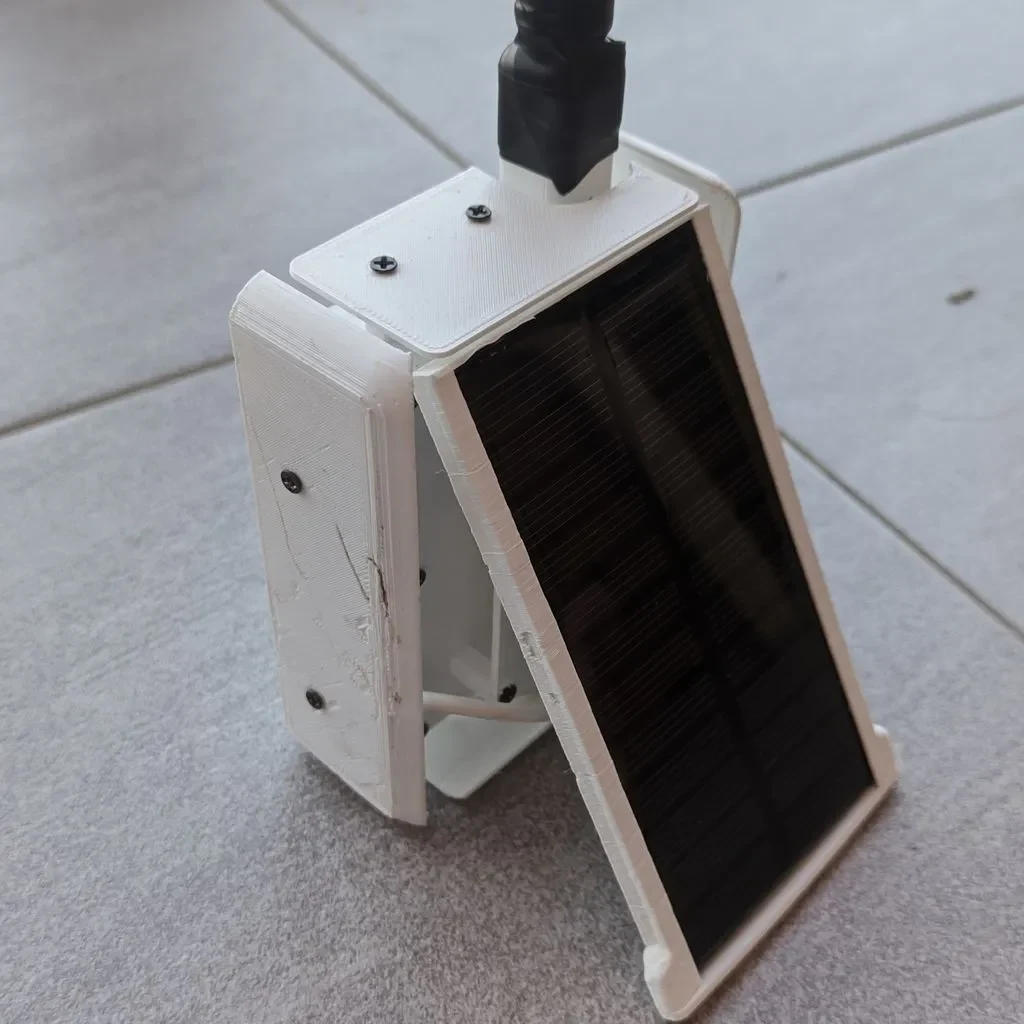
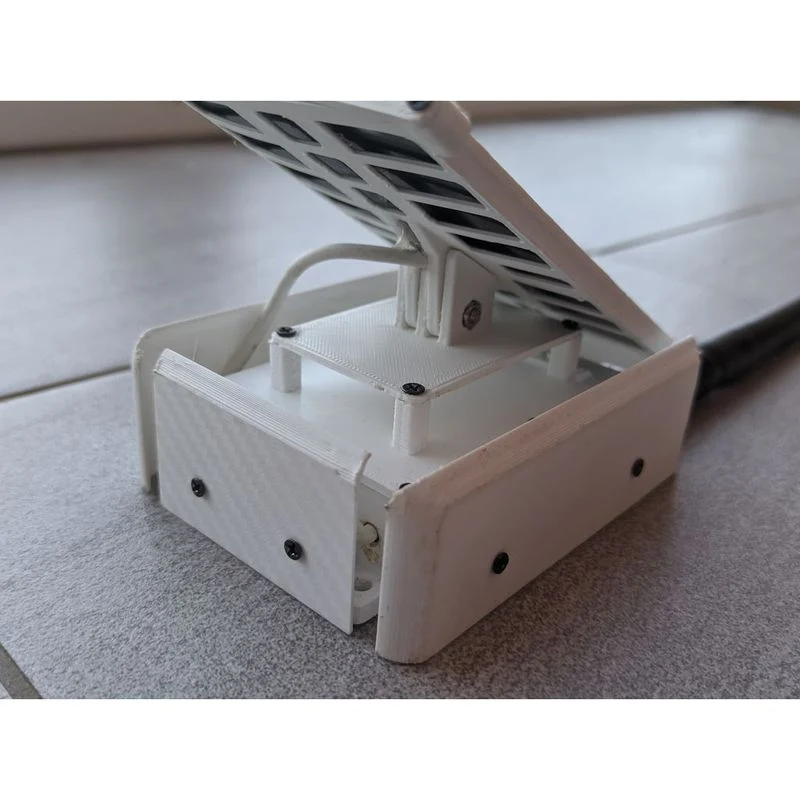
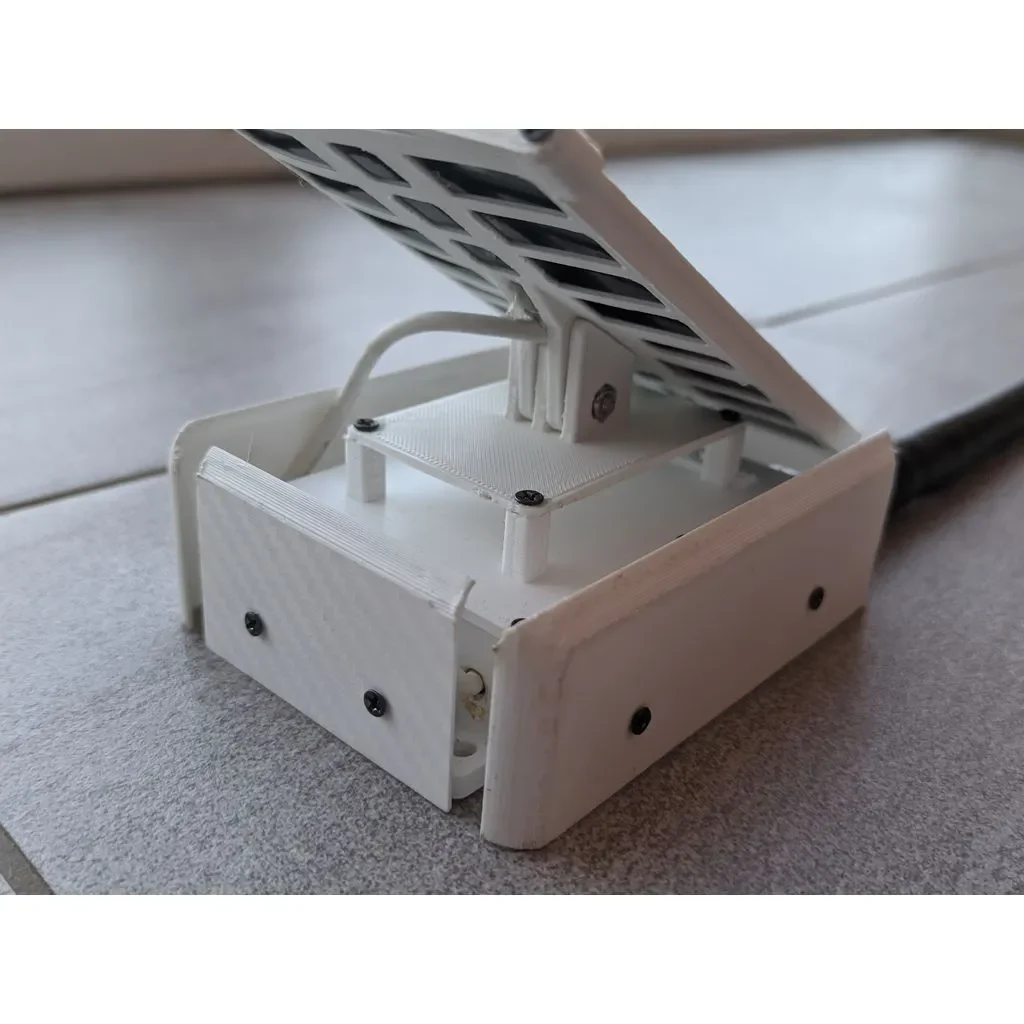
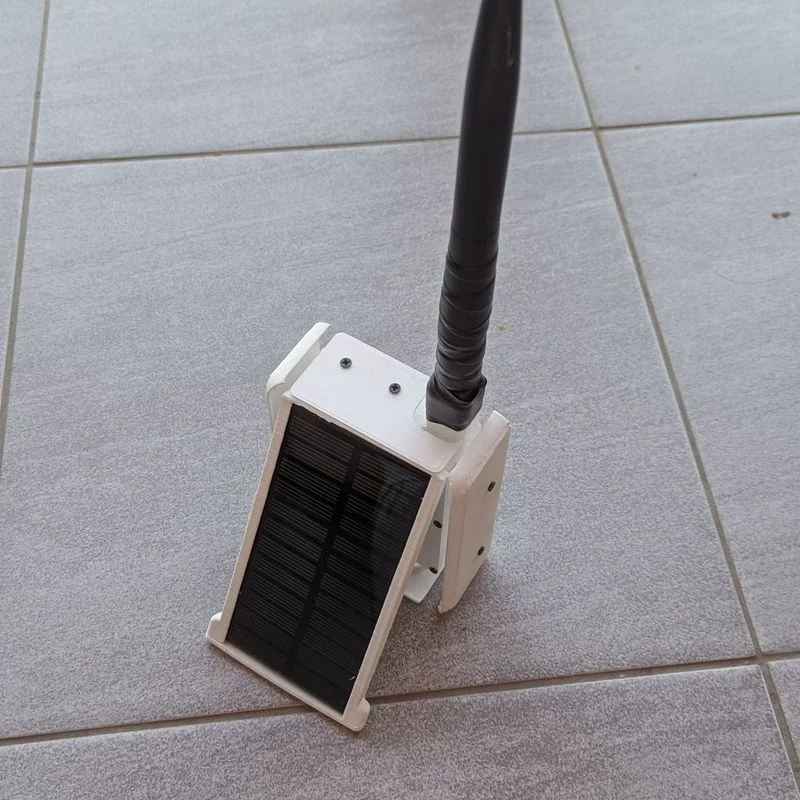
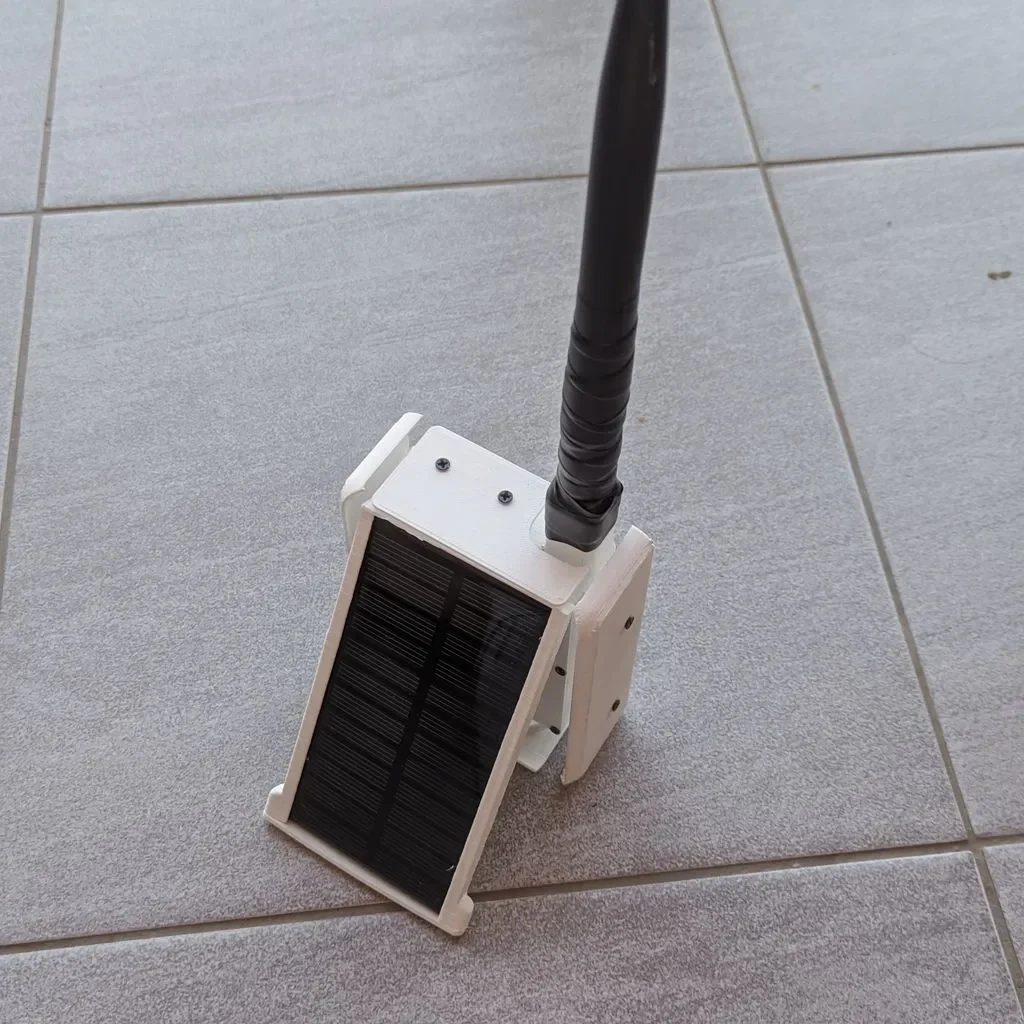
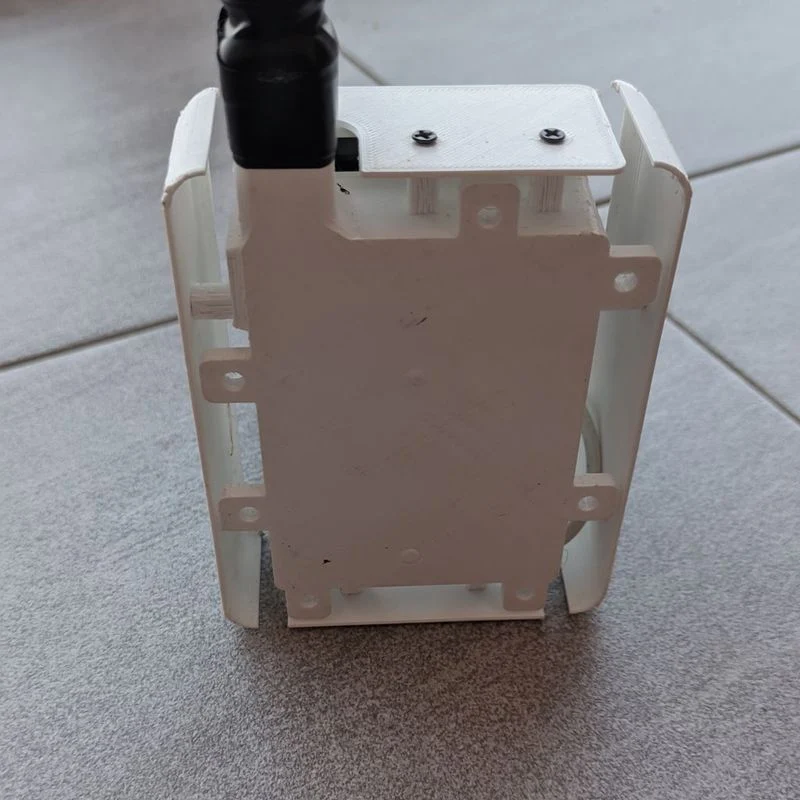
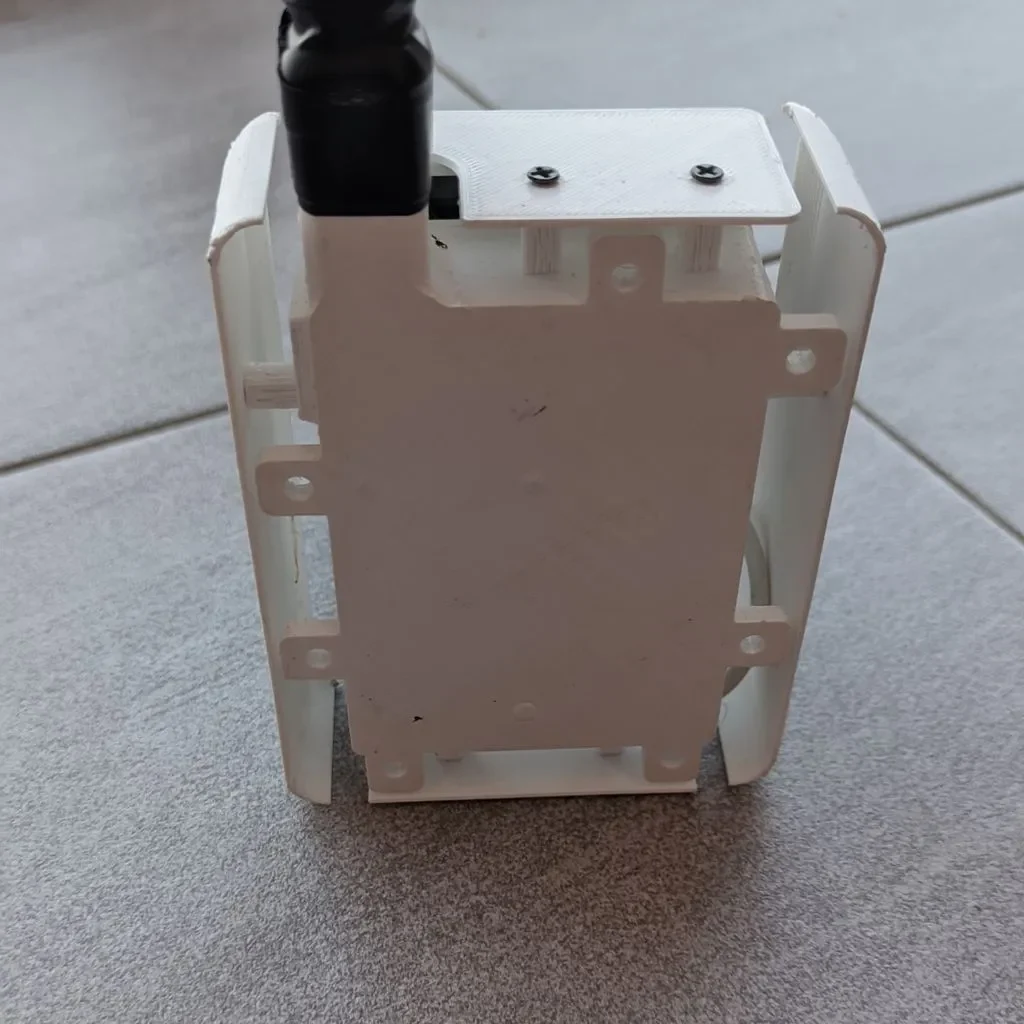
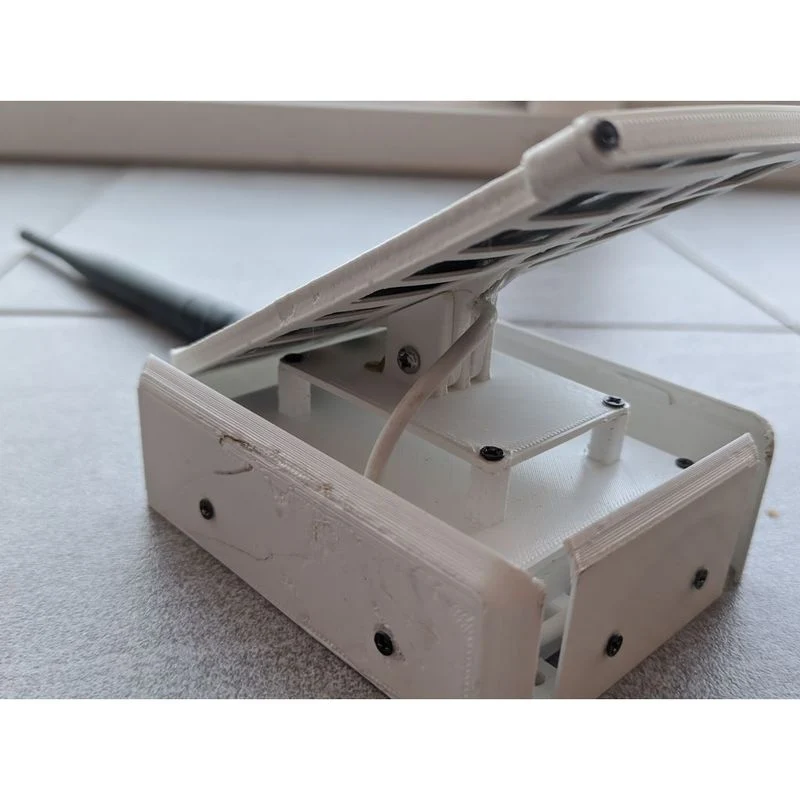
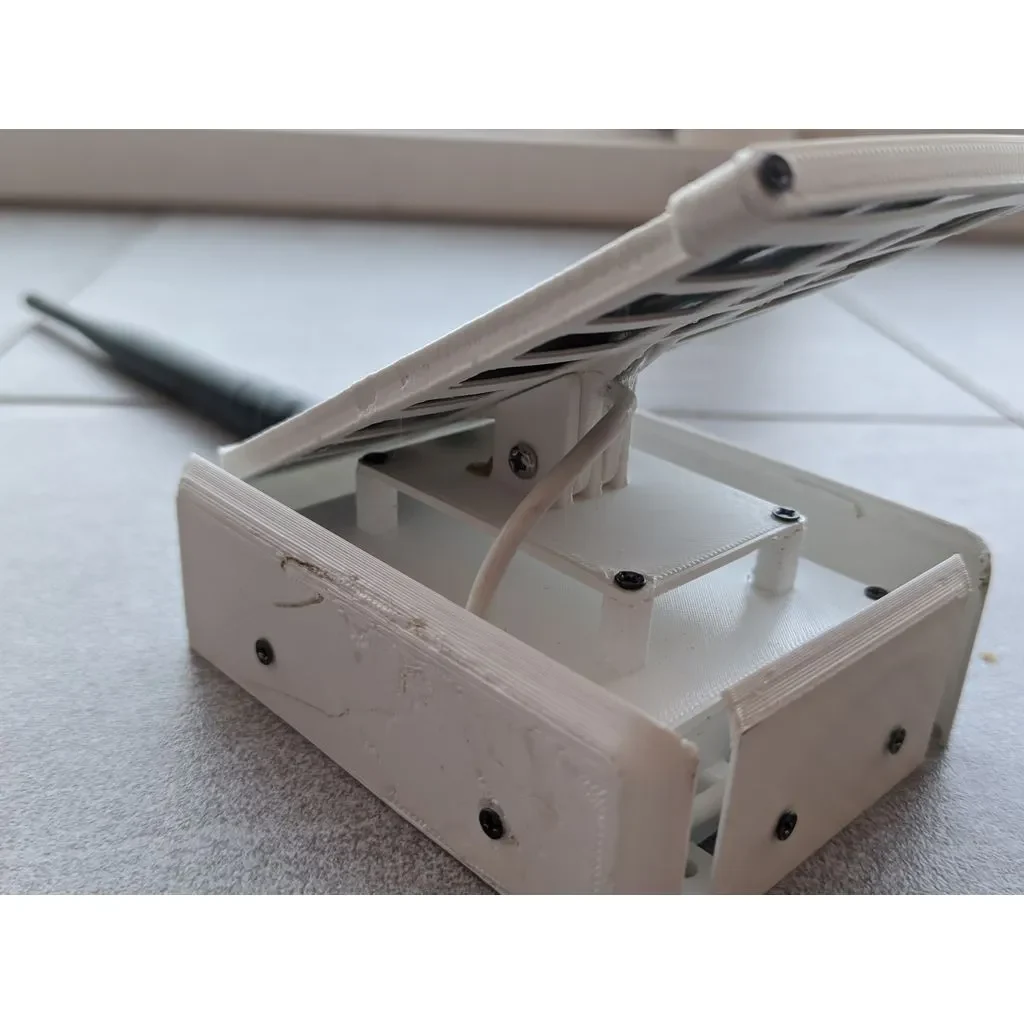
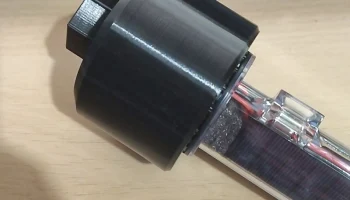
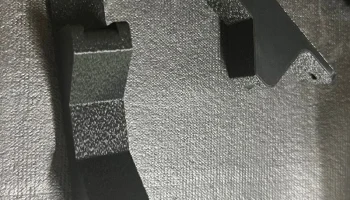
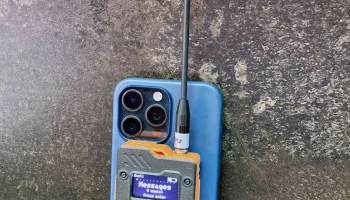
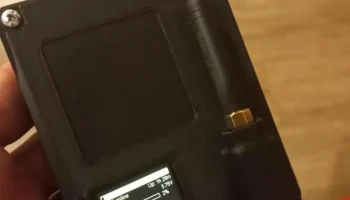
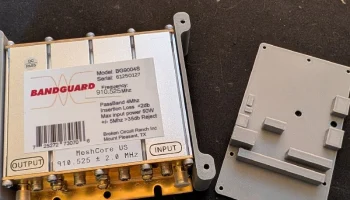
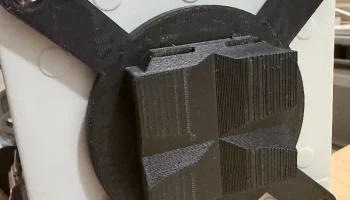
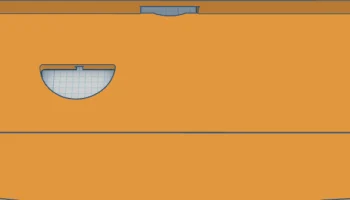
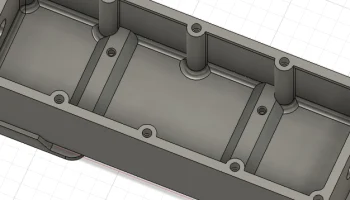
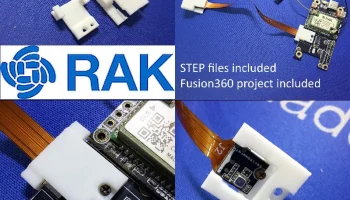
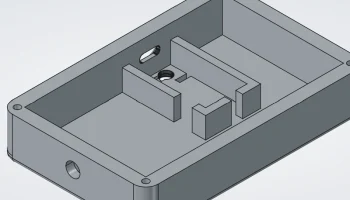
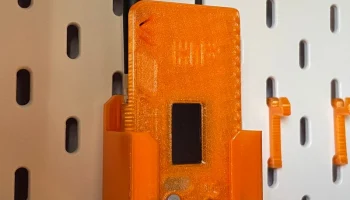
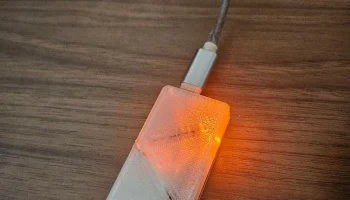
Simple enclosure for the Faketec V4 outdoor solar node, with included thermal shield and ventilation.
My part list:
Faketec V4
18650 Li-ion battery
SD05CRMA MPPT Solar Charge Controller, connected to a small solar panel. I'm testing a 2W 6V panel on a window, and it has run for 2 weeks and kept charging without any problem. You can also use a TP4056 as a simple charger.
2x M2 x 3mm brass inserts, for the Faketec
2x M2.5 x 3mm brass inserts, for the BMP280
few M2 (max 16 pcs) and M2.5 screws ( 2pcs),
4x M2 screws two with inserts and two without because of possible short
BMP280 3.3V Digital Barometric Pressure/Altitude Sensor, mounted on the top piece
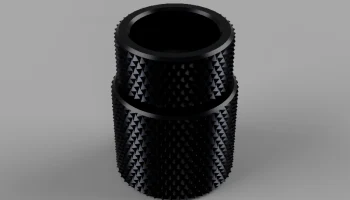
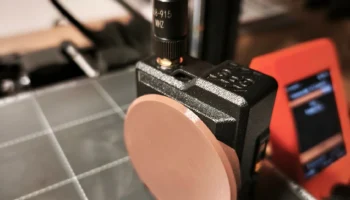
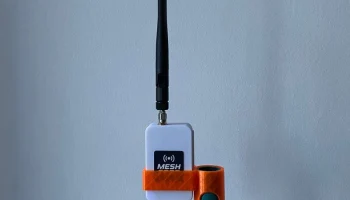
IPEX interface 868/915MHz dual-band antenna, high gain 5dBi (as shown in the picture)
XH 2.54 2-pin connector, for easy connection of everything
Self-fusing silicone tape (weatherproof seal), for antenna isolation
UPDATE:
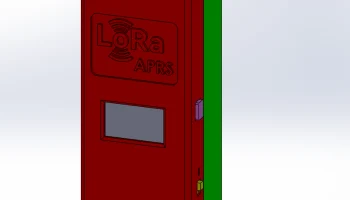
added module for 1x 1W 6V solar panel cca. 110mm x 60mm basic version from aliexpress, you mount it on front and add M3 screw with nut to hold it and lock panel with 2x M2 screws. I will add photos later.
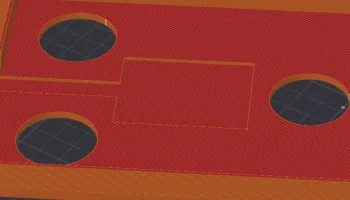
You'll have to drill the hole for the solar panel cable yourself, since everyone uses a different location and cable diameter.
Comment if you want .step file for tinkering or creating own modules.
The top system makes it easy to design your own modules — for example, instead of a thermal shield you could make a solar panel holder, etc.
UPDATE:
added 2 x 1W panel module
I will add real photos later after testing.