Электроэрозионное сверло для мелких деталей......
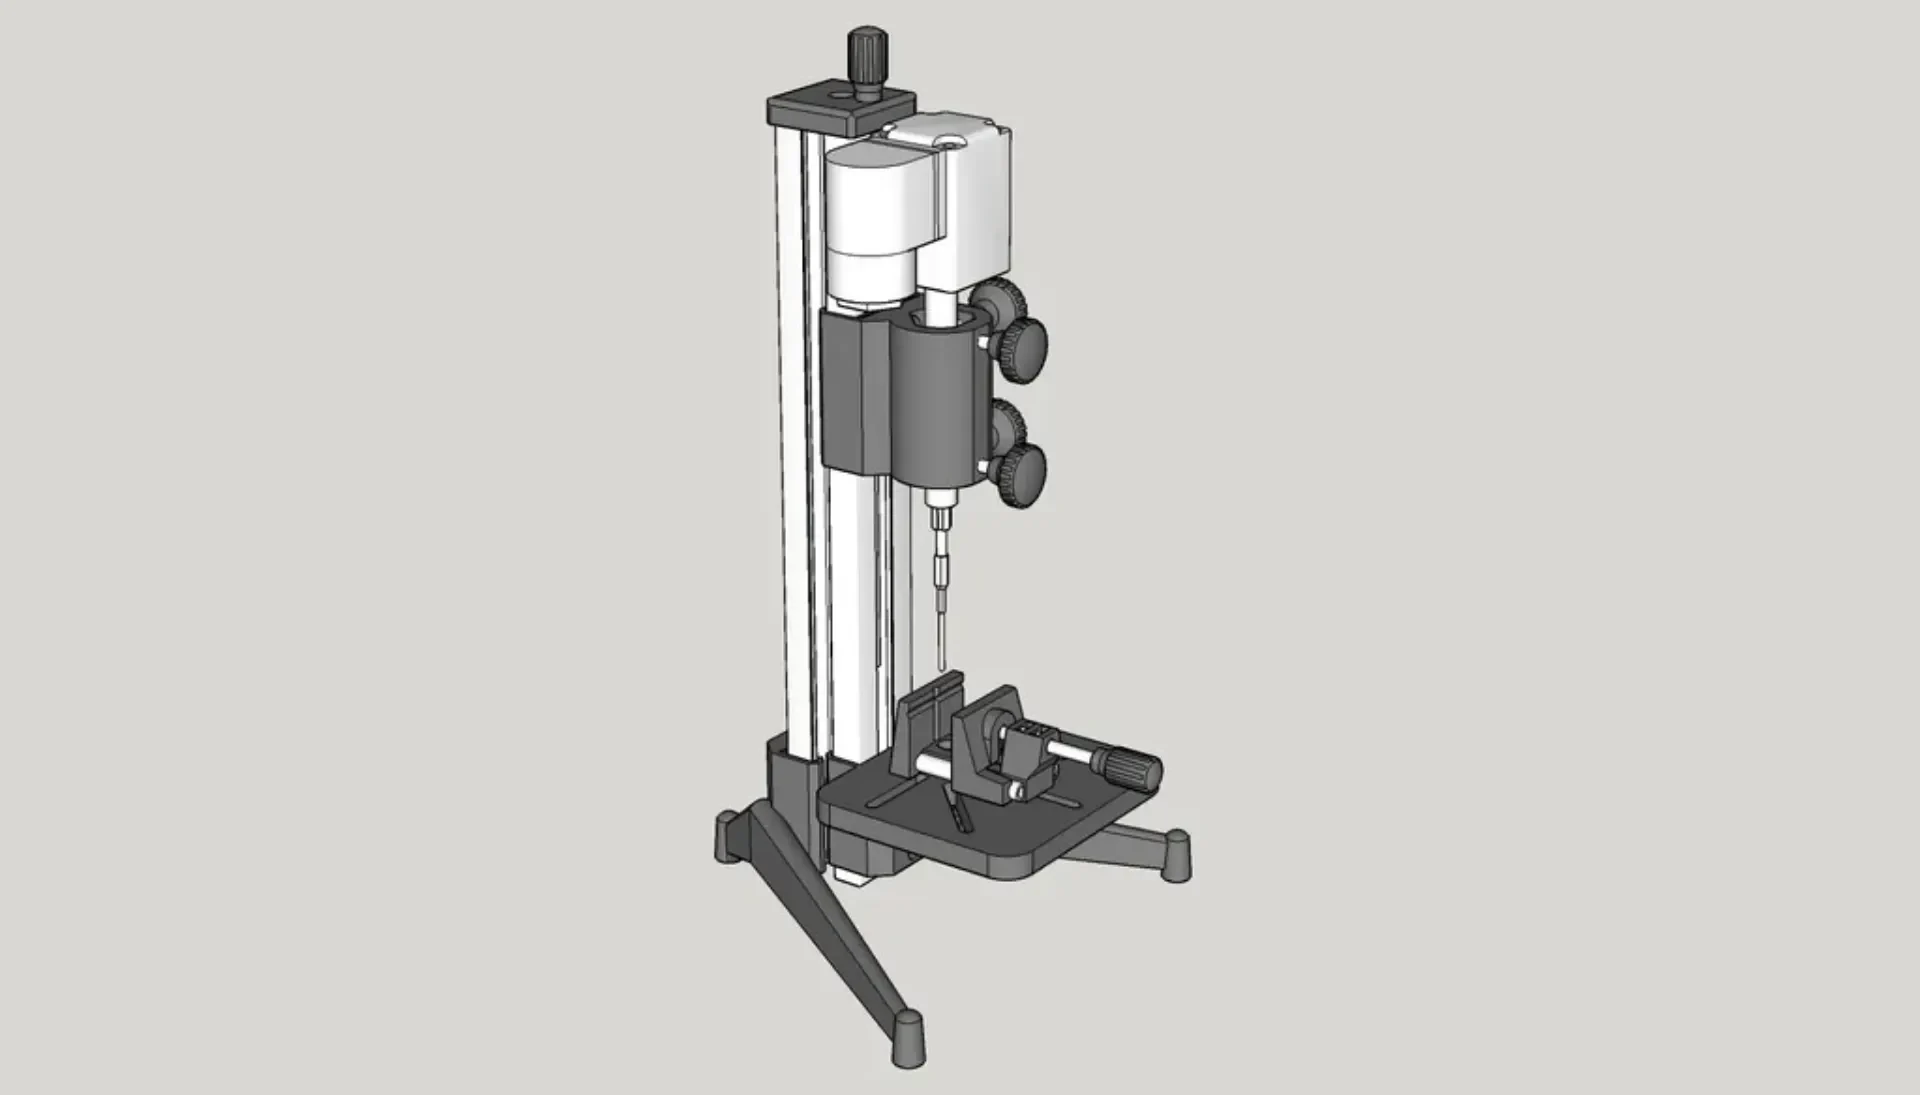
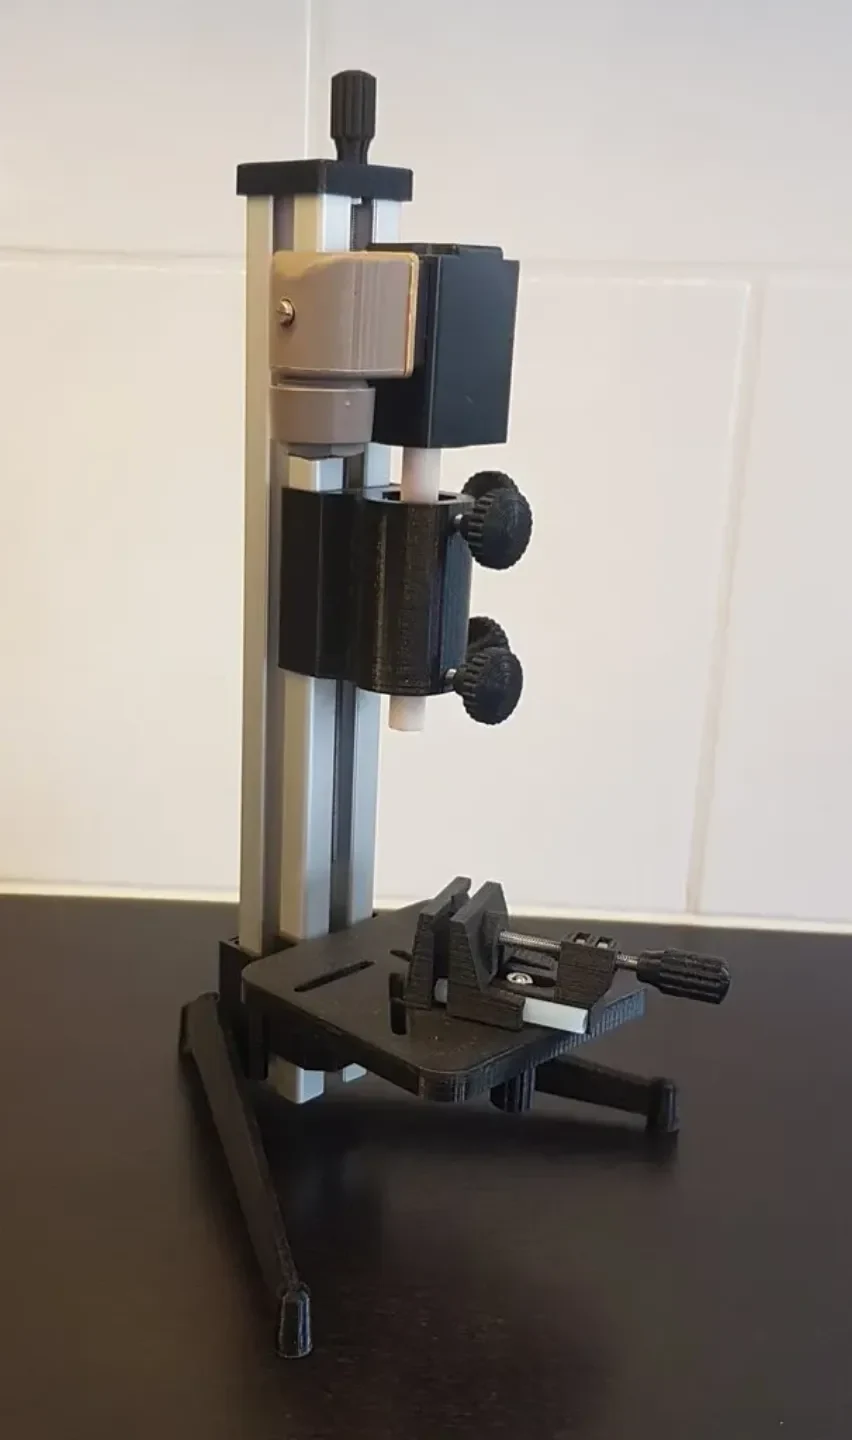

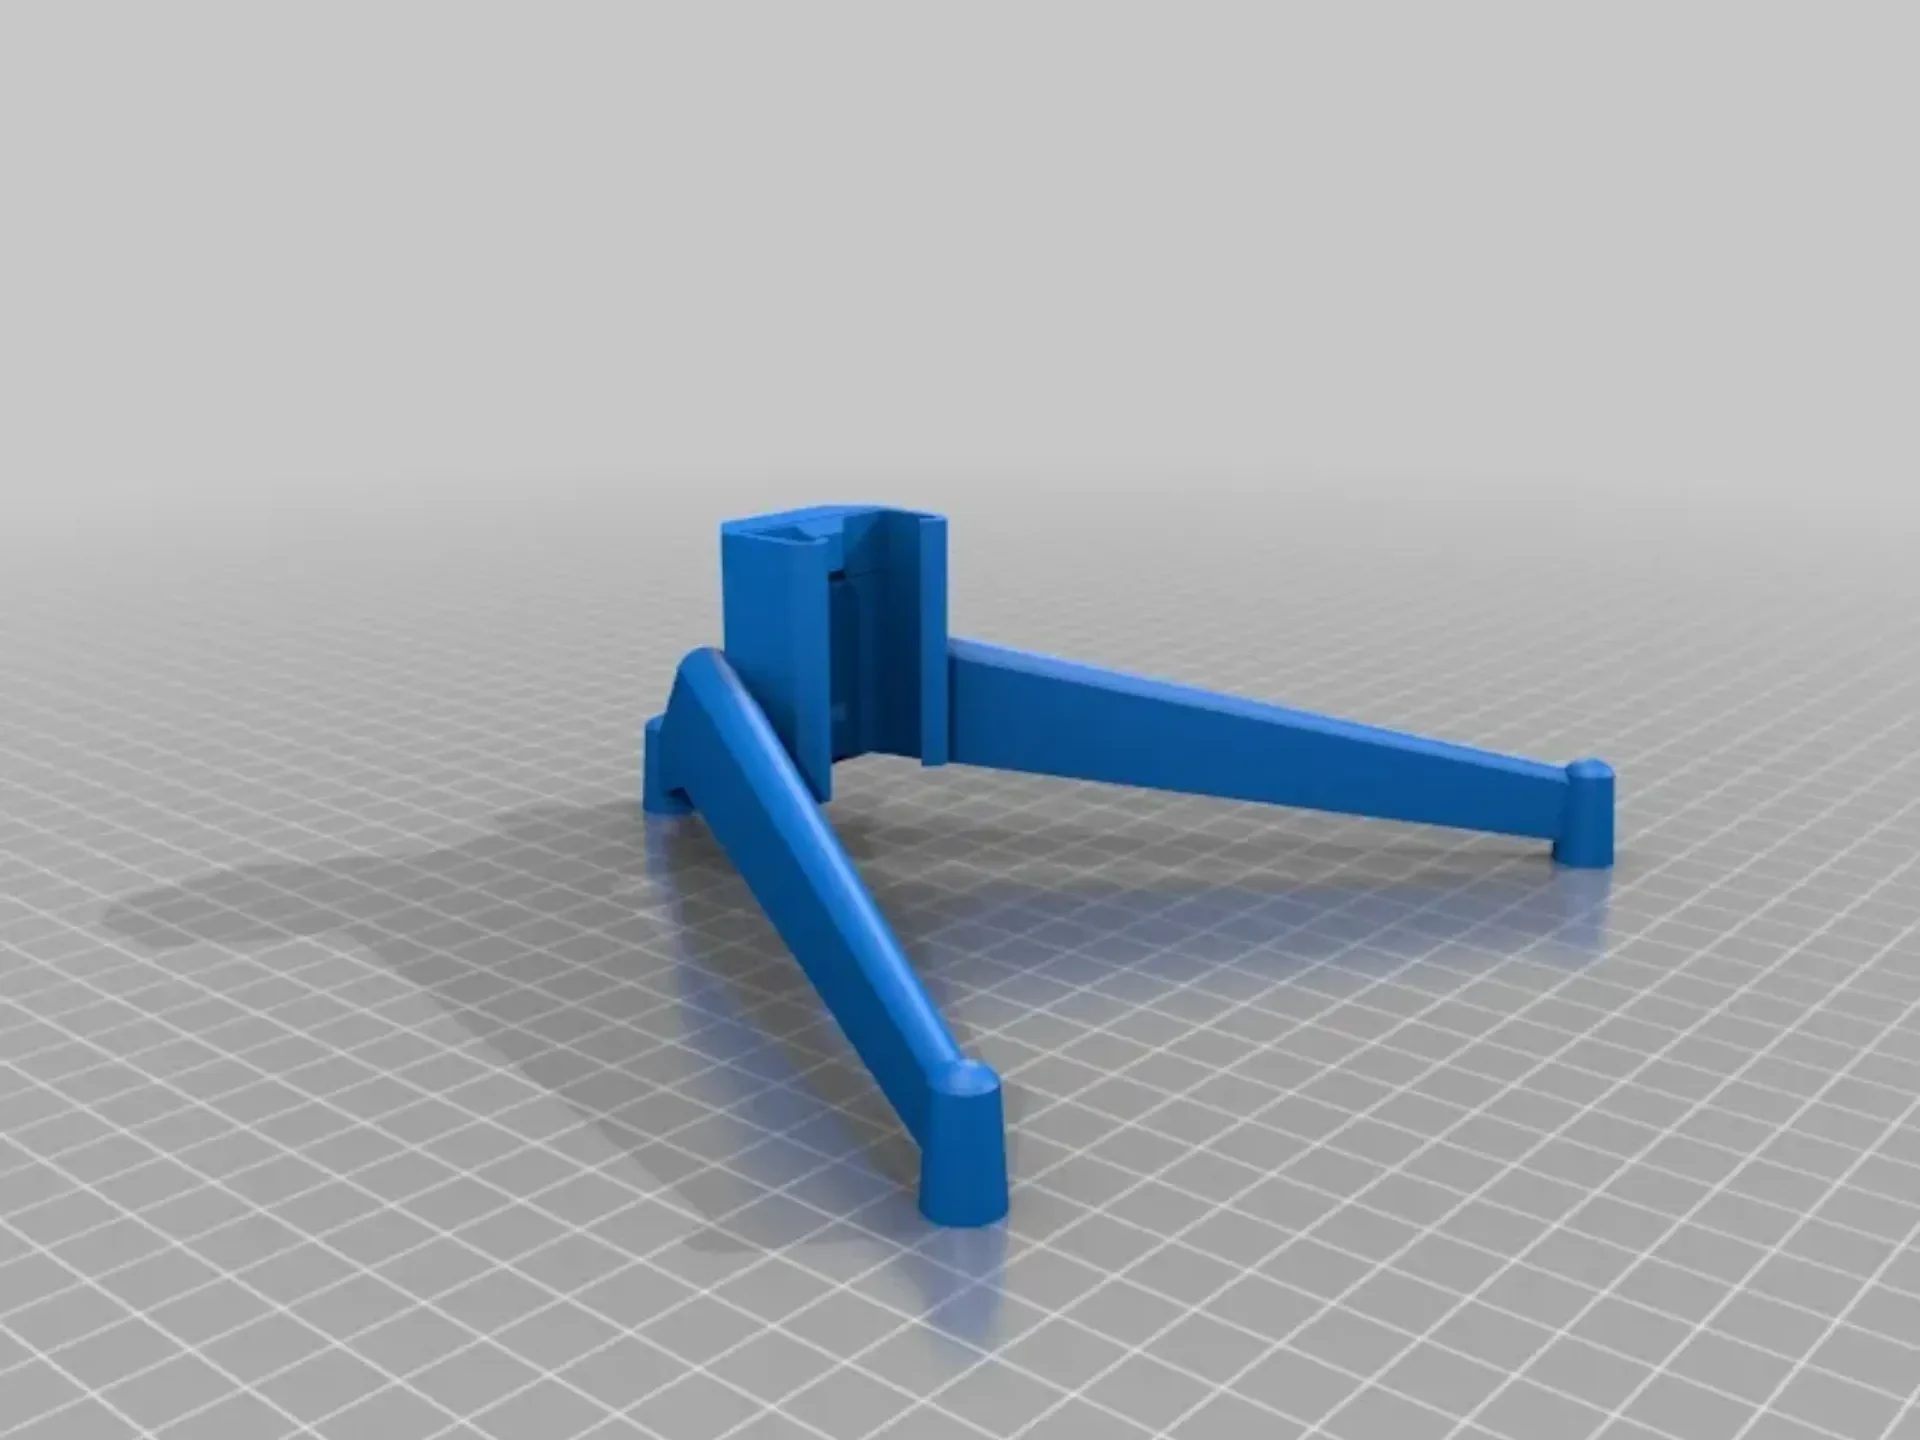
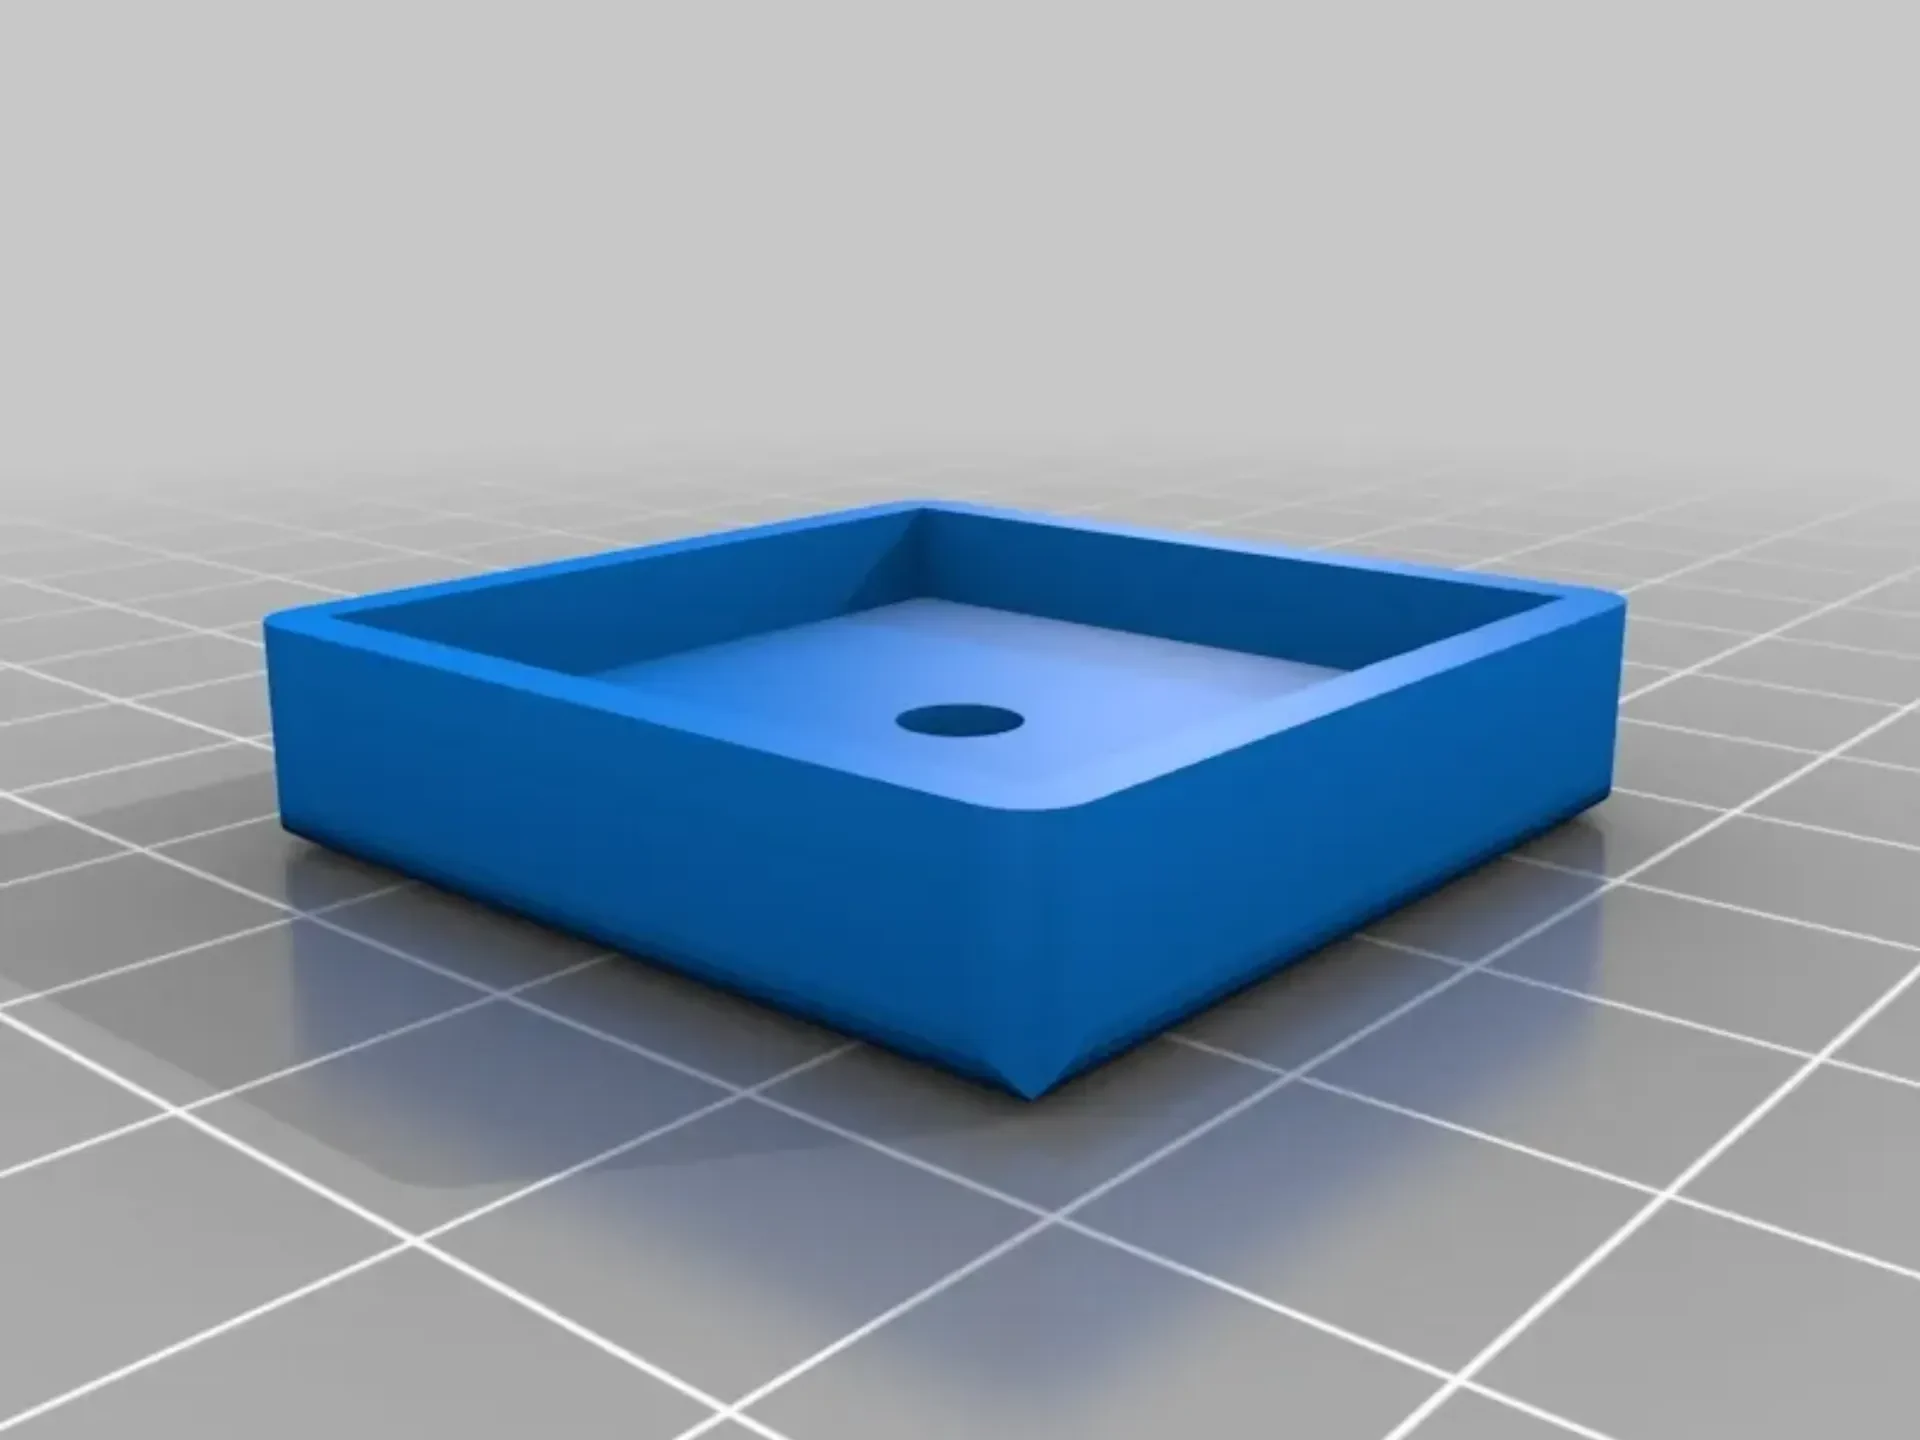
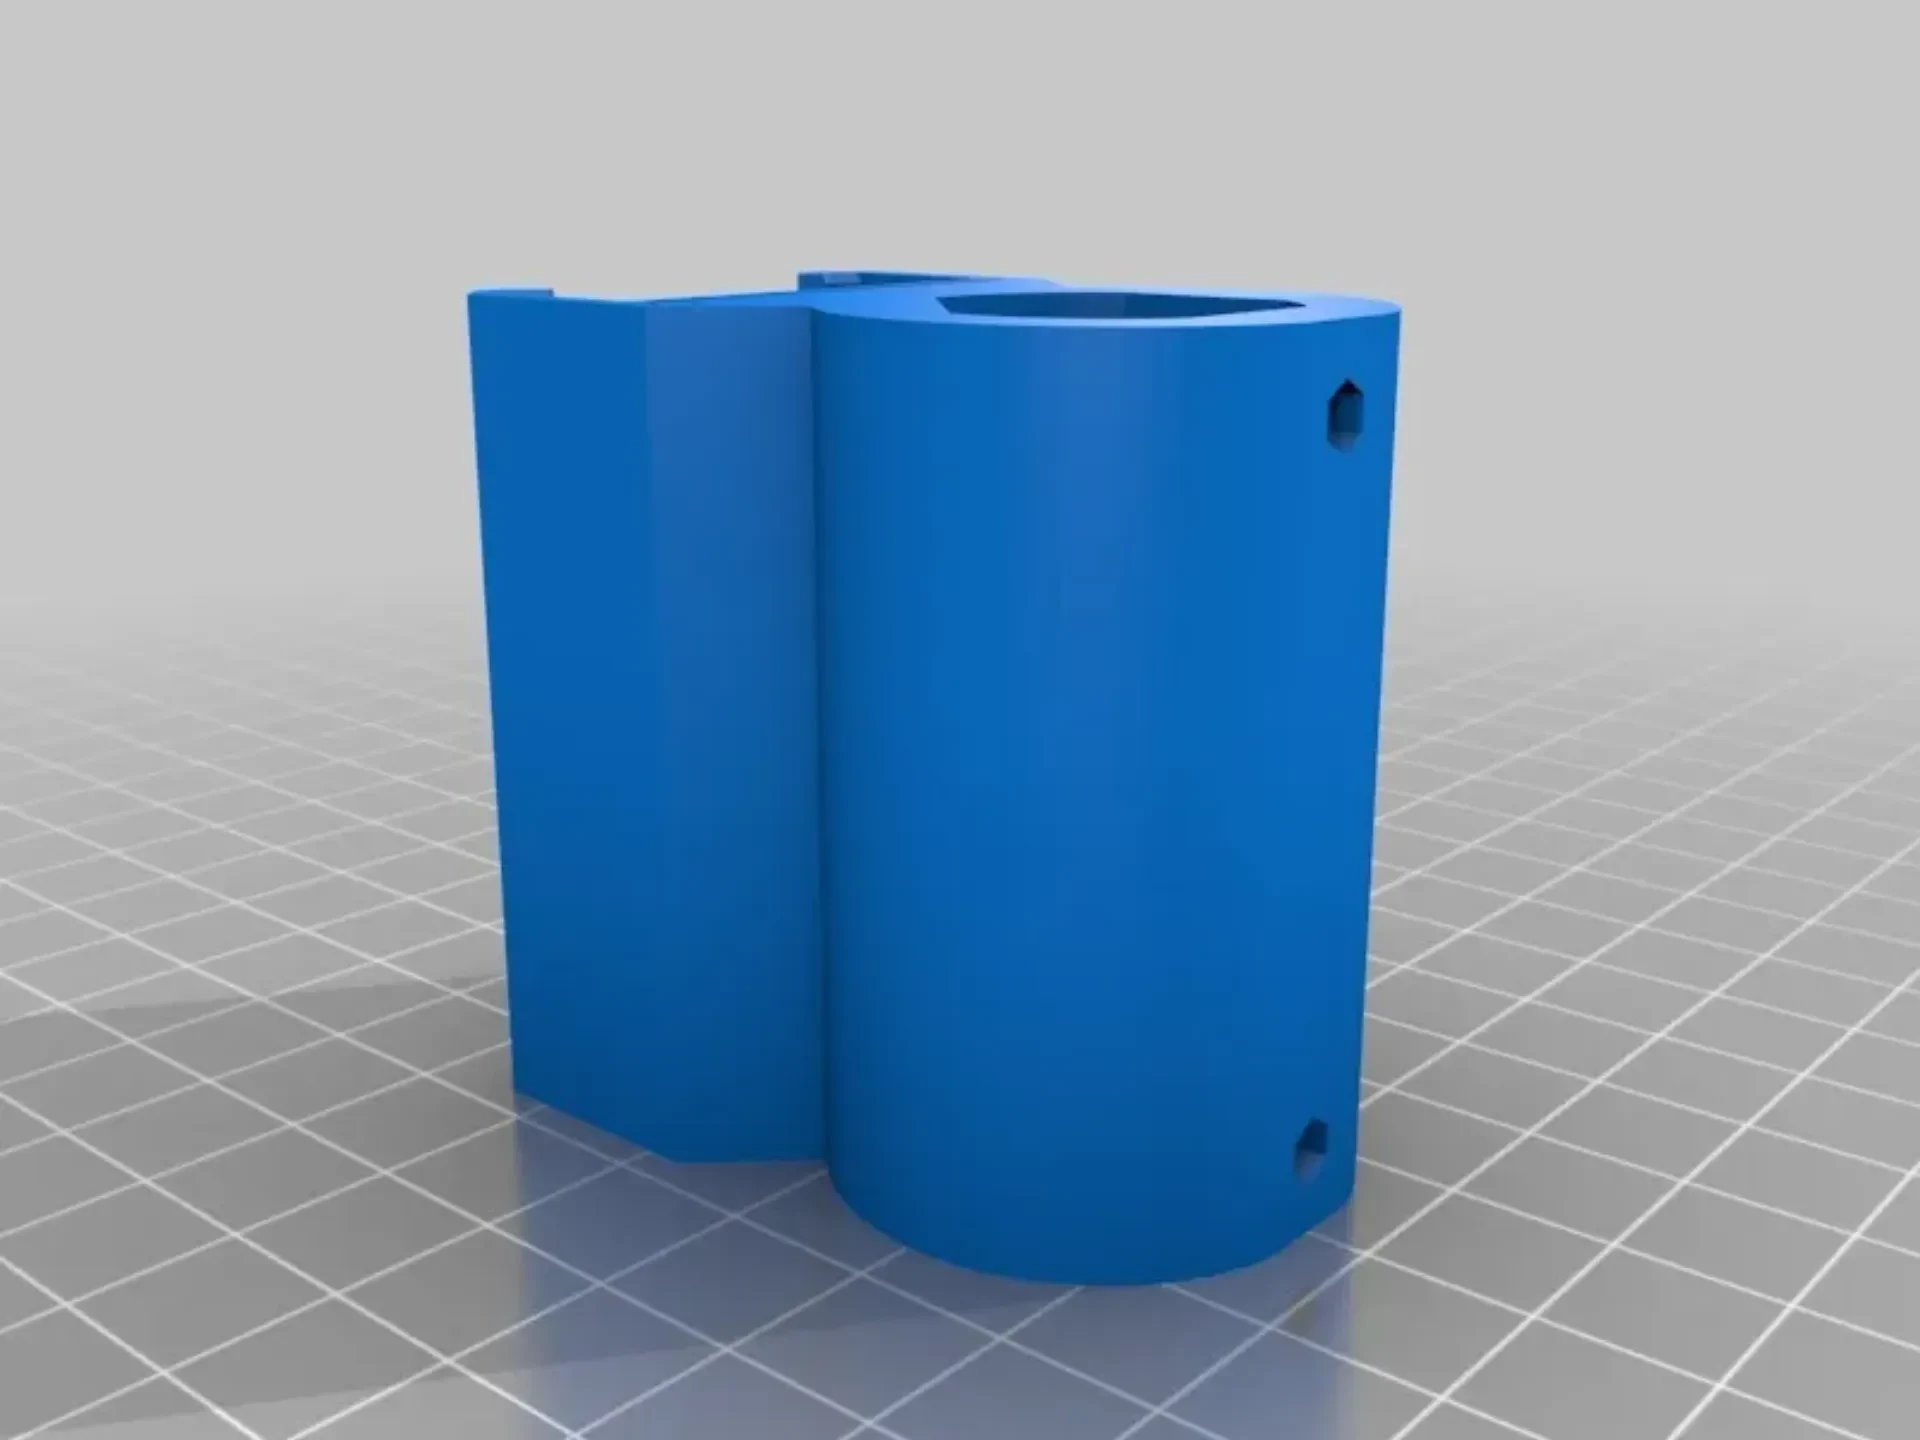
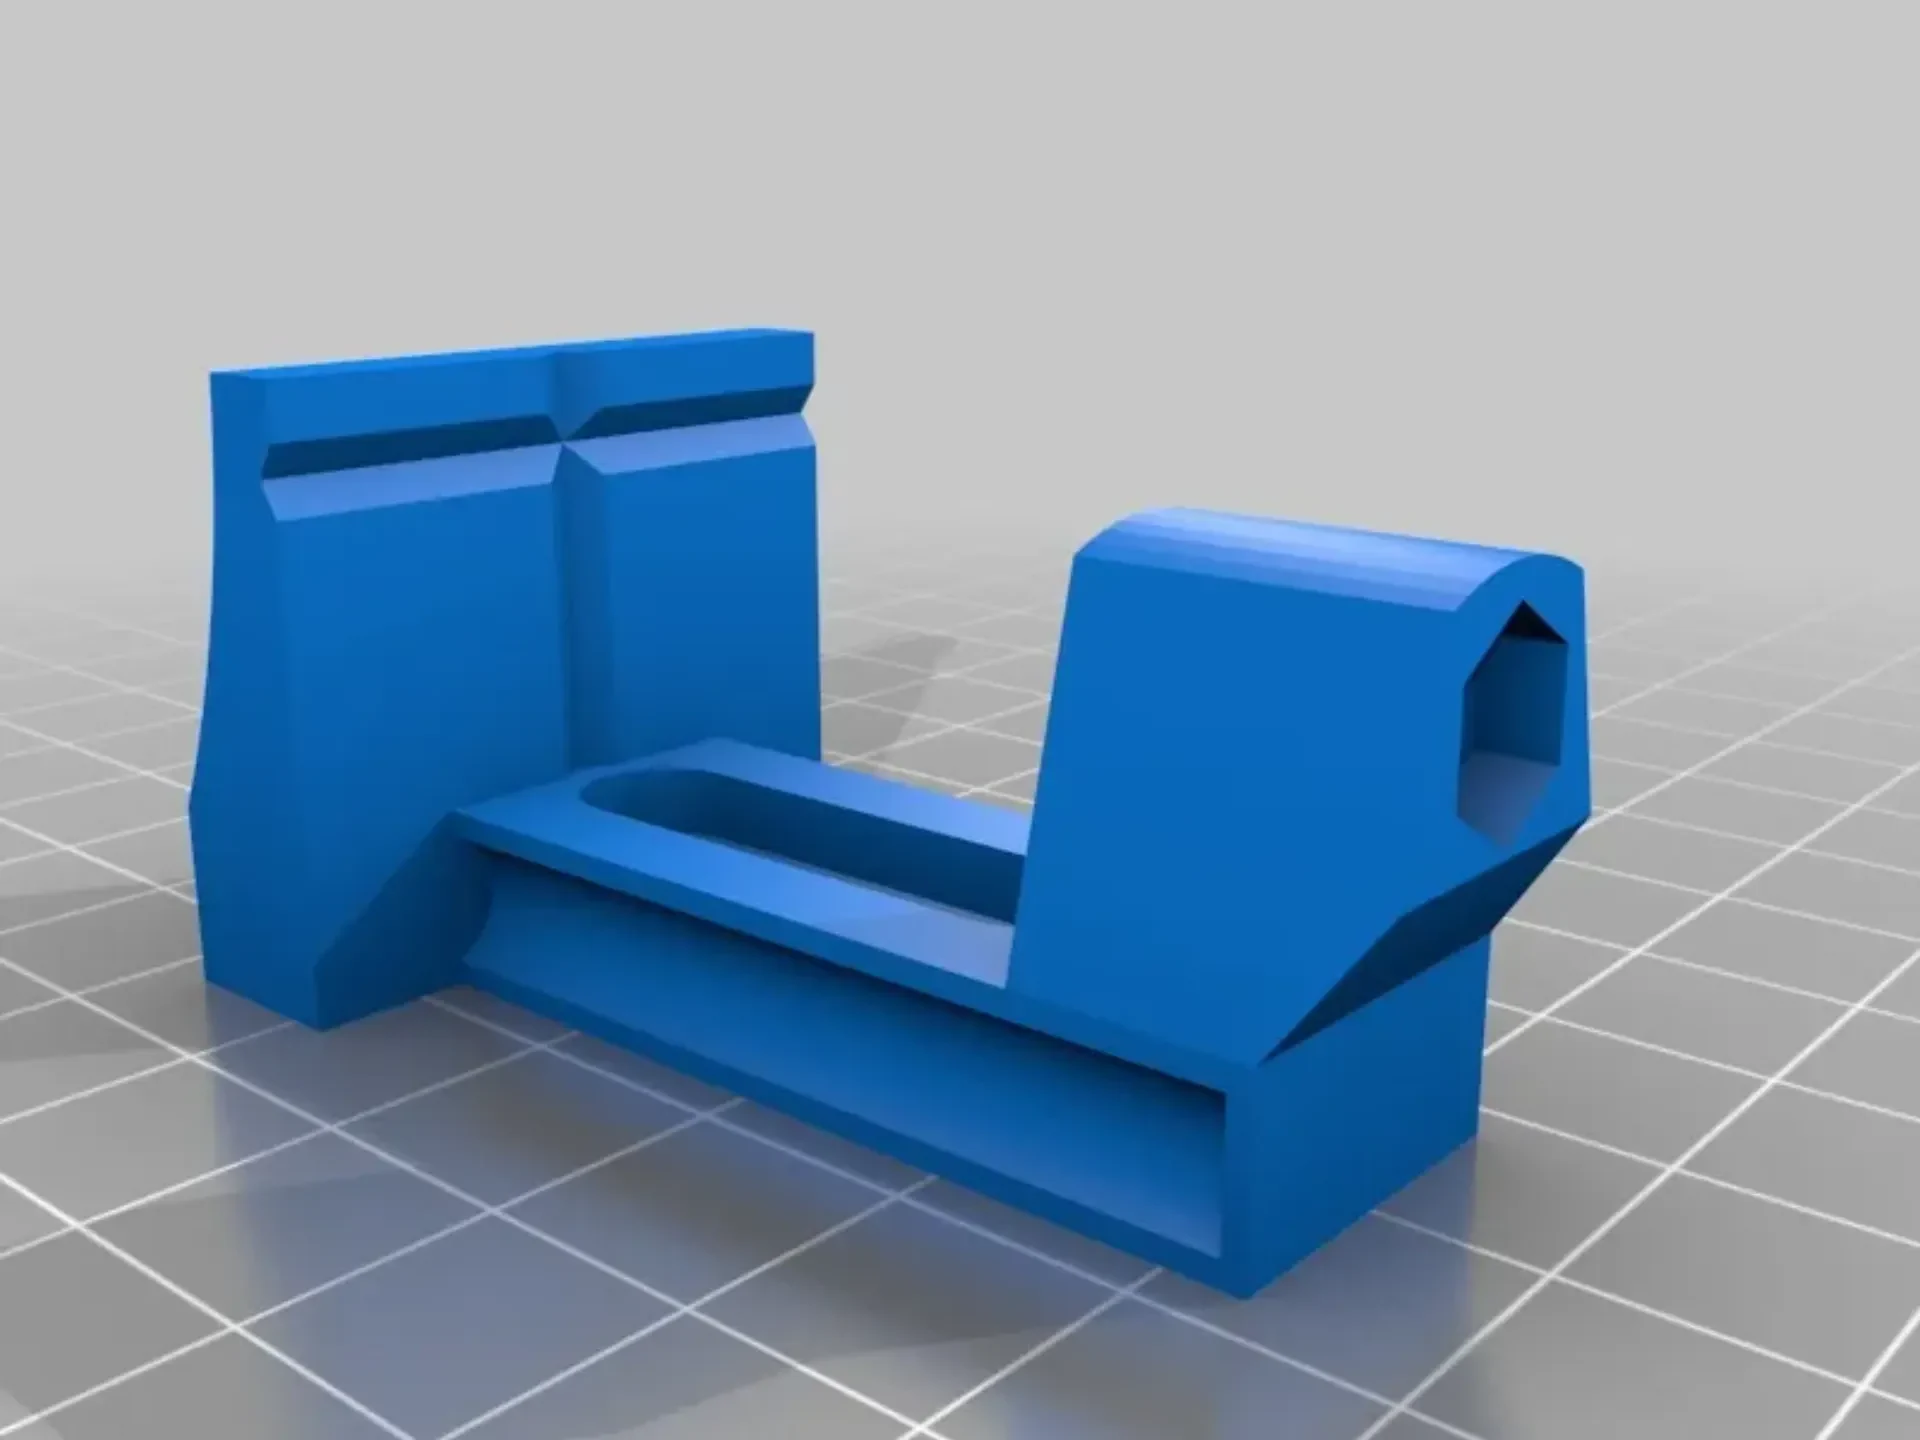
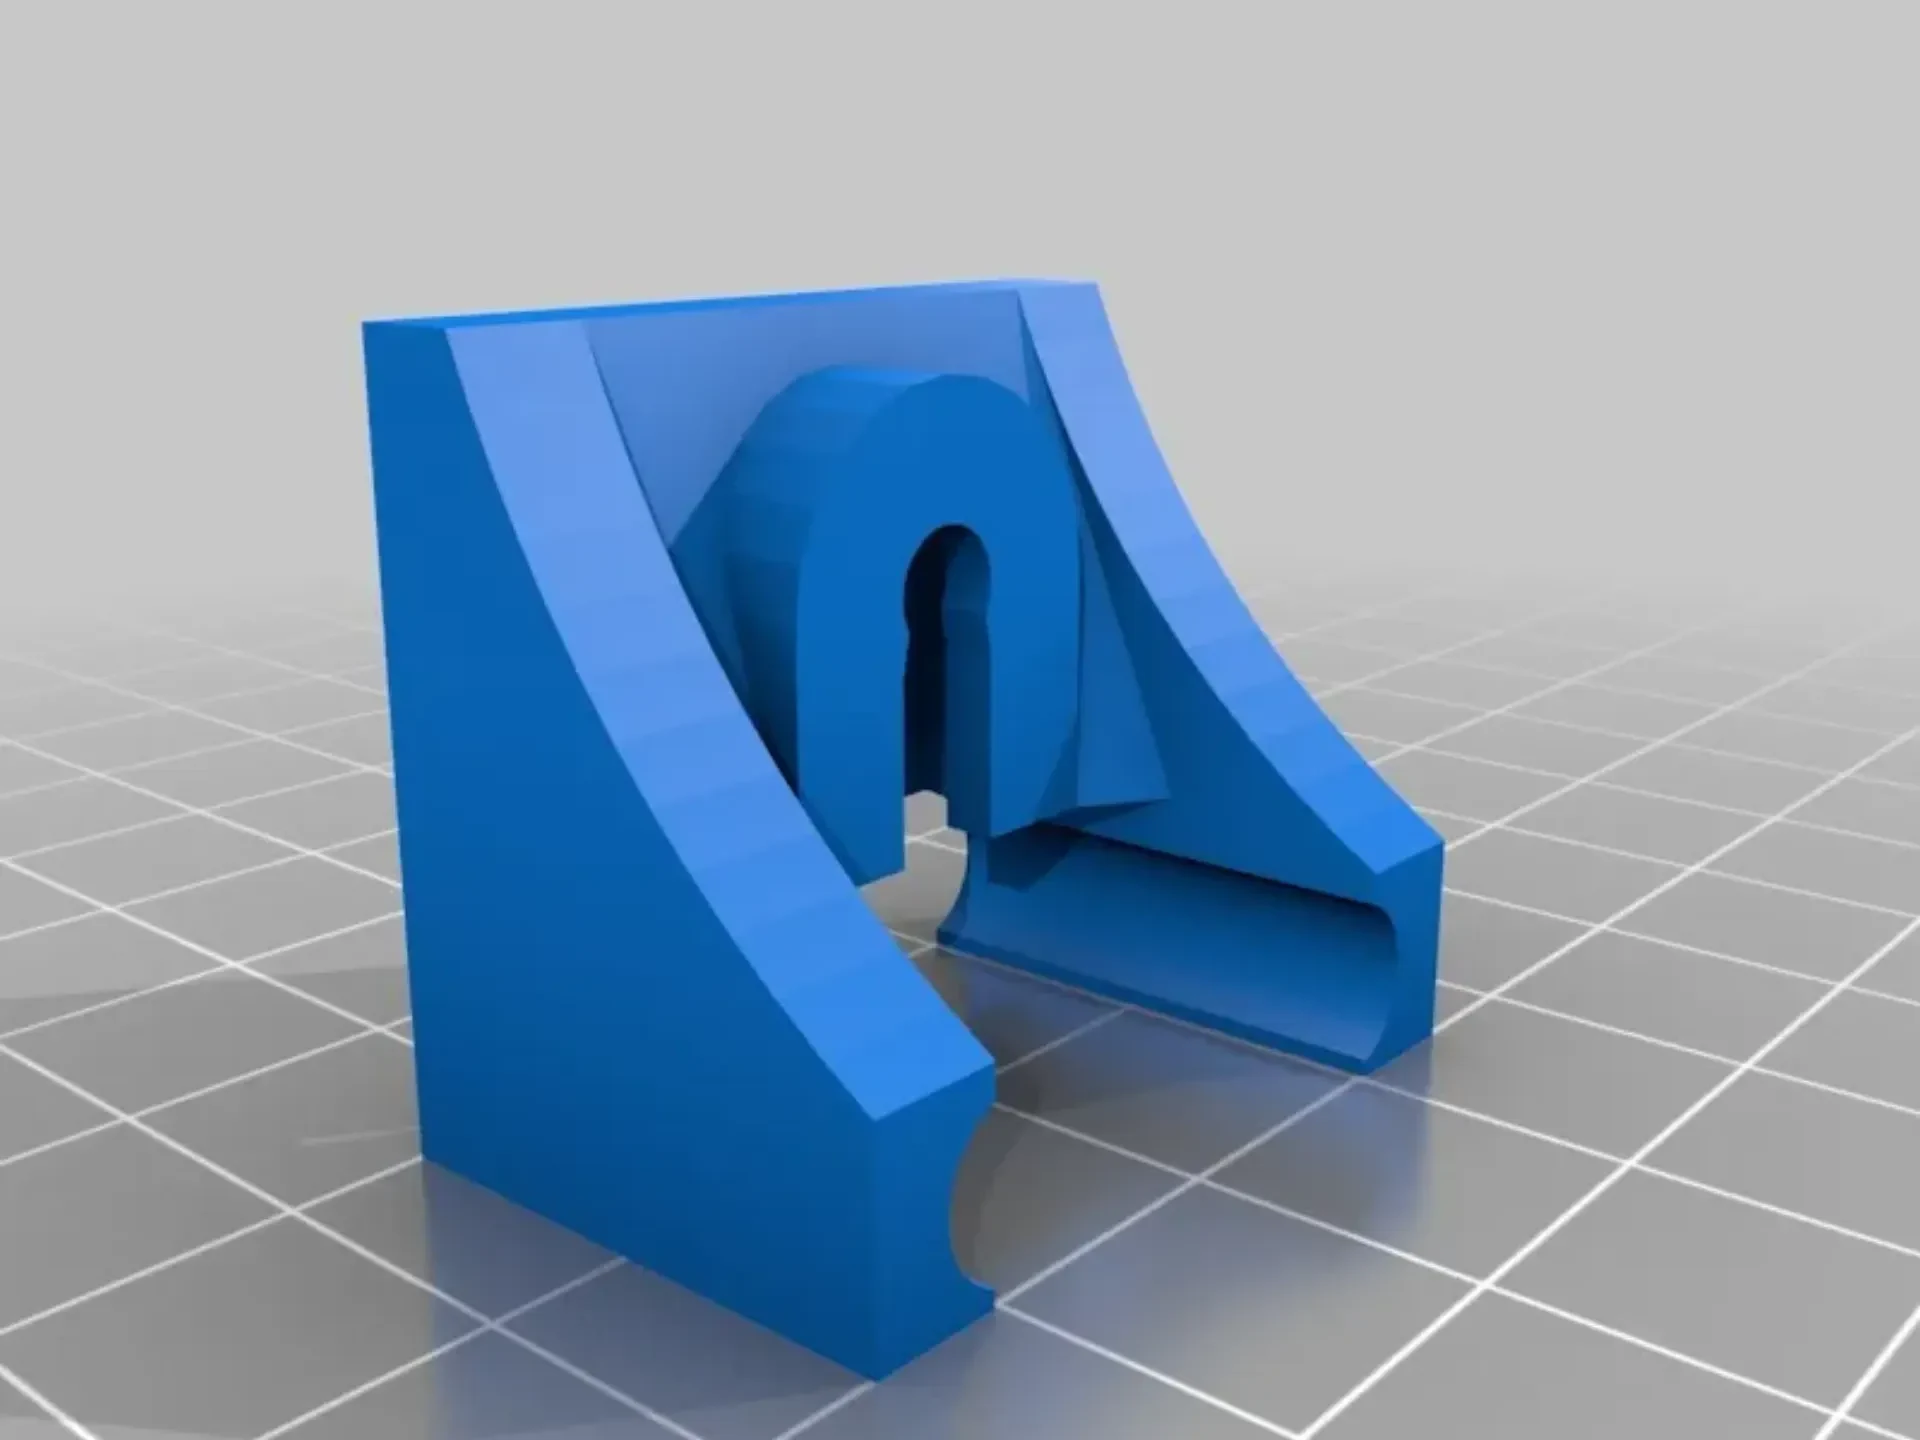
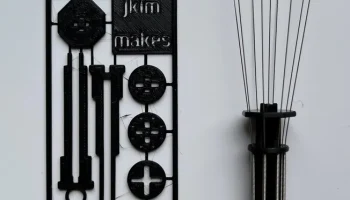
Электроэрозионная обработка, или сокращенно электроэрозионная обработка, представляет собой процесс электрического удаления металла с заготовки. Это особенно полезно для обработки очень твердых металлов, таких как инструментальная или твердосплавная сталь. This is a small variant using magnetic reflex (like an old fashioned ringning bell) to electrically poke a metal part and slowly erode the metal. Я планирую использовать это для удаления сломанных кранов. Эта работа еще продолжается.
Настройки печати
Принтер:
Anet A6
Плоты:
Нет
Поддерживает:
Да
Разрешение:
0,2 мм
Заполнение:
100%
Примечания:
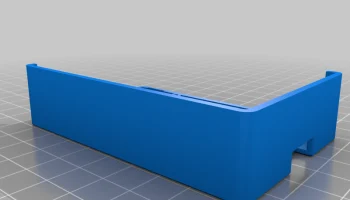
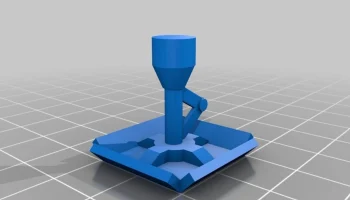
Файл Gnist2-fot и Gnist2-vice2 нуждается в поддержке, остальные могут обойтись без нее.
Пост-печать
Сборка
Части:
1х алюминиевый профиль 30х30х260мм
1x threaded rod M4x200mm
1x threaded rod M4x60mm
4x threaded rod M4x27 mm
1x threaded rod M4x30 mm
1x стержень с резьбой M3x115 мм
8x nut M4
8x гайка М3
6 винтов с плоской головкой M4 x 8 мм.
1x гипсовый винт для крепления крышки профиля
1x стальной натяжитель 11 x 48 x 0,5 мм (упаковочная стальная полоса работает нормально)
1x электромагнит 24В от электроклапана
1x переменный источник питания 24 В
2x 4x6x40 мм трубка из ПТФЭ или полиэтилена
1x ceramic tube 6x10x100 mm (may work with stainless steel)
The Knobs:
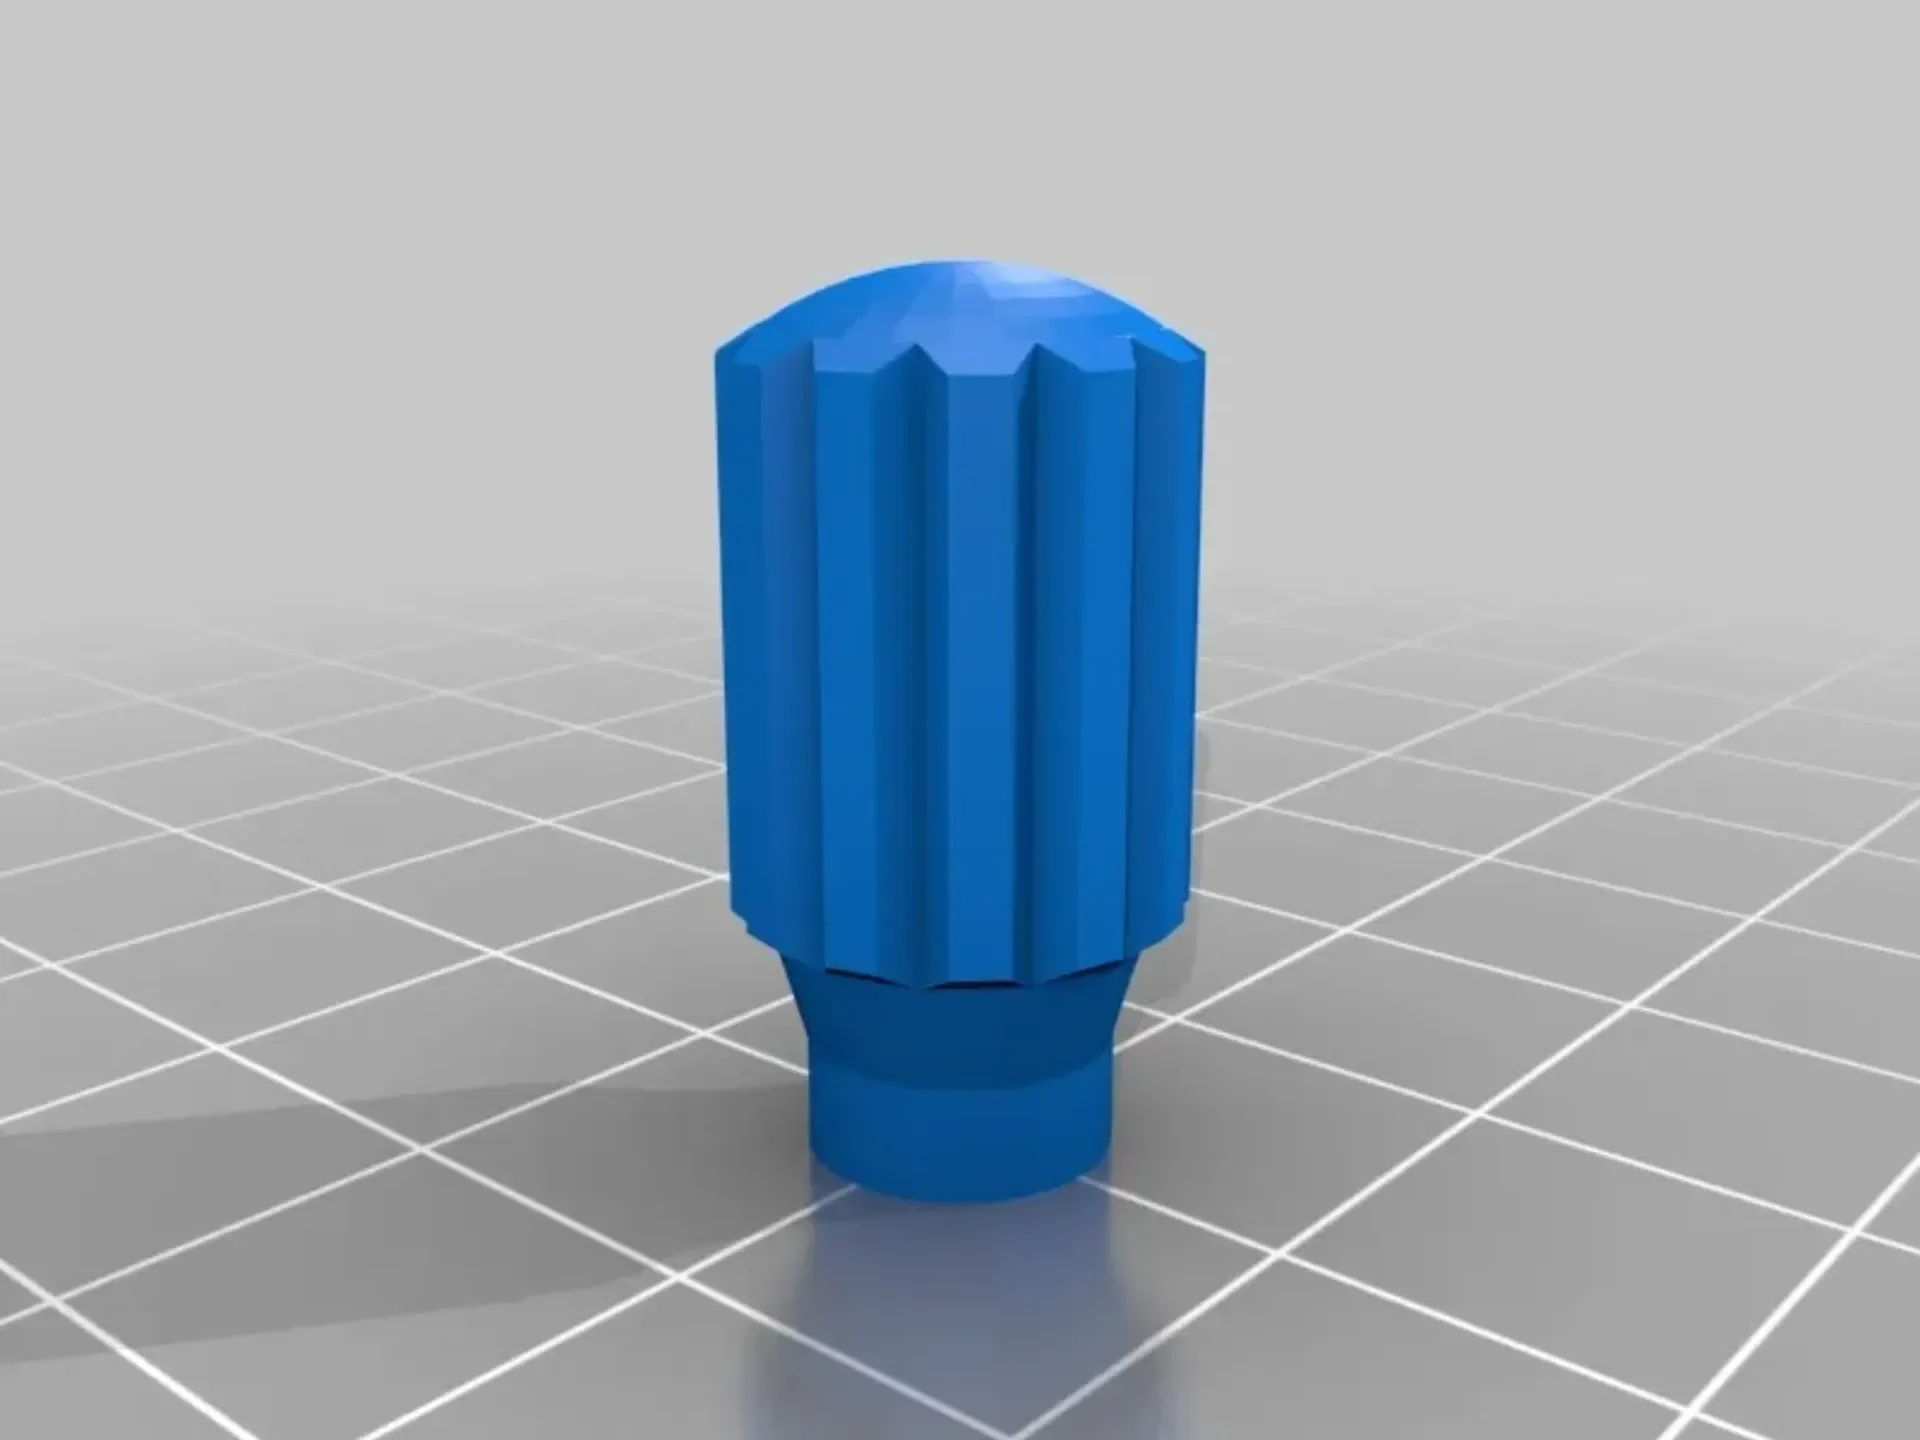
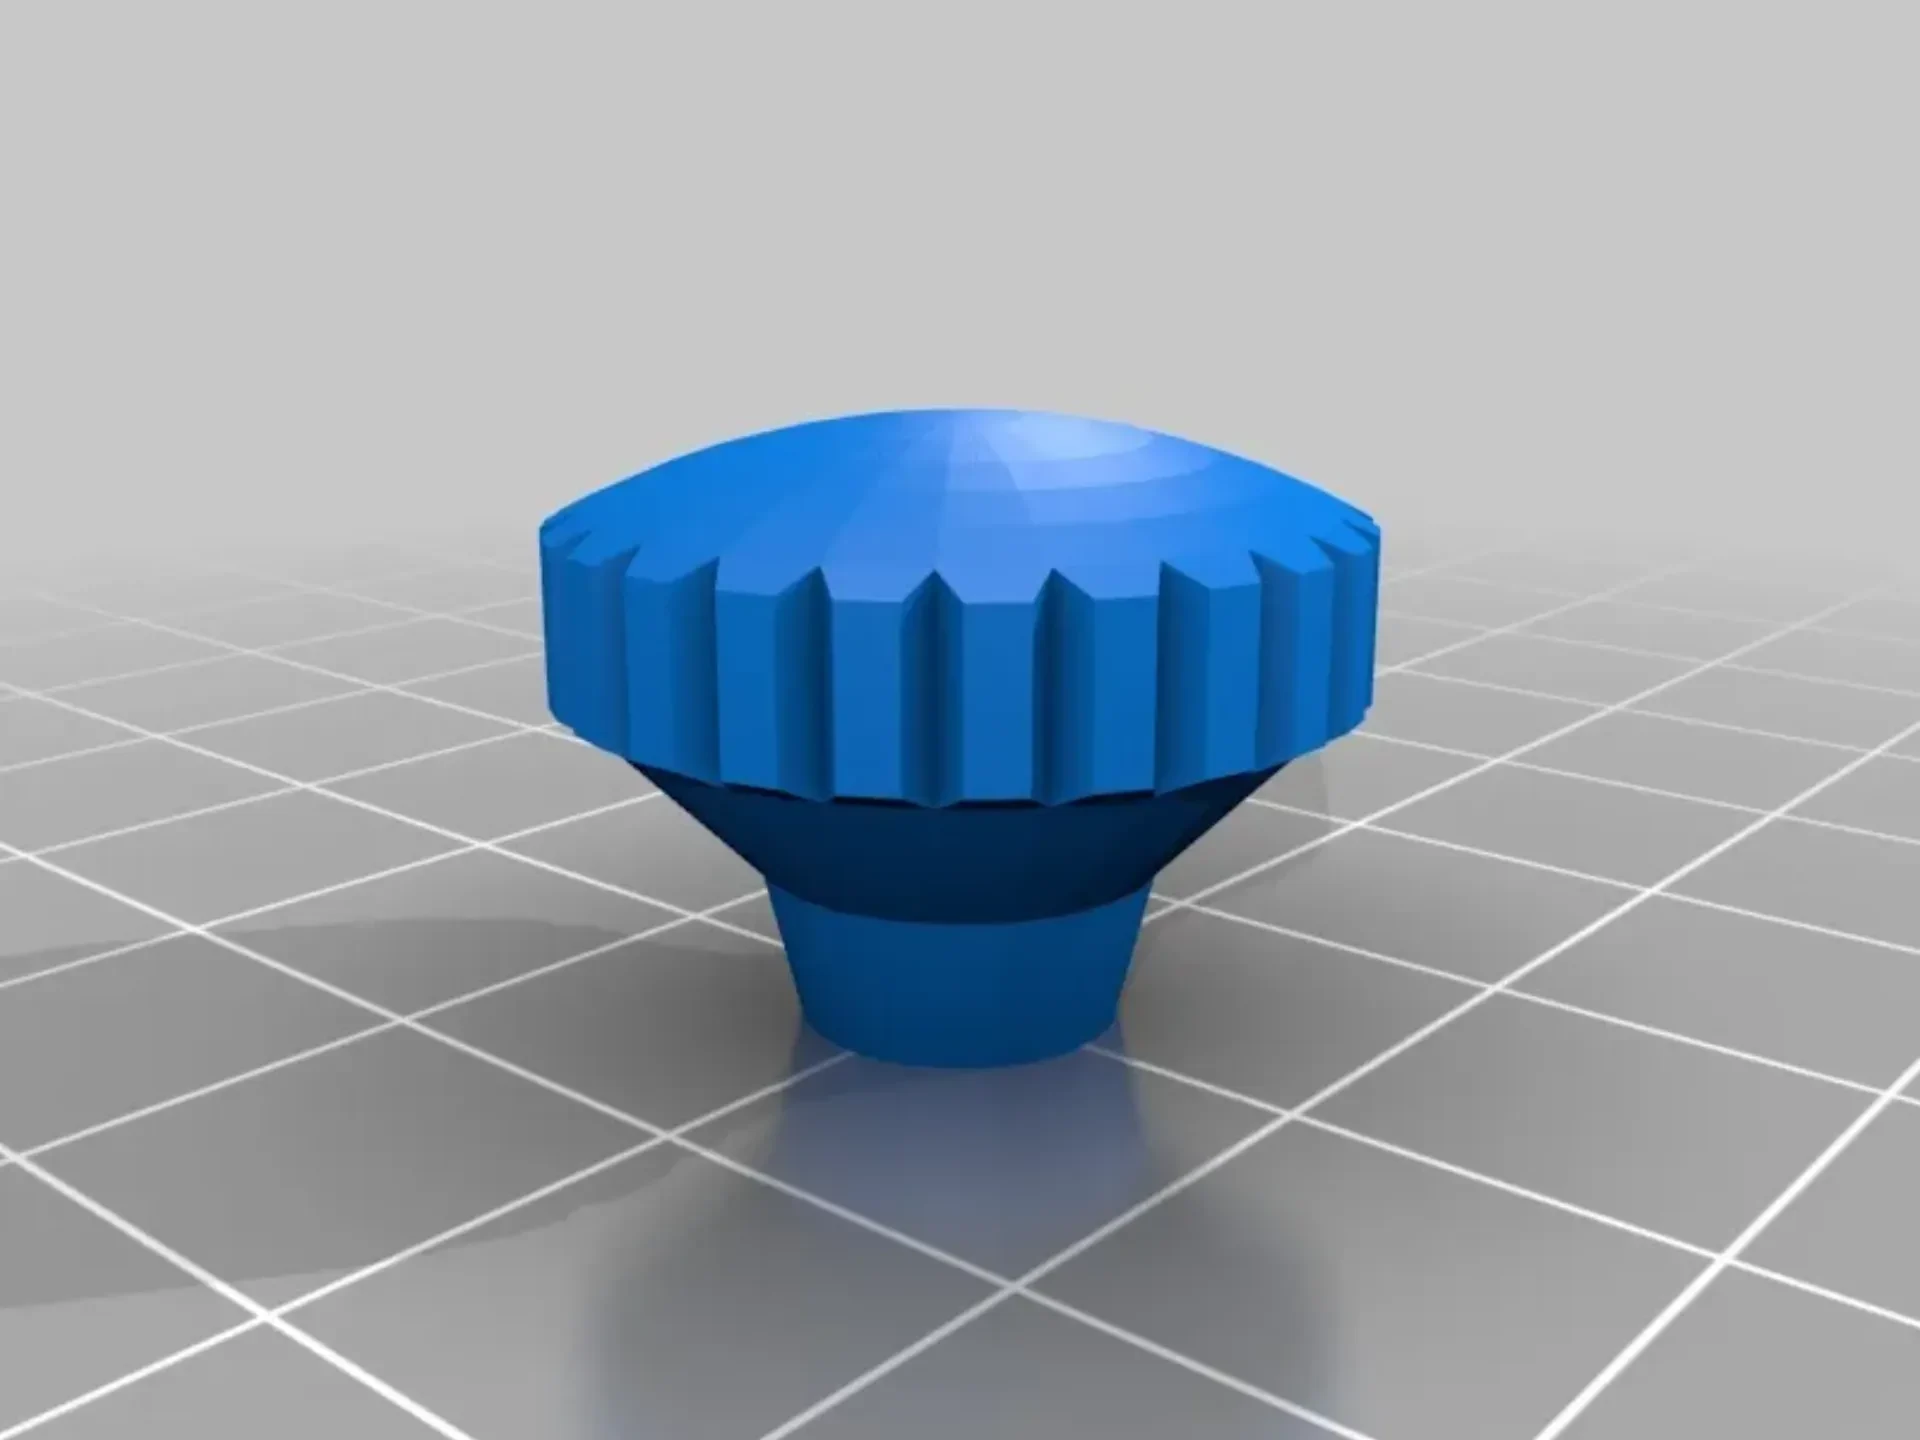
Стержень с резьбой M4x27 мм принудительно ввинчивается в четыре части ручки2. оберните стержень с резьбой кусочком сложенной бумаги, чтобы не повредить резьбу, и поворачивайте его плоскогубцами, пока на стержне не останется 14 мм. Do the same with M4x30 into knob1 until 15mm of the rod is left, and M4x60 into knob1 with 41mm left, and last M4x200 into knob1 with 190mm left.
The foot:
Два М4х8мм входят в заднюю часть Гнисть2-фота. Они используются для натяжения пластиковой пружины на алюминиевый профиль, чтобы она прочно удерживалась при трении. Force the screws into the plastic hole to generate a plastic thread. Screw them until they reach the flexible tensioner in the bottom. Slide the part onto the aluminum profile and turn the screws until the plastic tensioner firmly holds the part on the aluminum profile.
The work-board:
Insert two M4x8mm into the Gnist2-bord the same way as for the foot.
The sled:
Insert a plastic expander into the top end middle hole of the aluminum profile, this is later used for the gypsum screw and profile lid.
For the Gnist2-slade the set screws need to be inserted and screwed with a smaller screw driver that can fit all the way trough the hole for the knob screw.
Insert two M4 nuts into the back of Gnist2-slade part. Insert the long M4x200mm (with the knob) into the Gnist2-lock side hole, add two M4 nuts all the way up to the plastic part. Поверните гайки вместе с небольшим усилием, чтобы зафиксировать их, но позвольте ручке и стержню свободно вращаться.
Insert the threaded rod into the back part of Gnist2-slade and turn it all the way through the two M4 nuts. Наденьте все это на алюминиевый профиль. Отрегулируйте установочные винты так, чтобы деталь могла перемещаться по алюминиевому профилю с небольшим трением. Fasten the lid with the gypsum screw onto the aluminum profile end and the previously inserted plastic expander.
Forcibly turn Gnist2-knob2 rod into the four holes of Gnist2-slade, until they slightly comes out the other side. Bend the steel tensioner so it bows up about 7mm from a flat surface. Insert the steel tensioner into Gnist2-slade along with the 10mm ceramic tube. Turn the knobs until the tube is placed straight in the middle of the hole and held firmly by the steel tensioner.
Порок:
вставьте две гайки M4 в верхнюю часть детали Gnist2-vilce1. Screw the M4x60mm threaded rod with the knob all the way trough the two nuts and let it stick out 20mm. Добавьте одну гайку M4 на конец стержня с резьбой и нанесите небольшую каплю суперклея между гайкой и стержнем с резьбой, чтобы зафиксировать ее. Наденьте деталь Gnist-vice2 на концевую гайку. Вставьте две пластиковые трубки 6x40 мм с каждой стороны между деталями тисков 1 и тисков 2 в качестве линейного подшипника, удерживающего их вместе. Добавьте гайку М4 в нижний разрез. Screw the M4x30 threaded rod with knob through the work-board and into this nut to hold the vice in place on the work-board.
На этом пока всё, м.
![Зажим для кабеля с гвоздями [ассортимент 3-12 мм]](/upload/015/u1522/5/6/5b54660b.webp "Зажим для кабеля с гвоздями [ассортимент 3-12 мм]")