Корпус на крышу авто с солнечной бат. Meshtastic
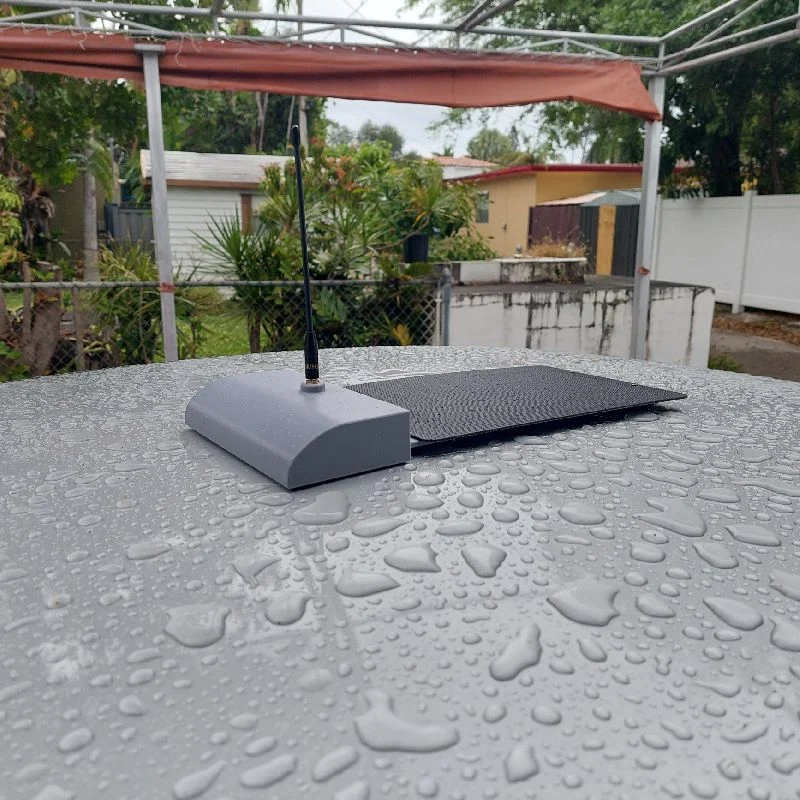
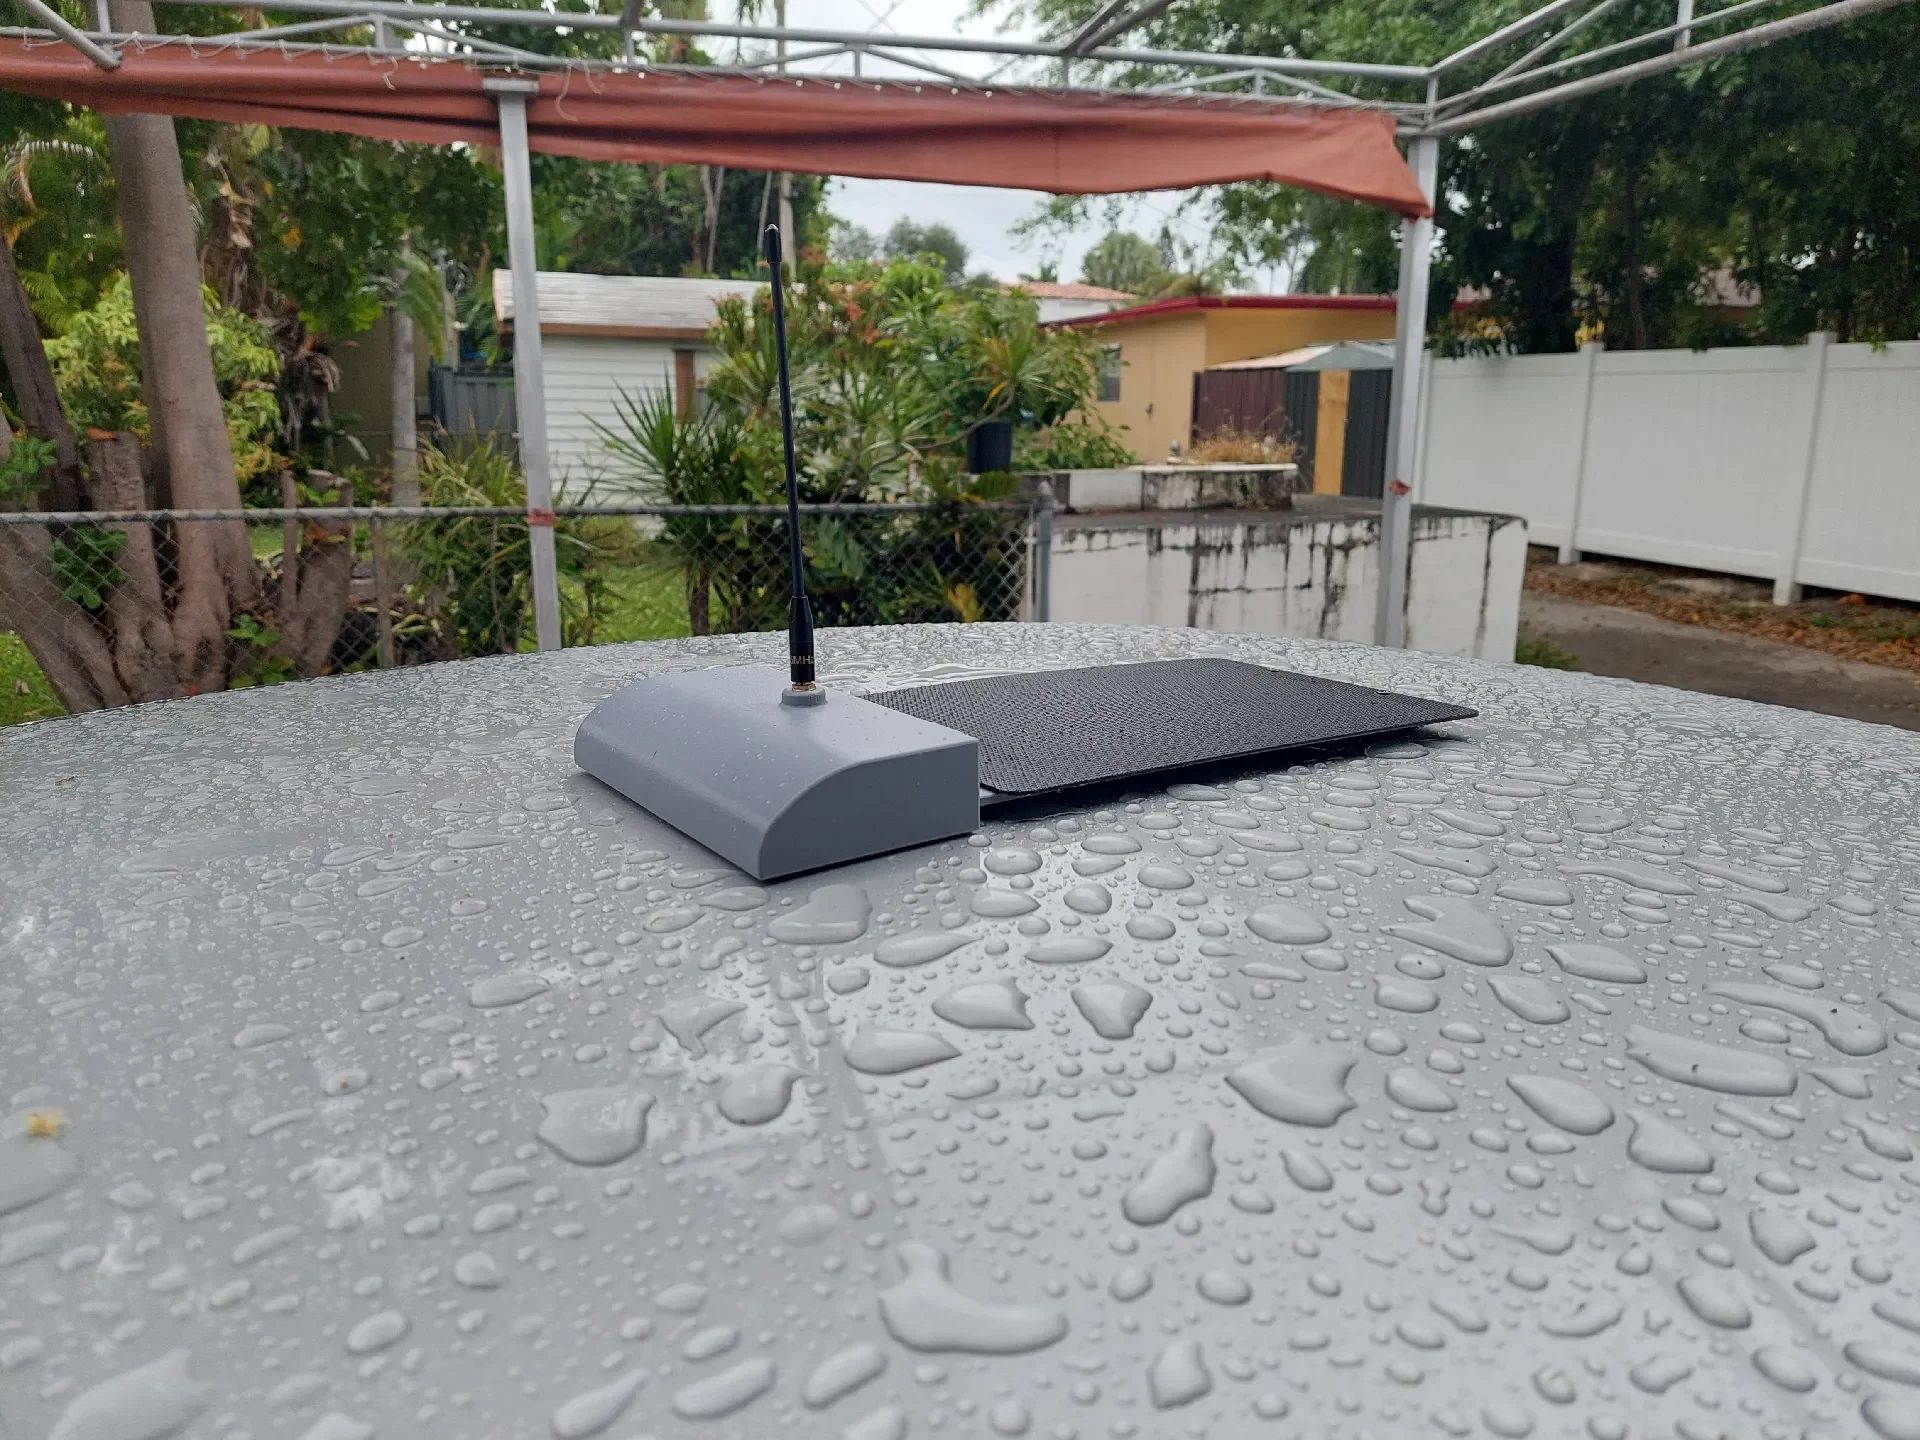
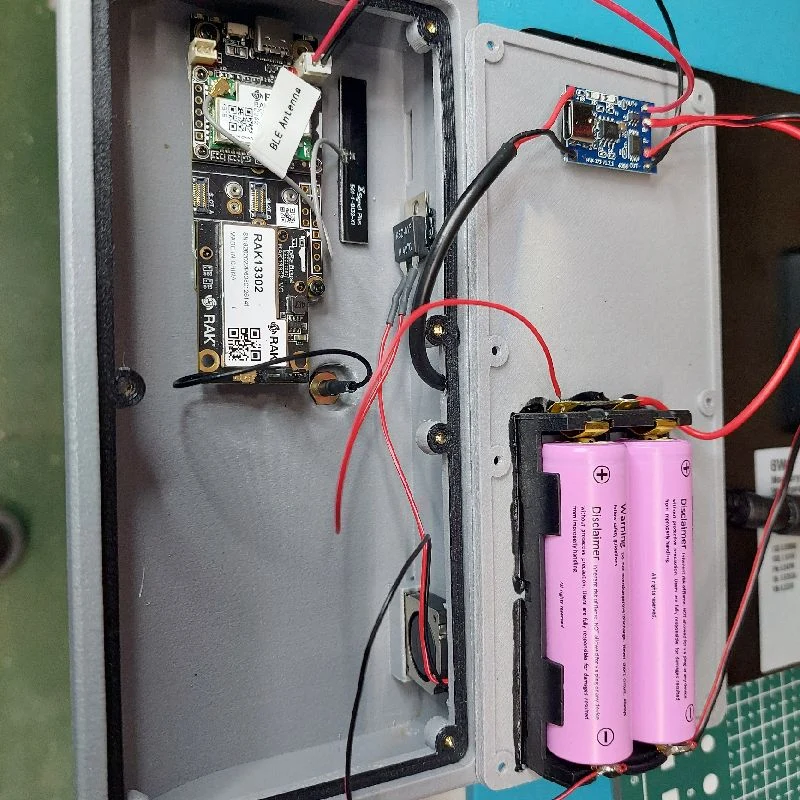
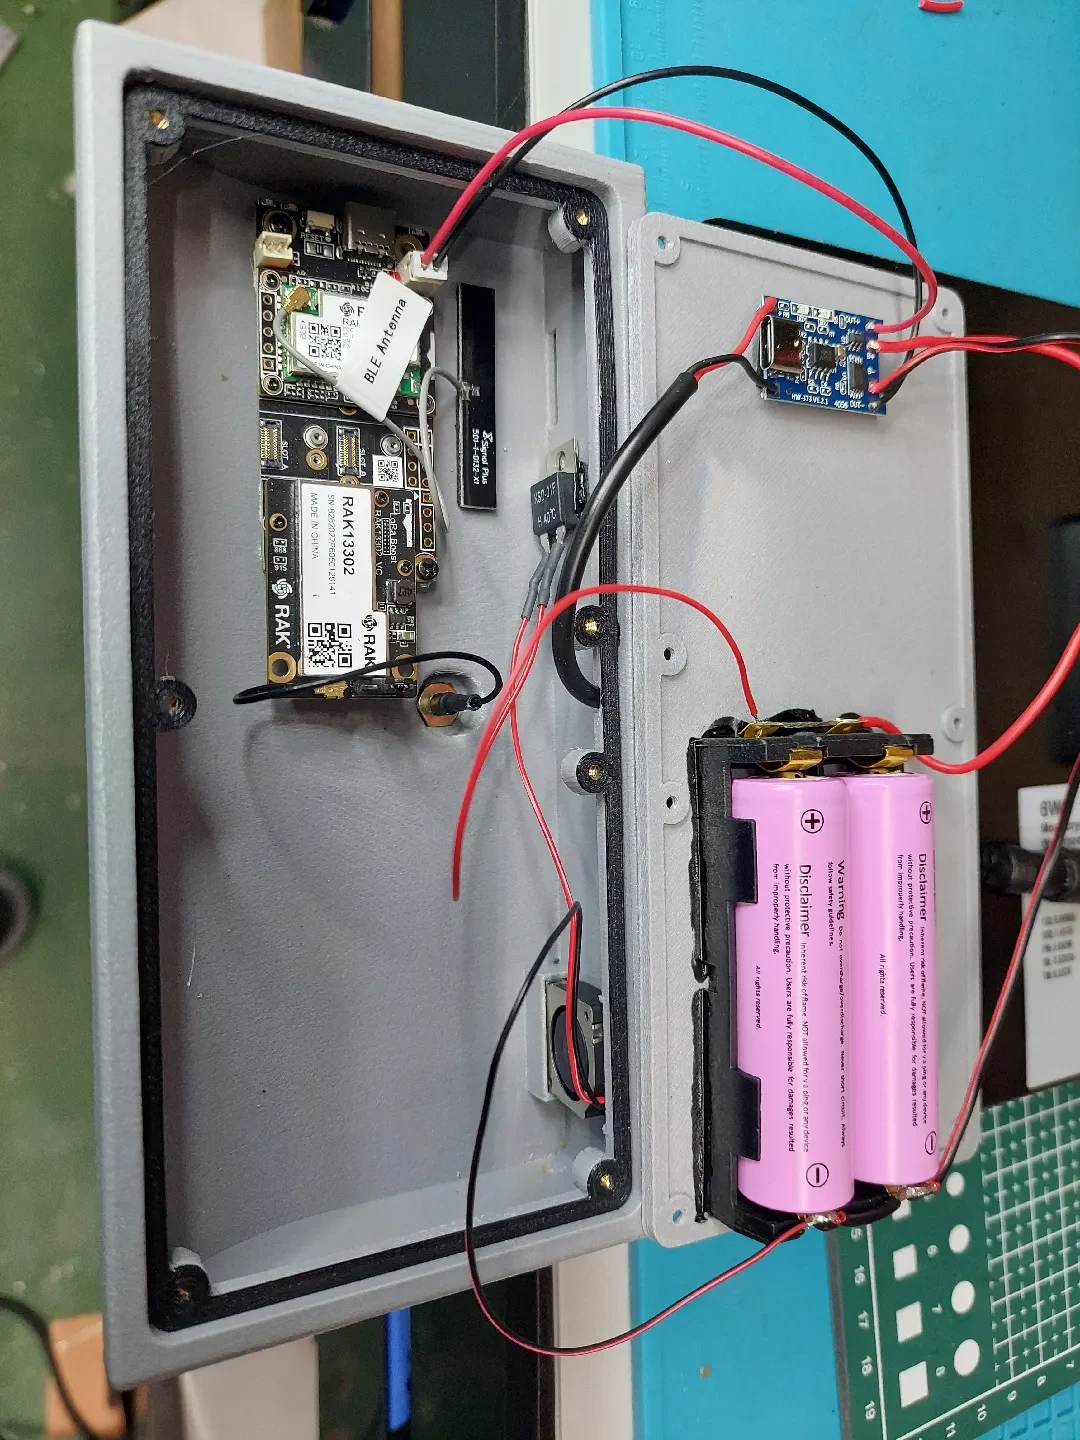
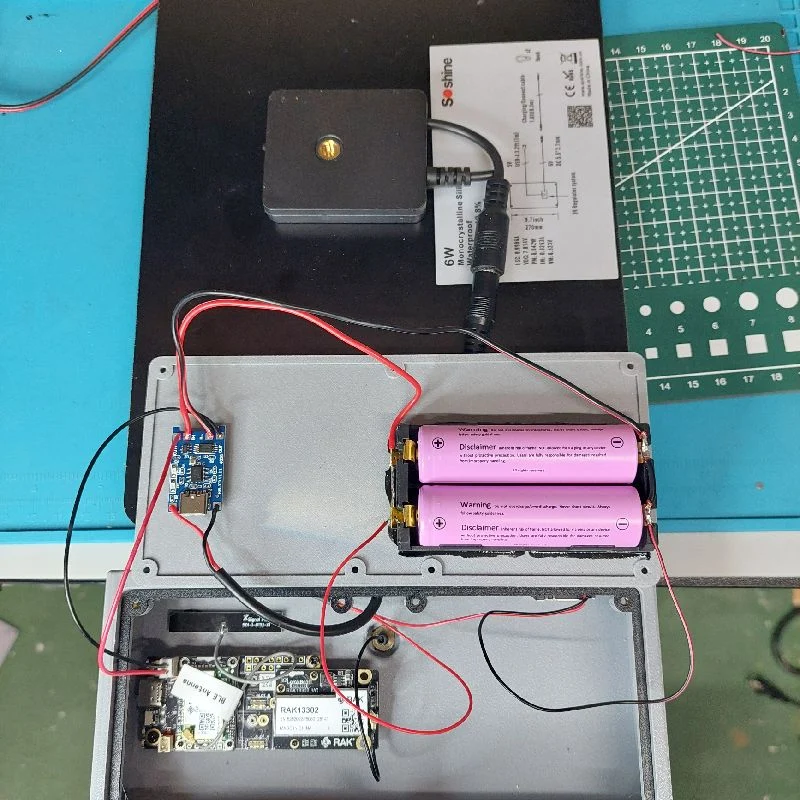
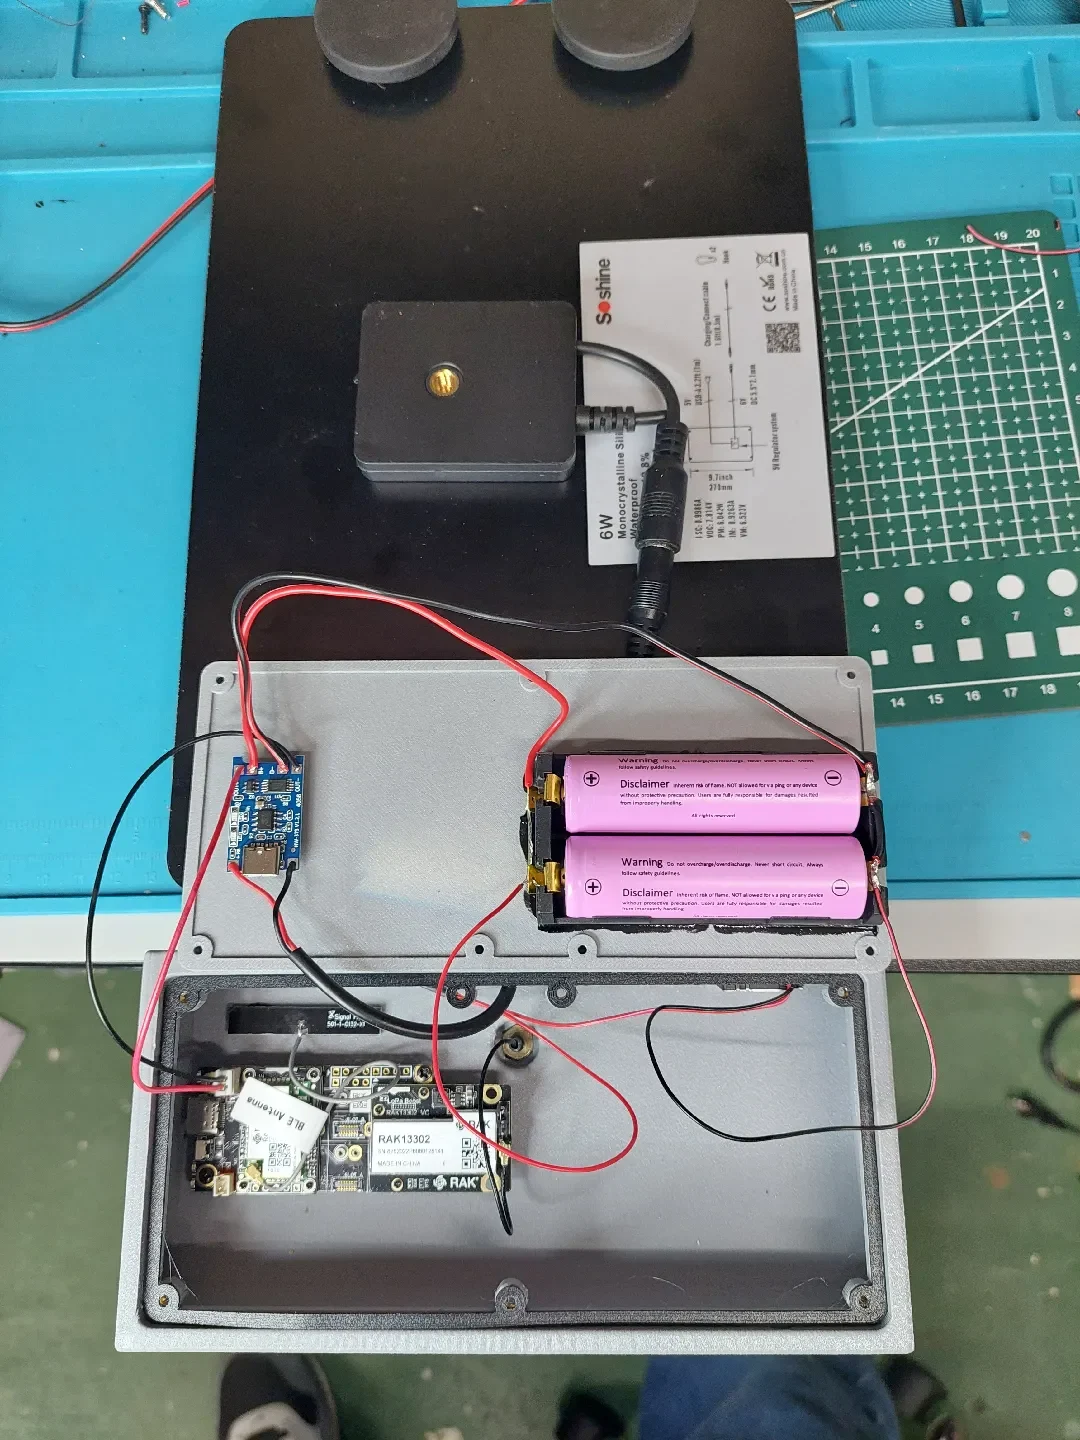
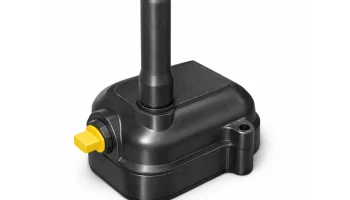
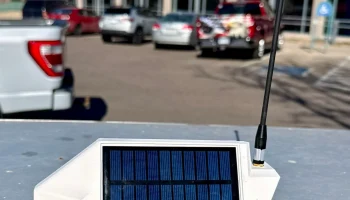
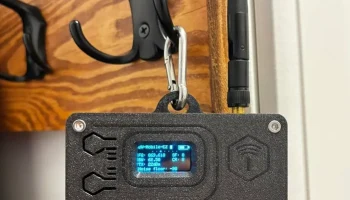
Although there are other well designed vehicle roof top solar enclosures for meshtastic and meshcore, my concern with those designs were the limited space, it was a very tight fit for a RAK 1W board, and would only allow for a flat type «Spicy Pillow» 3000ma battery.
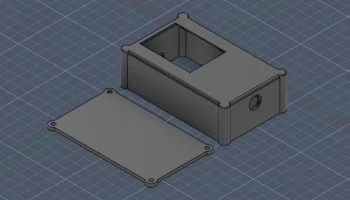
My other concern, was heat, the roof of a car can get extremely hot during the summer, this can affect the battery and even the LoRa module itself, I also wanted to make this enclosure with different options, there are files for use with N connector type antenna or SMA, there are versions that will allow to mount the LoRa module on the cover, or mount it directly on the upper inside of the enclosure, there is plenty of space to allow for 2 18650 batteries, and even an external battery charger module, there are «plain» files as well, to allow you to add your own mounts or parts so I designed this enclosure with those goals in mind.
One issue with the other vehicle solar mount enclosure is that they were specifically designed around the Soshine 6W solar panel, the problem is, as of this writing, they are sold out everywhere, so I designed my mount, to allow a more «universal» fit, there are solar panel mounting holes for the Soshine 6W, but I have also put mounting holes for the KBT 6W solar panel. the way the solar mount «shelf» is designed will allow you to easily modify and insert your own holes to match whatever solar panel you have on hand, this is easily done in a slicer or tinkercad.
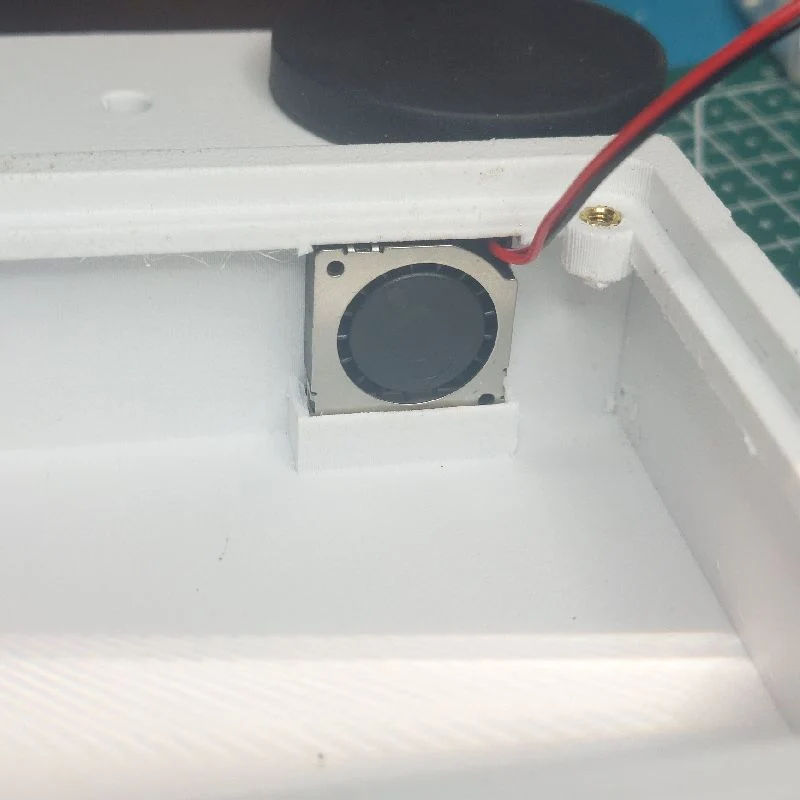
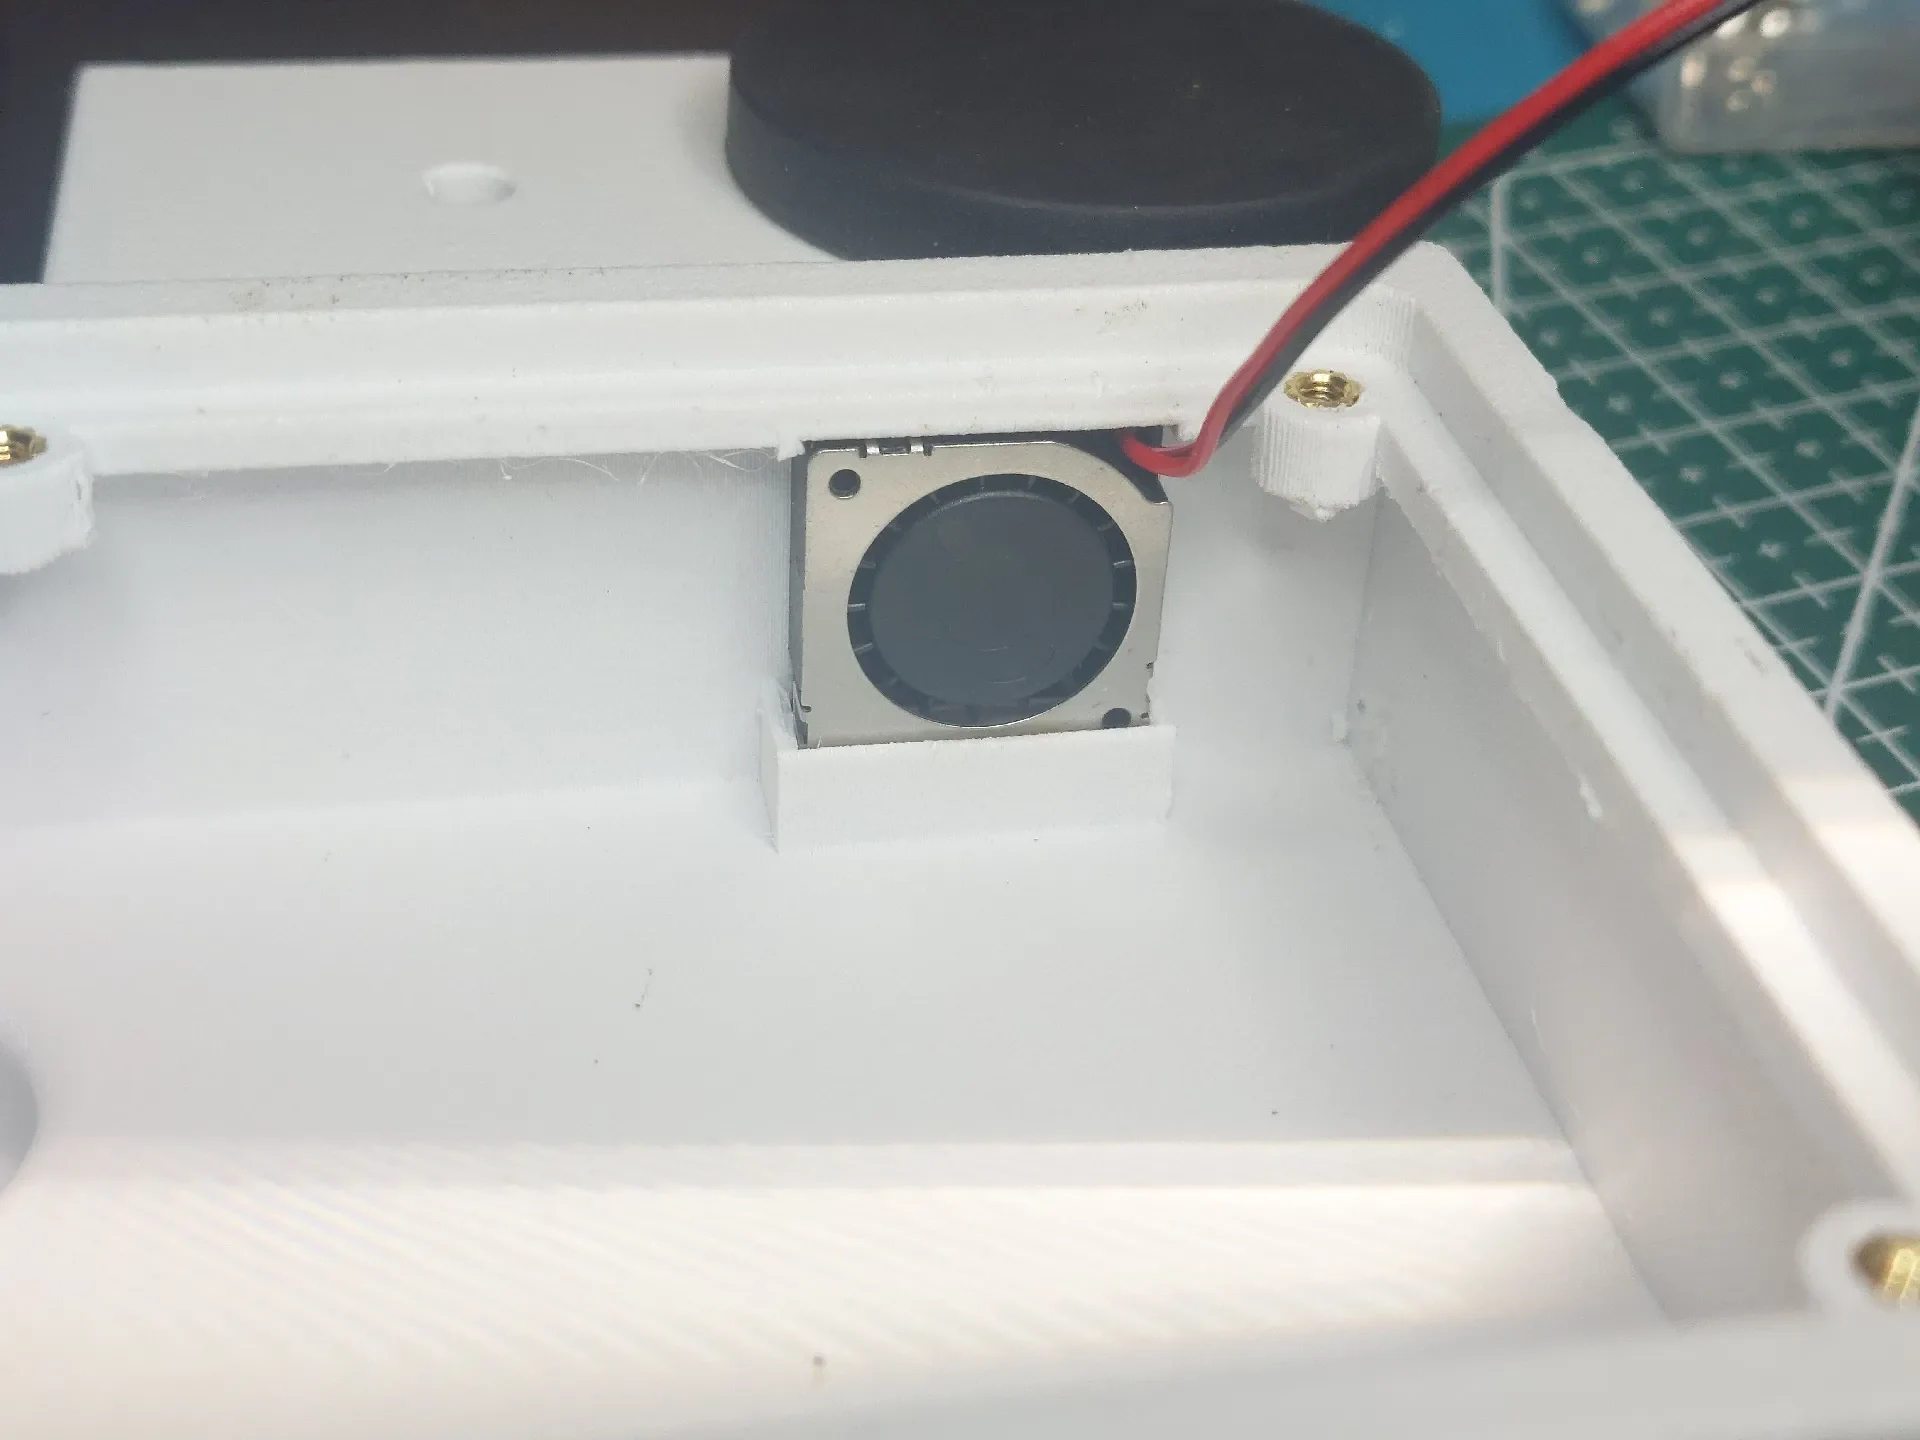
How does the cooling work? this is optional but I highly recommend it, a low cost small 20mmx20mx6mm fan is connected in series with a KSD-01F (40c) thermal switch, to the solar panel directly, if the ambient temperature gets above 40c the thermal switch closes, and passes power from the solar panel (not batteries) to the fan. the enclosure has two vents, with downward facing covers. one acts as an intake, the other as the exhaust (the side with the fan).
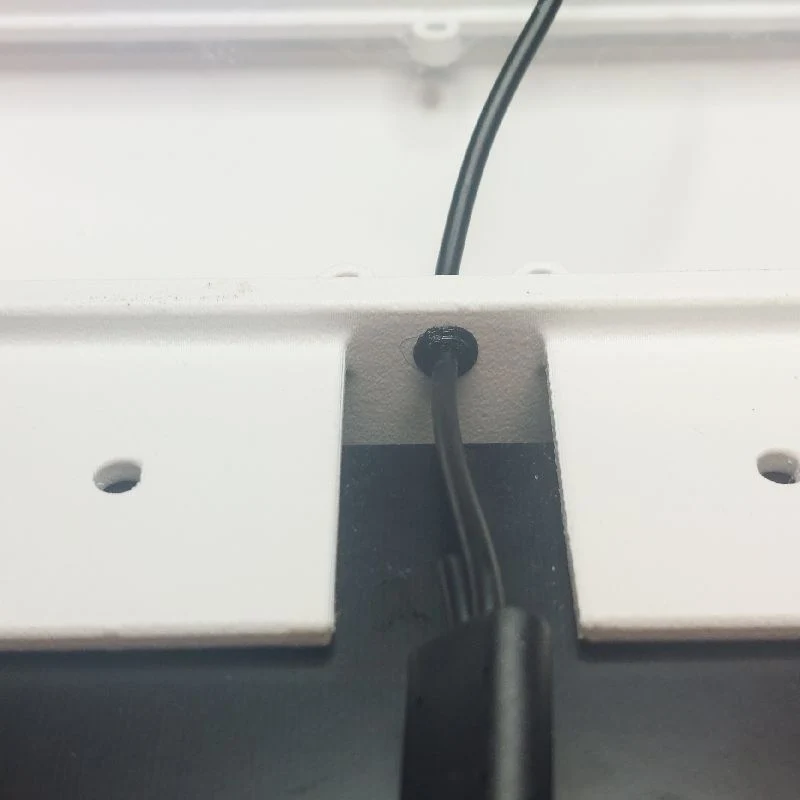
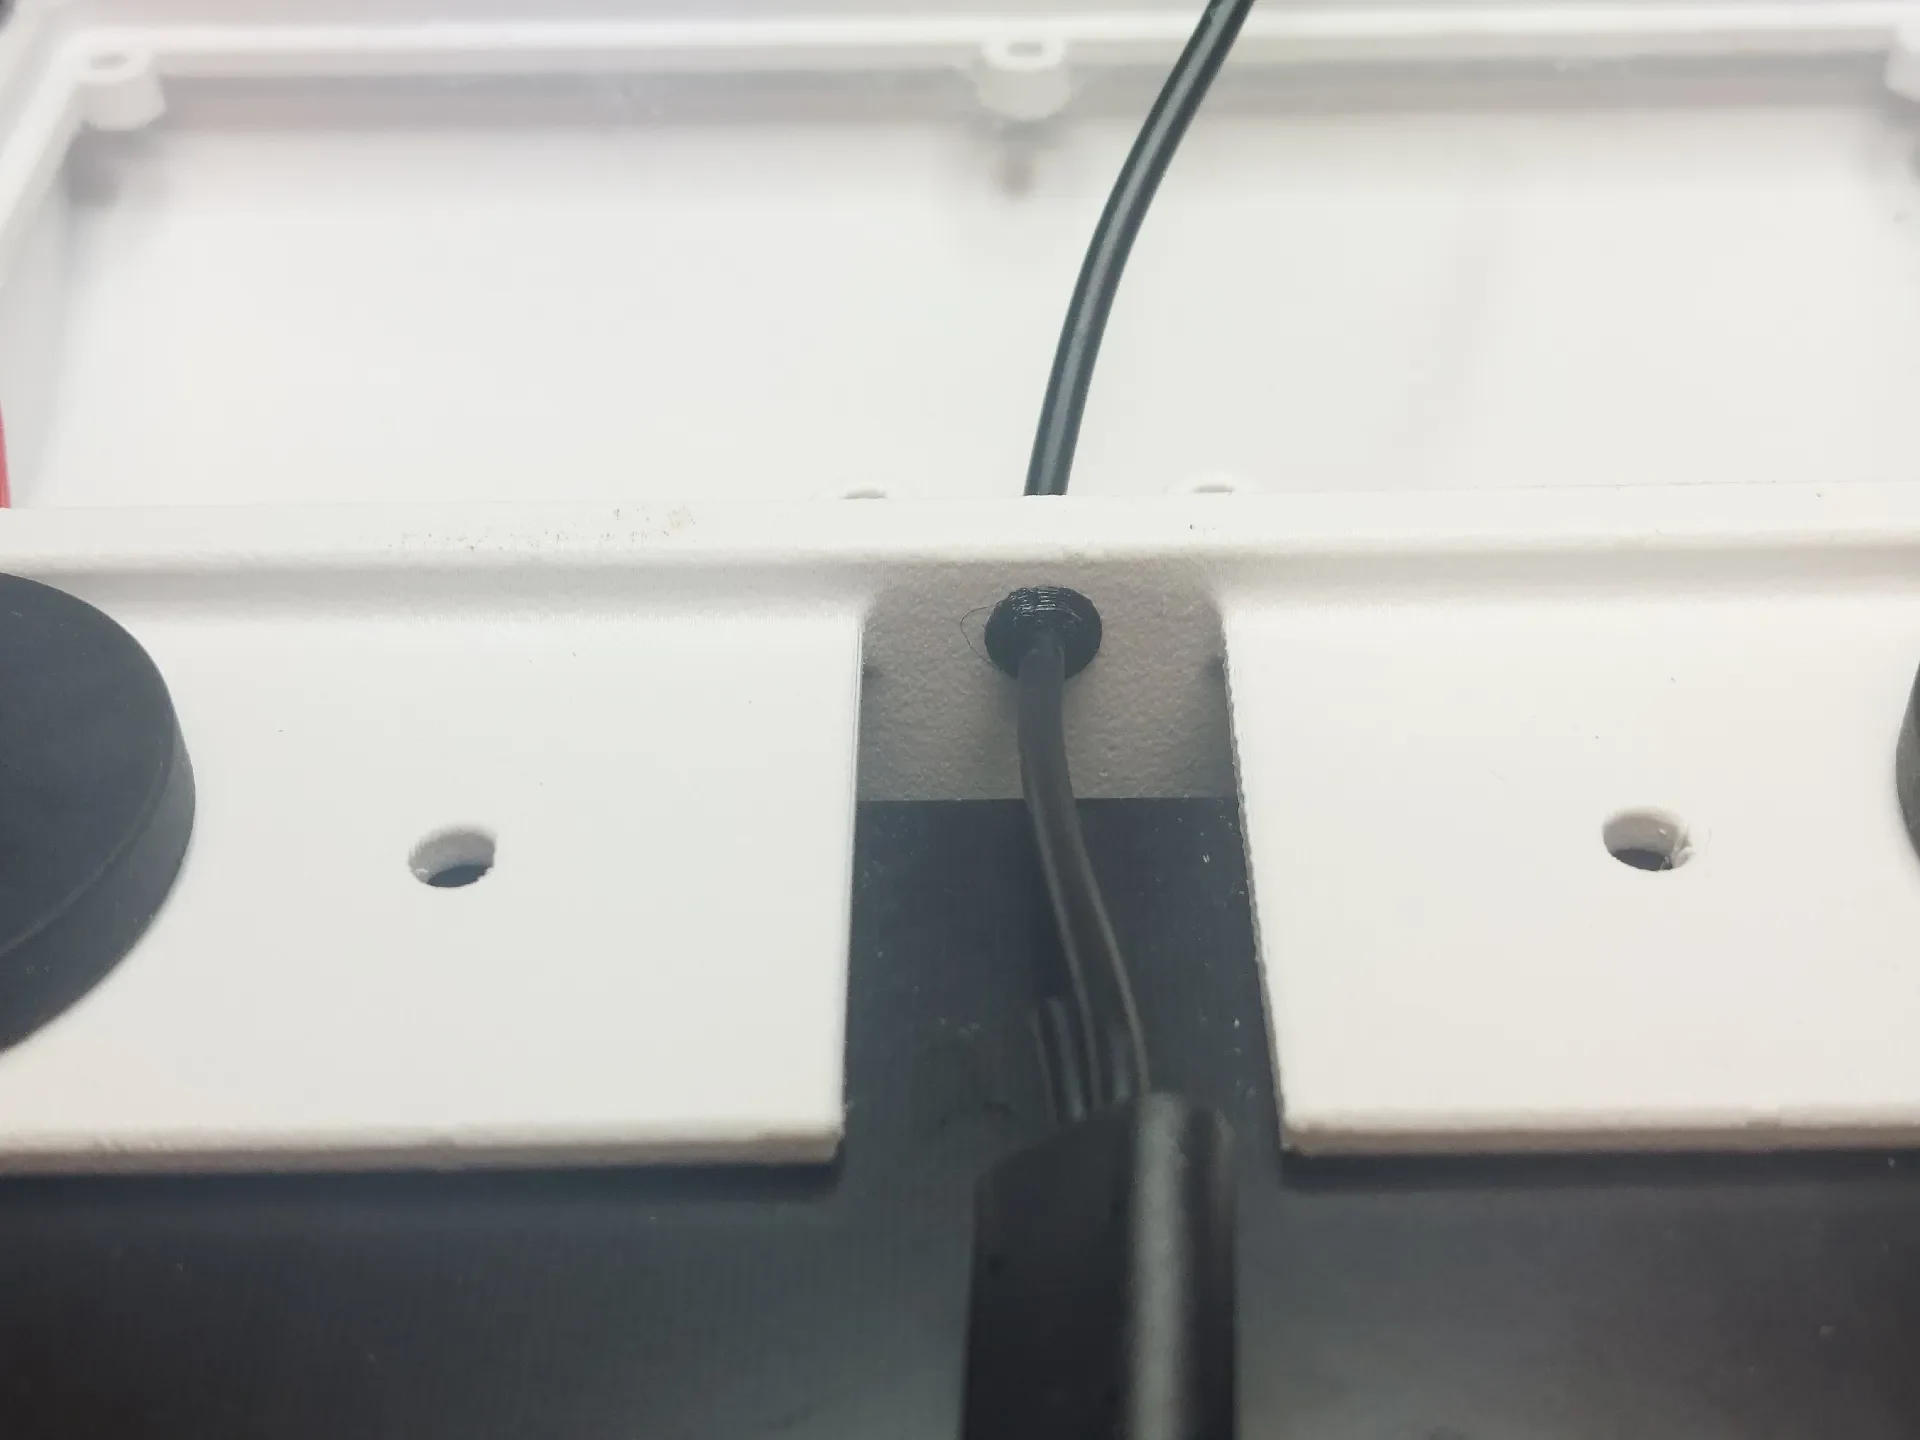
I have also included files for the cover gasket and solar wire/cable bushing, these should be printed in TPU.
I recommend printing this enclosure in ASA, ABS, or PETG, I used PETG-GF, avoid carbon fiber, as this attenuates RF signals. I also gave my enclosure a couple of coats of clear coat, to further improve UV resistance and make it shinier to match the cars paint color.
BOM:
KBT or Soshine 6W Solar panel. 1pc.
M2.5x6mm Screws 7pc.
M2.5x3x4mm Brass Inserts 7pc.
IPX/u.fl to N- connector adaptor or IPX/u.fl to SMA connector adaptor. depends on the antenna you use.
Antenna, Alfa (N) or Muzi/Gizont whip. of course these are just recommendations, use what you like.
KSD-01F (40c) thermal switch/sensor. 1pc.
20mmx20mmx6mm cooling fan. 1pc.
Rubber coated magnets. 4pc
Battery Holders, connect batteries in parallel (not in series). observe proper polarity.
Optional: TP4056 Charge Controller, this really depends on whether the LoRa module you use has one built in or not, you can always use another type.
Consumables:
I recommend using dielectric silicone compound, aka silicone grease, aka silicone lubricant. this is not silicone rubber, it remains slippery. you can coat the TPU gasket and the gasket on the N connector, you can also flood the contacts, this displaces moisture, and is non conductive. it also prevent corrosion.
T-7000 or similar adhesive, when using an SMA connector, put some around the base, to help seal and prevent water from getting in. it's also useful to glue your battery mounts, and hold the TPU cover gasket in place. T-7000 is semi flexible. but you can use another type of adhesive.